
Well, it has certainly been a year. While one of Nurgle’s more annoying and virulent blessings continues to frustrate the planet, it’s been another interesting 365 in the hobby, and a very interesting year for me personally. I recall that in the olden days, I would often do a year in review post for my hobby here and thought I’d bring the tradition back, as well as look forward to what my hobby plans are for 2022 – I’m quite excited about those! But before dreaming into the days to come, I need to think back over what I accomplished this year. Cue the screen going all wavy, and the twinkly music of remembering…
*at this point I spent ages looking for a good gif of time going backwards and they all suck so have this unnecessary line of explanatory text instead*
Let me take you back to January, 2021. We had just come out of a global pandemic a- no, wait, we were still right in the middle of the damn thing. The pubs were all shut, the bars were all shut, but thankfully the off-licenses (that’s a liquor store for my readers across the pond) were still open. I was enjoying my first winter in my new flat, and I was a Games Workshop employee too. Things were fine, though this blog still slumbered, and that was starting to irk me a little bit. I was painting some things I was really proud of and I wanted to post them on here, and that’s when I decided that I was going to leave GW, and get back to having my hobby be my hobby, and get the blog up and running again.

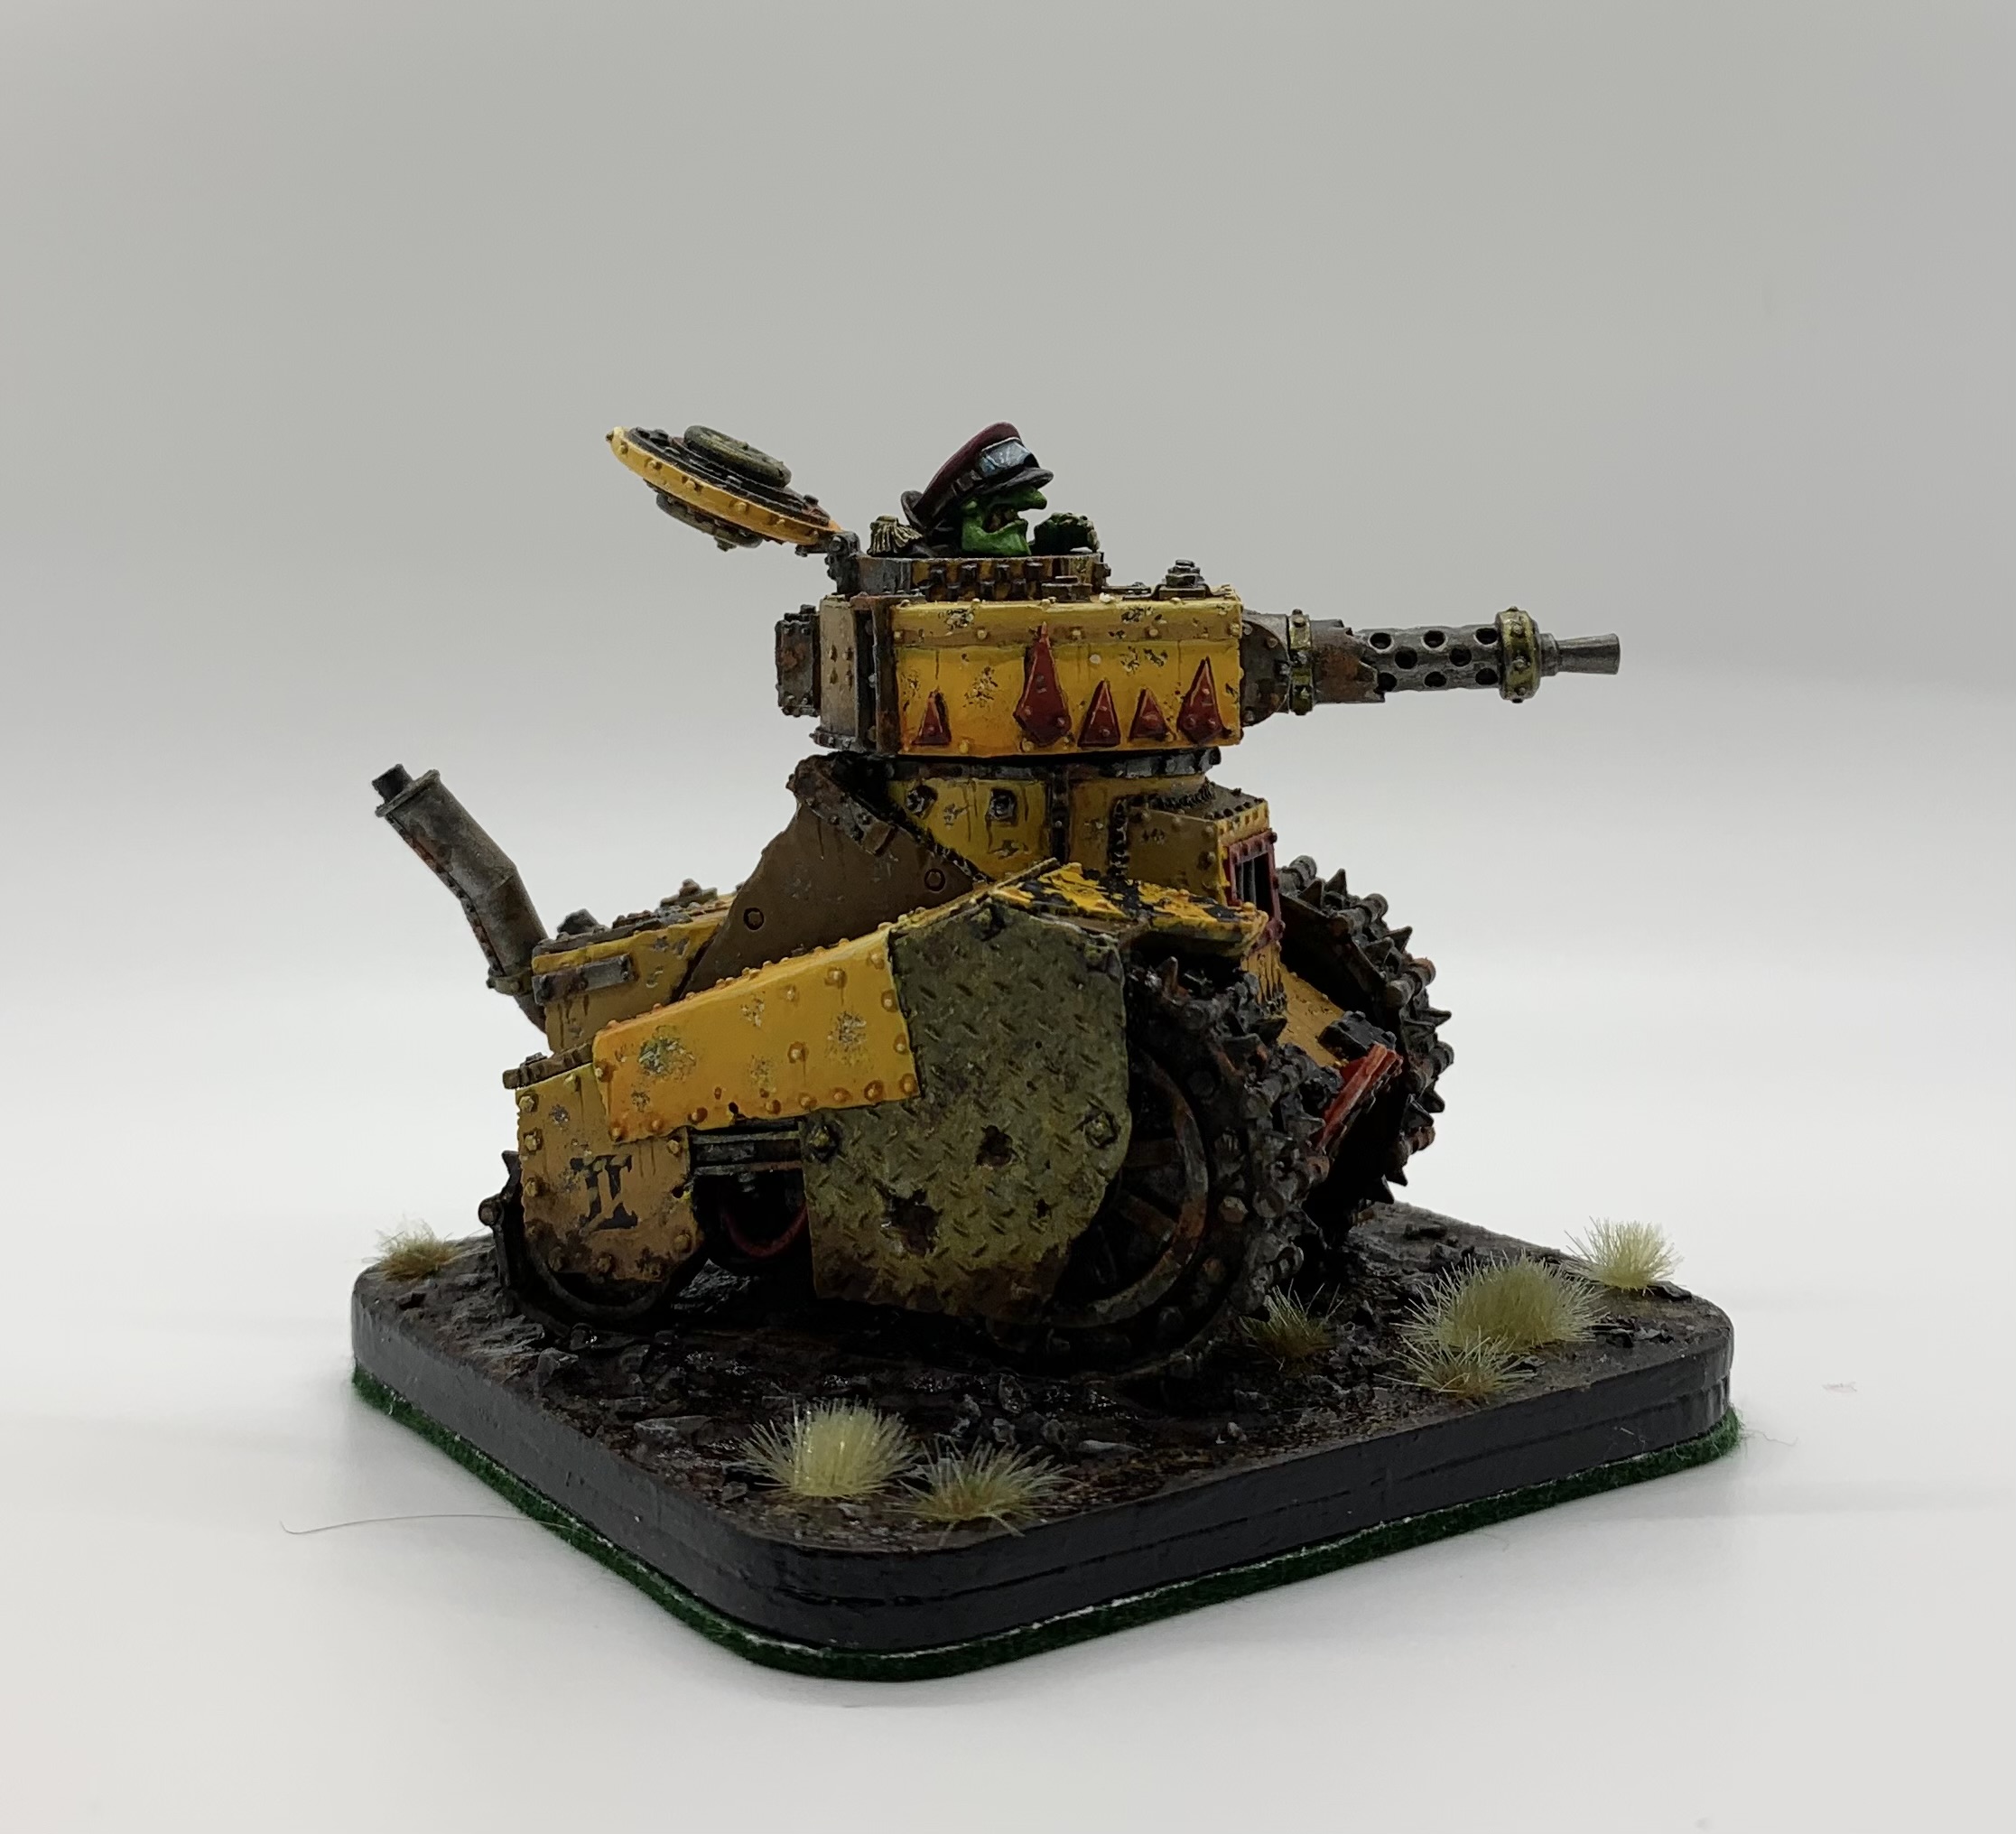
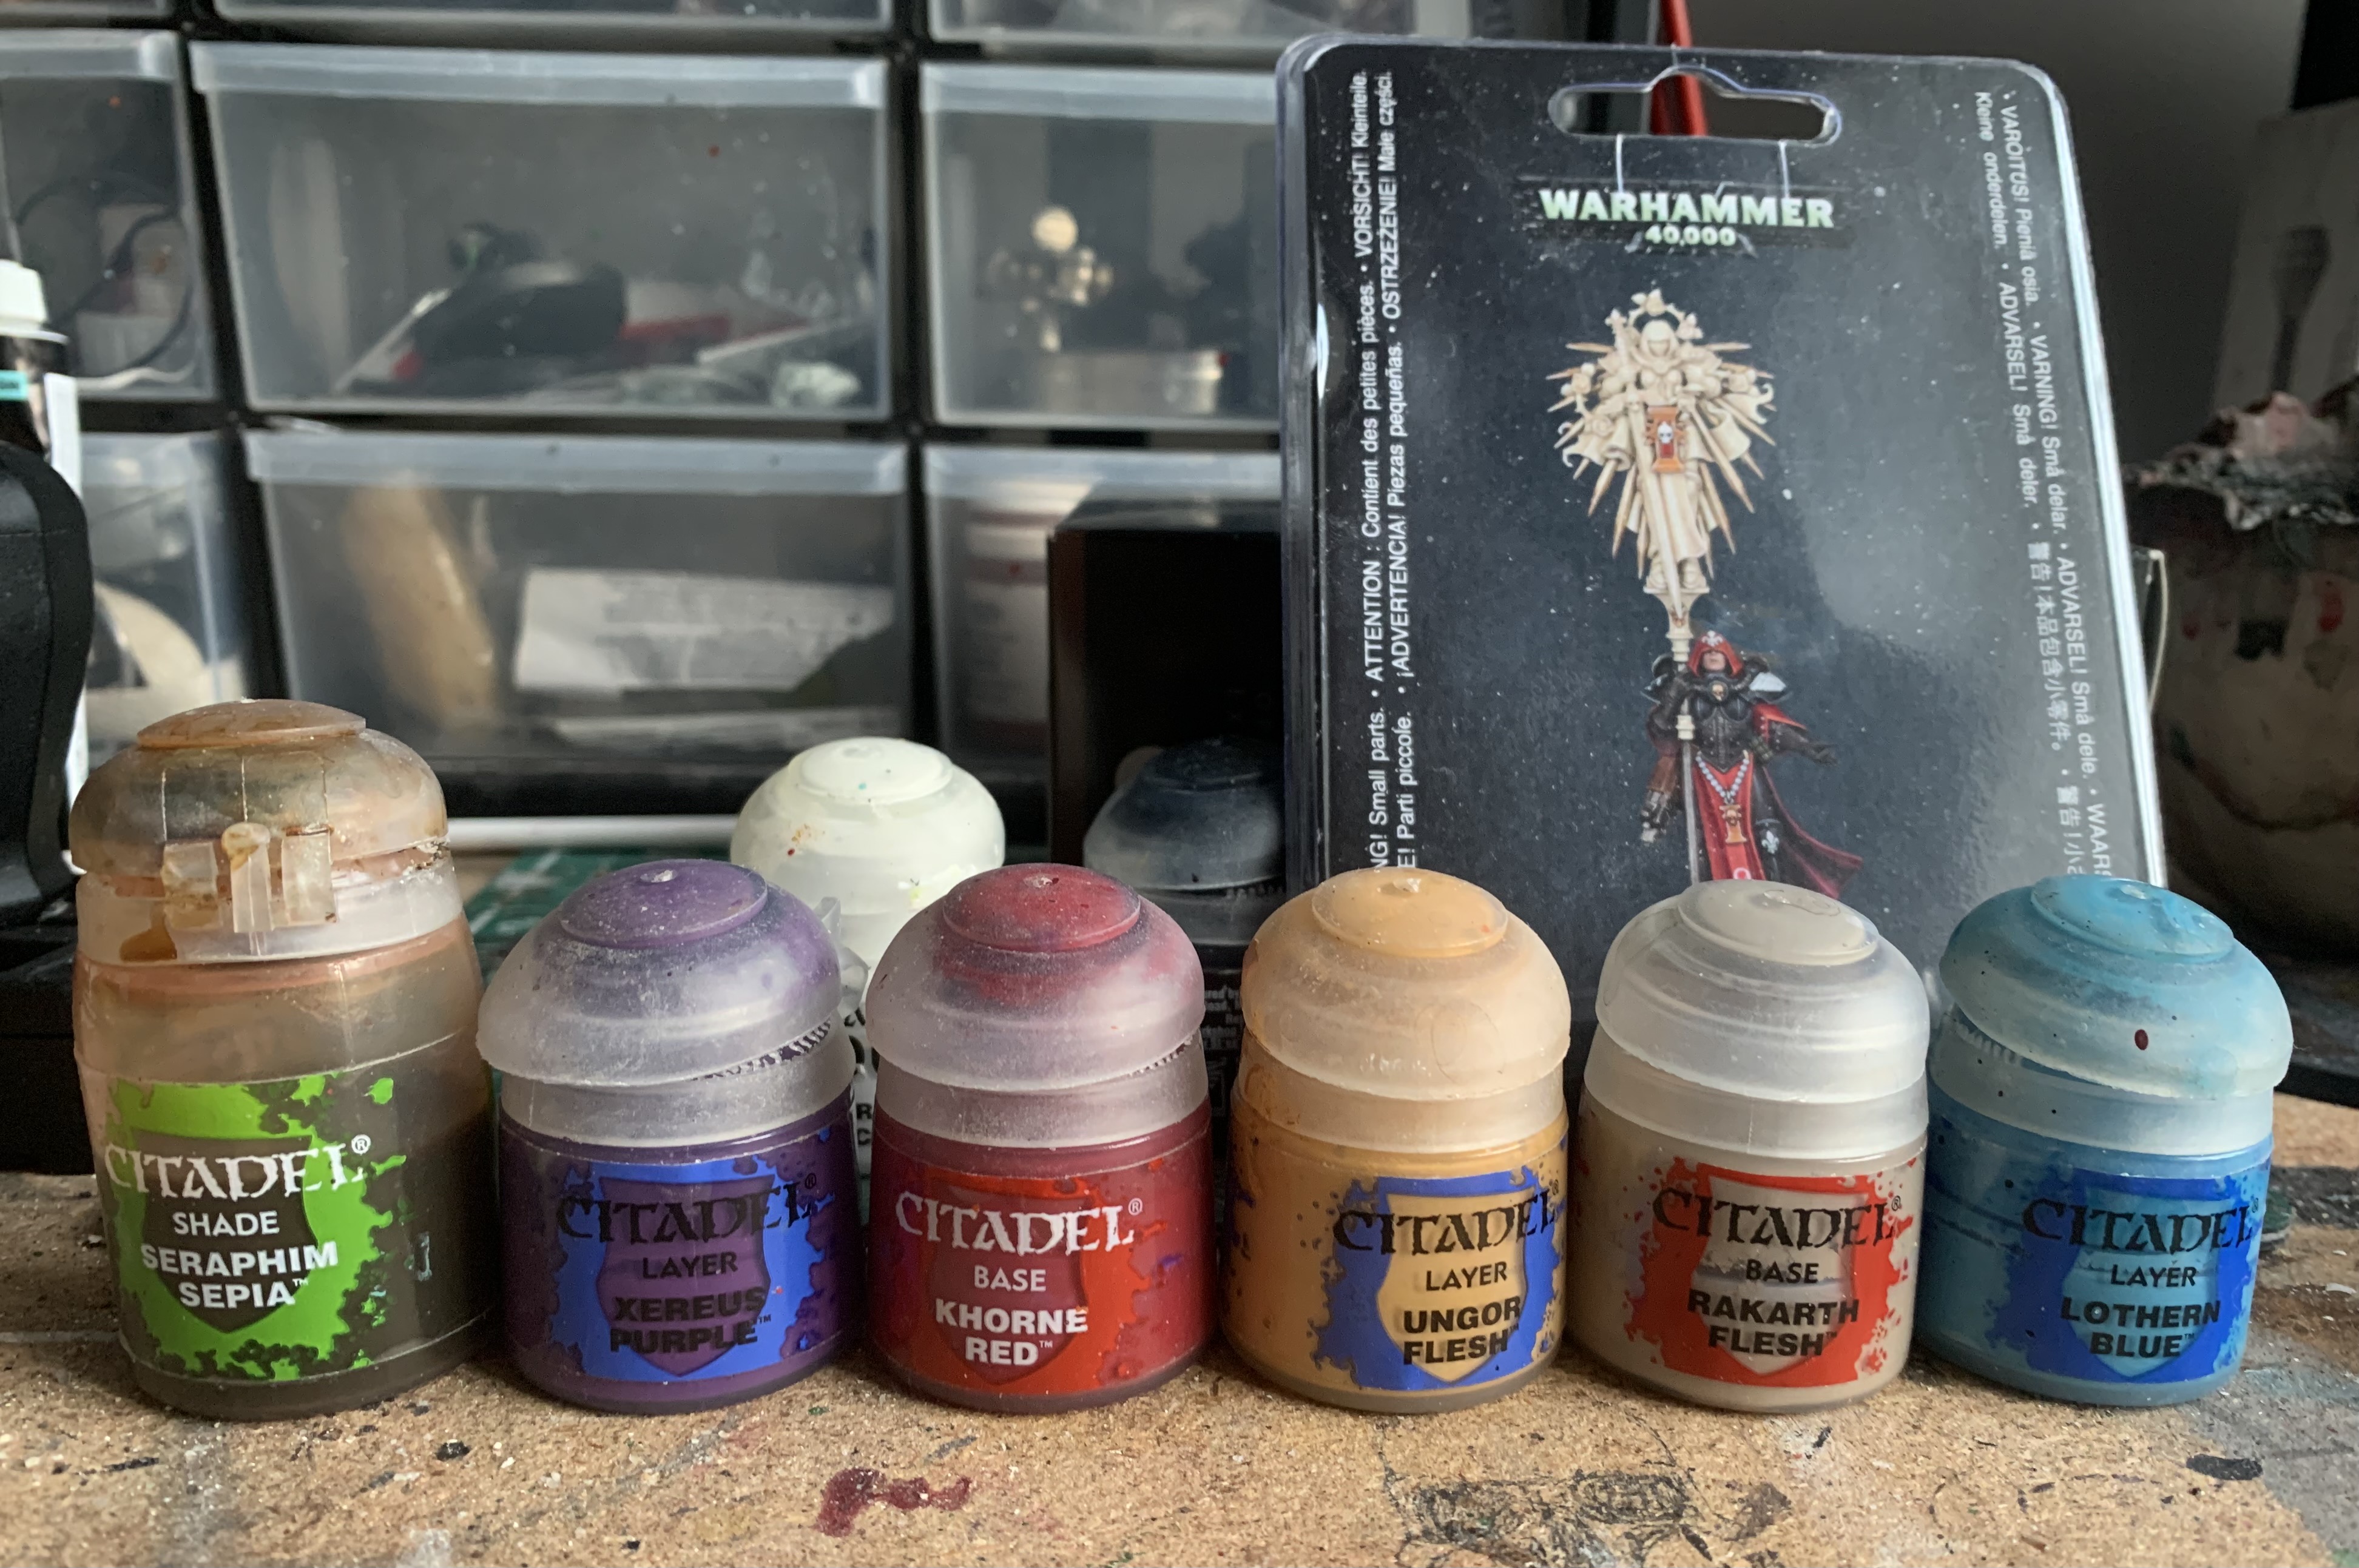
The first thing to get finished in January was my Lord of Plagues, a mini that had been part of my yearly totally random hobby project (I’ve got another one coming very soon!) and I was pretty pleased with what I’d accomplished with my limited palette. I was satisfied with all of my painting at that point to be fair, and I was regularly contributing to painting challenges at work, and things were going well with my brushes in general. And by the end of January, I had painted my Grot Tank – a model that I loved with a paintjob I was really proud of.
Though of course I was still struggling with my camera – some things never change. This was now really starting to fuel my desire to enter Golden Demon again and really push to get me a statue. On a lucky day, if a few very talented people didn’t show up, I thought I could squeak a bronze. Maybe. But I couldn’t enter the categories I wanted to enter while working for GW, so this further egged me on to find a new job.

I pushed myself harder in February and it would also be in this month that I secured a new job at a huge company, with a nice pay rise and my notice would be handed in. It was really sad leaving, and in March I would say goodbye to a lot of wonderful people that I had worked with for the last few years at a company that I still love. I would get as good a sendoff as one could hope for in those strange times when we were all stuck working from home, and between all of that, I got the above Slaughter Priest finished too. But before I left, I’d finish up working on my first ever Salamander:
I was so proud of this one. It’s by no means perfect, but I thought I was hitting my marks with contrast, freehand, my metallics, blending… I was pretty damn happy to be honest. And then, riding a wave of confidence I decided to torture myself by dipping into the longest running project ever, my Warhound Titan…

That head took me a 3-day weekend of dawn-to-dusk painting and it damn near broke me, again. Guess I’ll soon have to figure out which panel gets some attention in 2022! By this stage, I had left Games Workshop and had started at the new place and I hated it. It started off ok, but the culture was all wrong, and it just felt soulless and weird. In April, I kept telling myself to just stick with it, and that it would get better, and that I only needed to do a year there for my CV and then I could move on…
I lasted 6 weeks before I handed in my notice and by May, when we could sit outside pubs again and enjoy life a little more as the virus seemed to be slowing down thanks to our vaccine appointments, I was, for the first time in my adult life, unemployed. And that, I loved. What’s more, in May, I painted the best thing I ever painted:

And, with everything I was going through, painting this mini broke me a bit. I don’t really think it was this mini, I just think it was a culmination of a year and a half of pandemic, changing jobs, various other things going on, but I quit the hobby and at one point I was genuinely thinking about selling all my minis and painting stuff. I’m not going to go through all of my mad thinking again, but if you want to read more about it, you can go through it all here. So because of all that, this place was a bit quiet for a big chunk of the summer…
I wandered in the hobby-less wilderness for a while there, but it wouldn’t be long beforeI would return, and when I came back, I would be coming back with some of the most popular posts of the year – the very first of the Lazy Painter’s Army List posts. I love creating these and they really helped get me back into the hobby, and finding my love for it again.

The other thing that really got me back into the hobby was gaming. I finished an army this year – my Necrons – and I’ve had a huge amount of fun with them in the second half of 2021. This may not be the most optimal list, but it’s been great getting back to the tabletop, and I’ve got a real urge to play against friends most of the time. I also joined an awesome Crusade group with a bunch of friends and it has been a source of enormous enjoyment all year round.

Painting this army to a nice tabletop standard also rekindled my enjoyment of painting in general and it wouldn’t be too long before I’d be picking up my brushes again. September was a particularly productive month, with me first satisfying my near-permanent itch to do some fun freehand with my Saint Katherine…

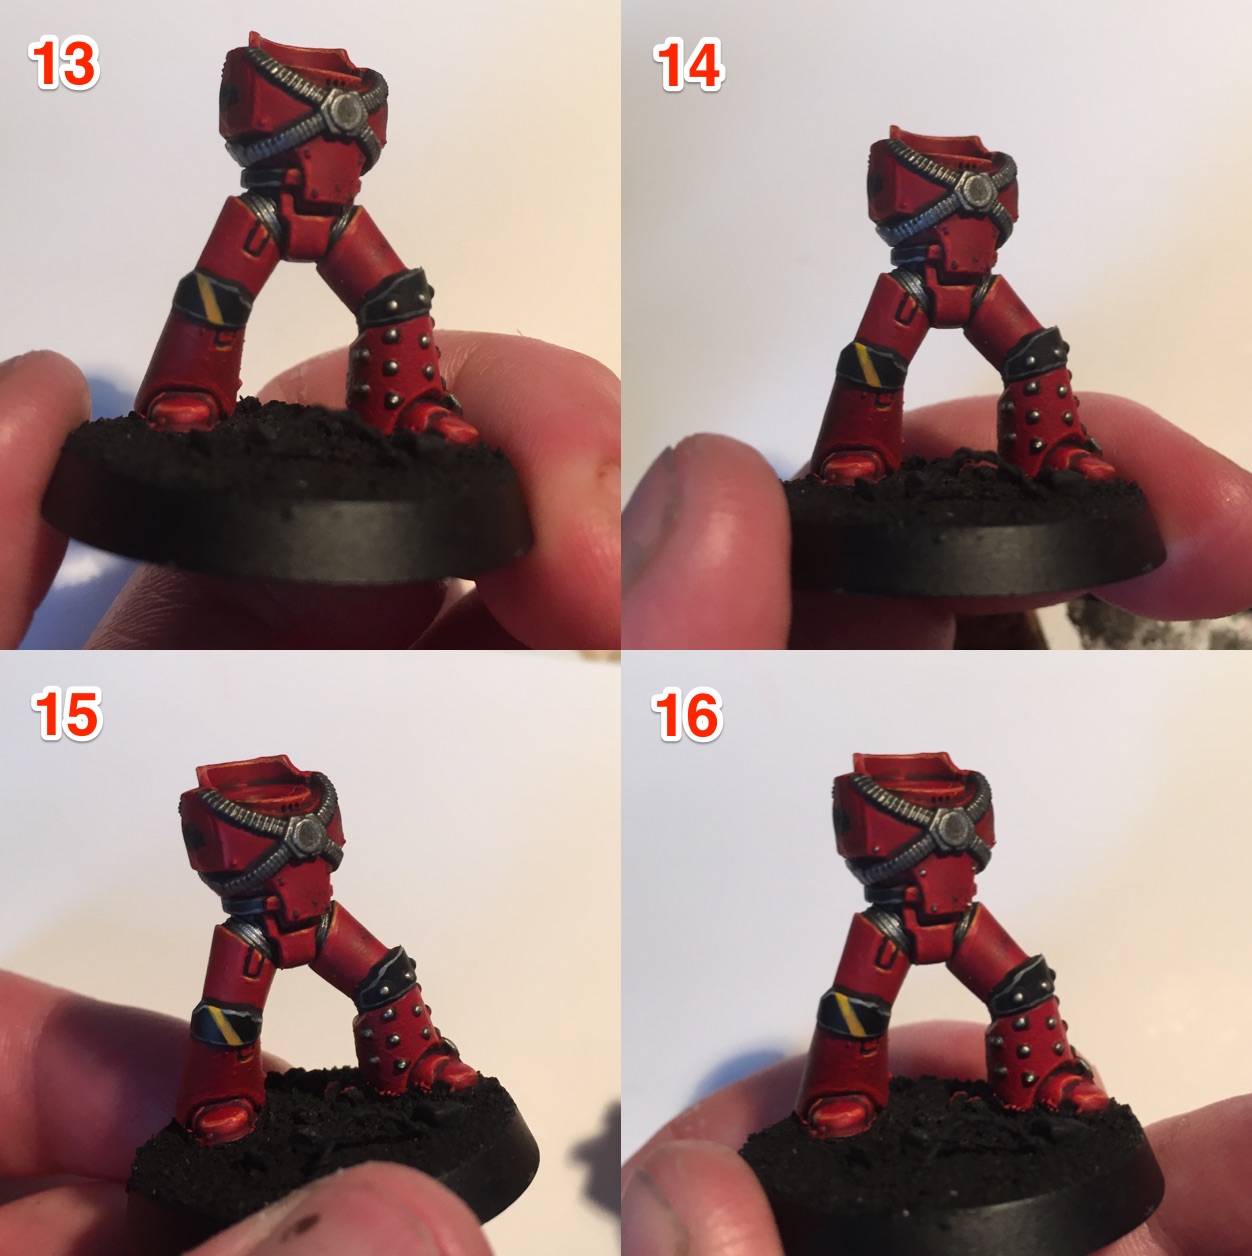
…before then working on one of my favourite projects of the year – my Blight-Hauler…

…so despite my desire to throw it all away, I was back with a vengeance and loving the hobby again. I guess it goes to show that we all have highs and lows, and in times of global plagues, isolation and upheaval, it’s easy to ride the lows a little too hard. Therefore, you need to remember that there’ll be highs again soon. Just worth keeping that in mind.

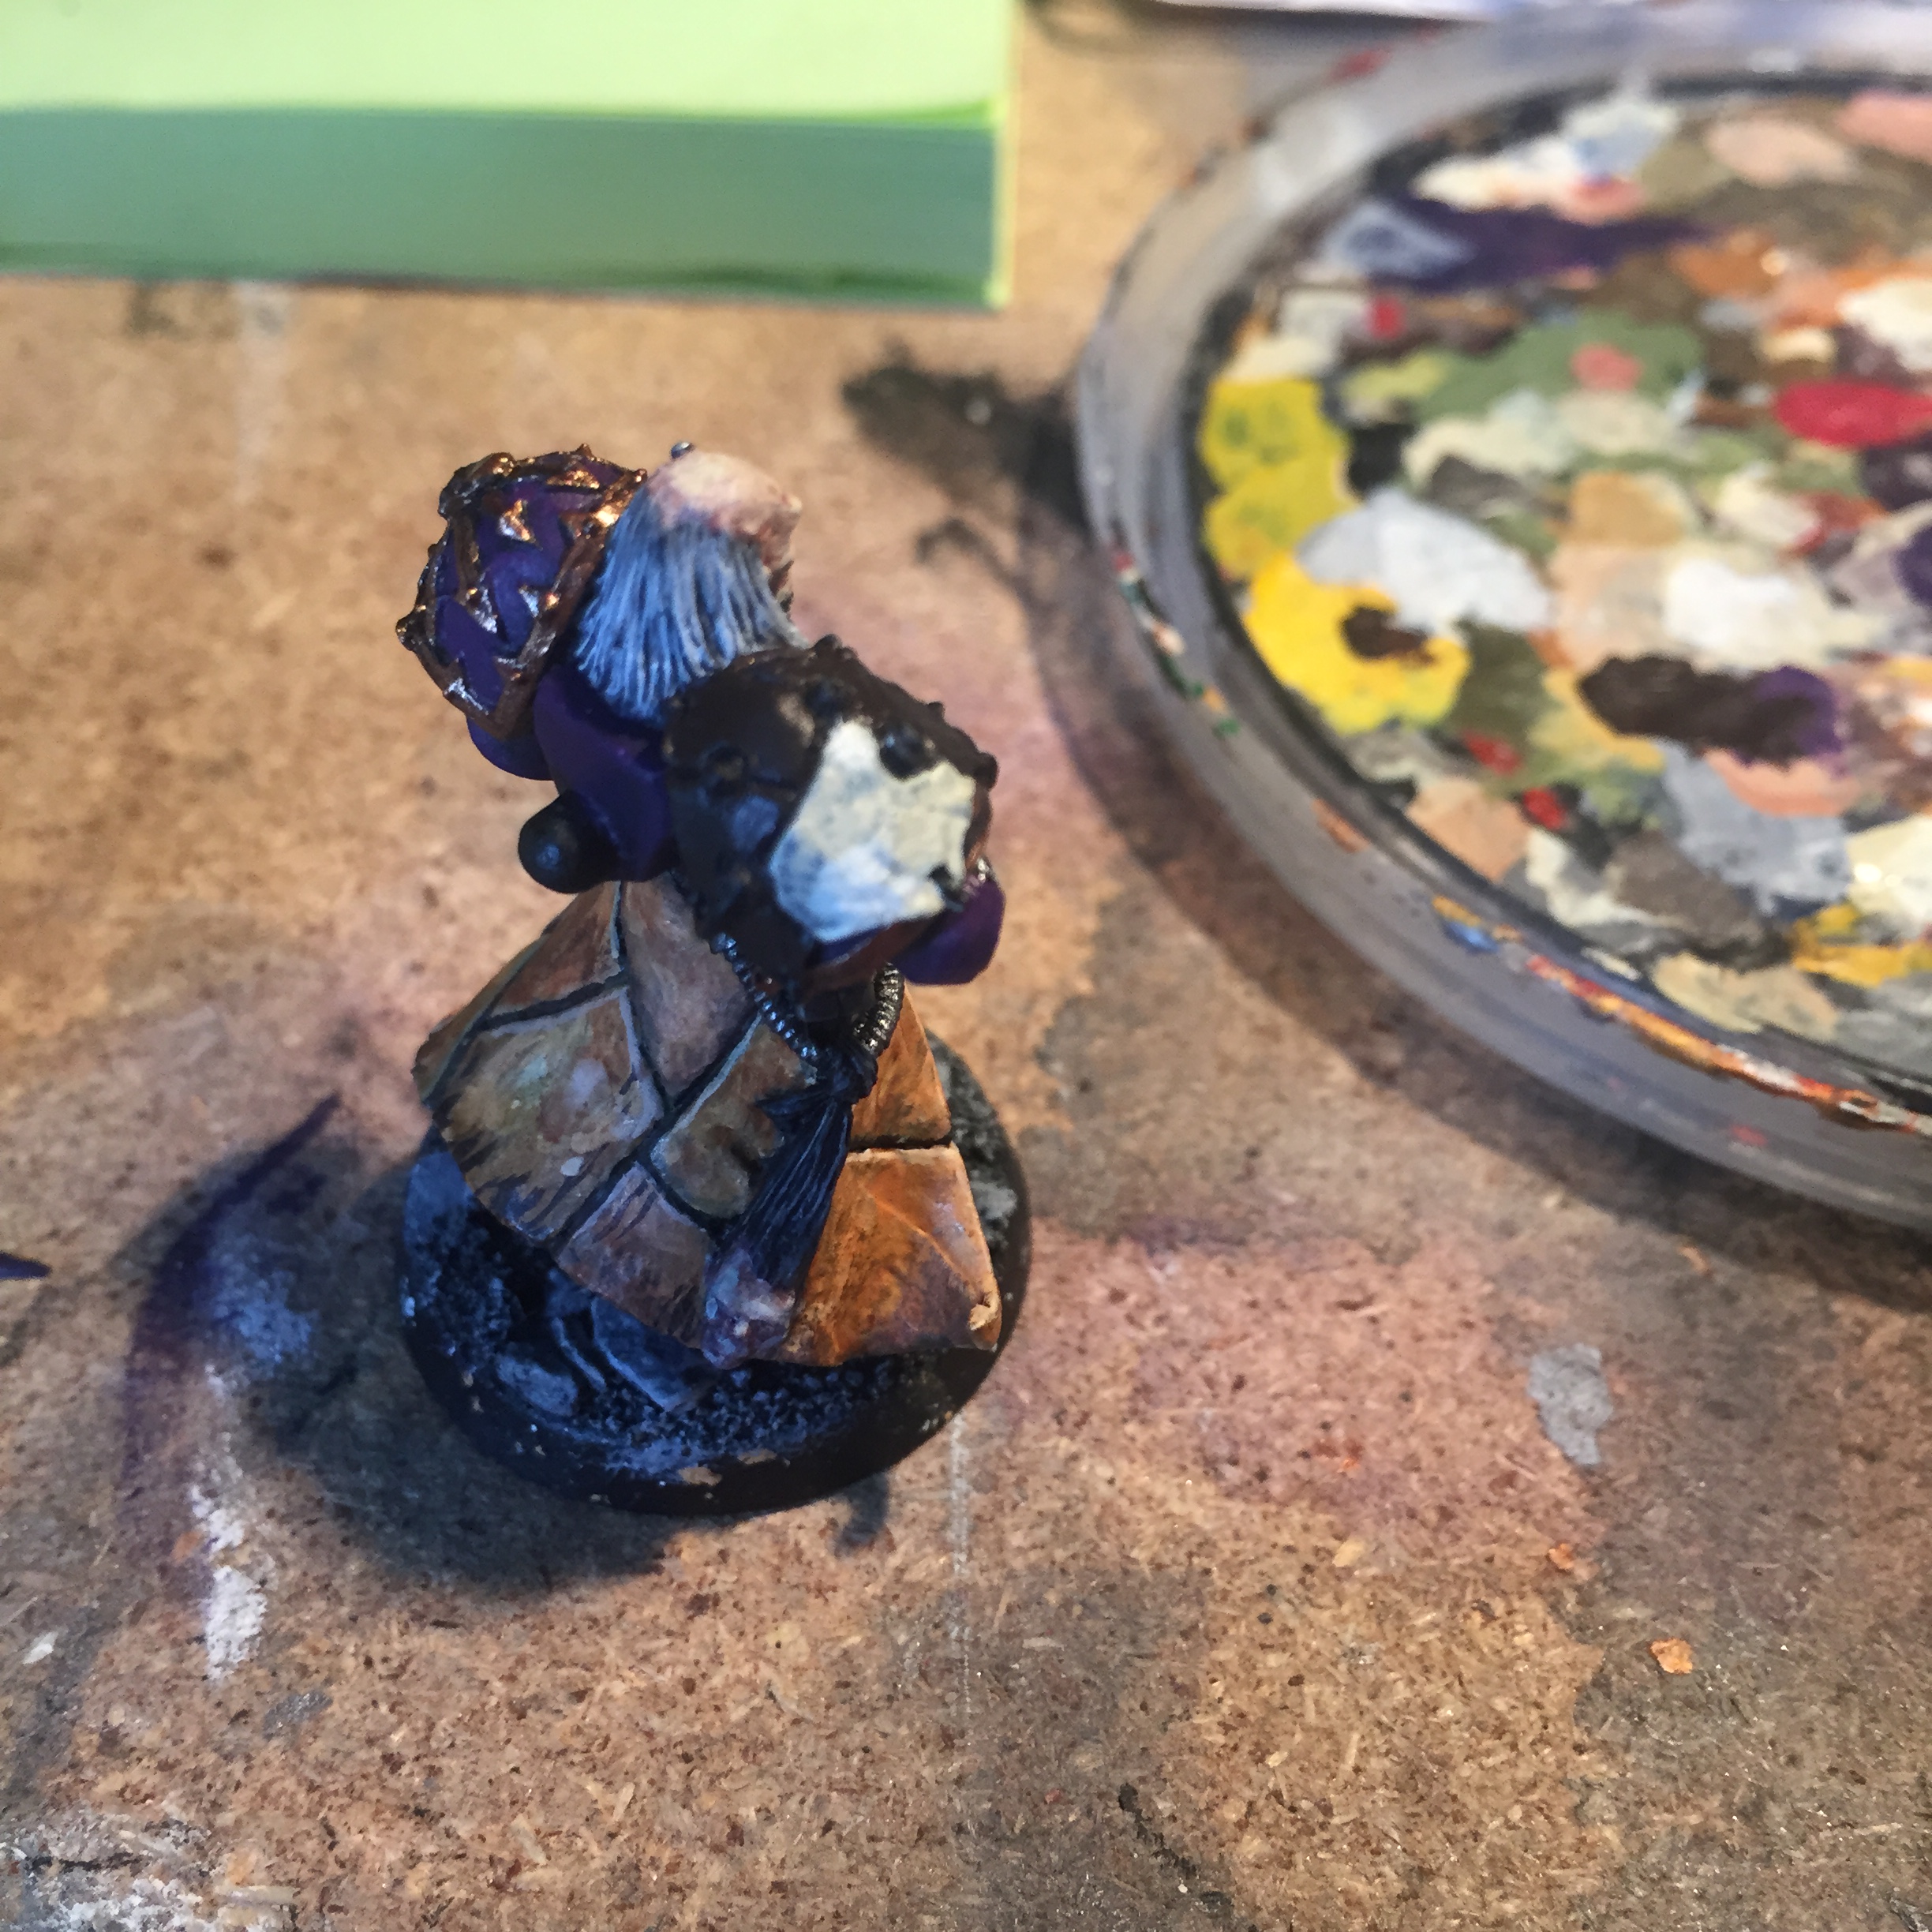
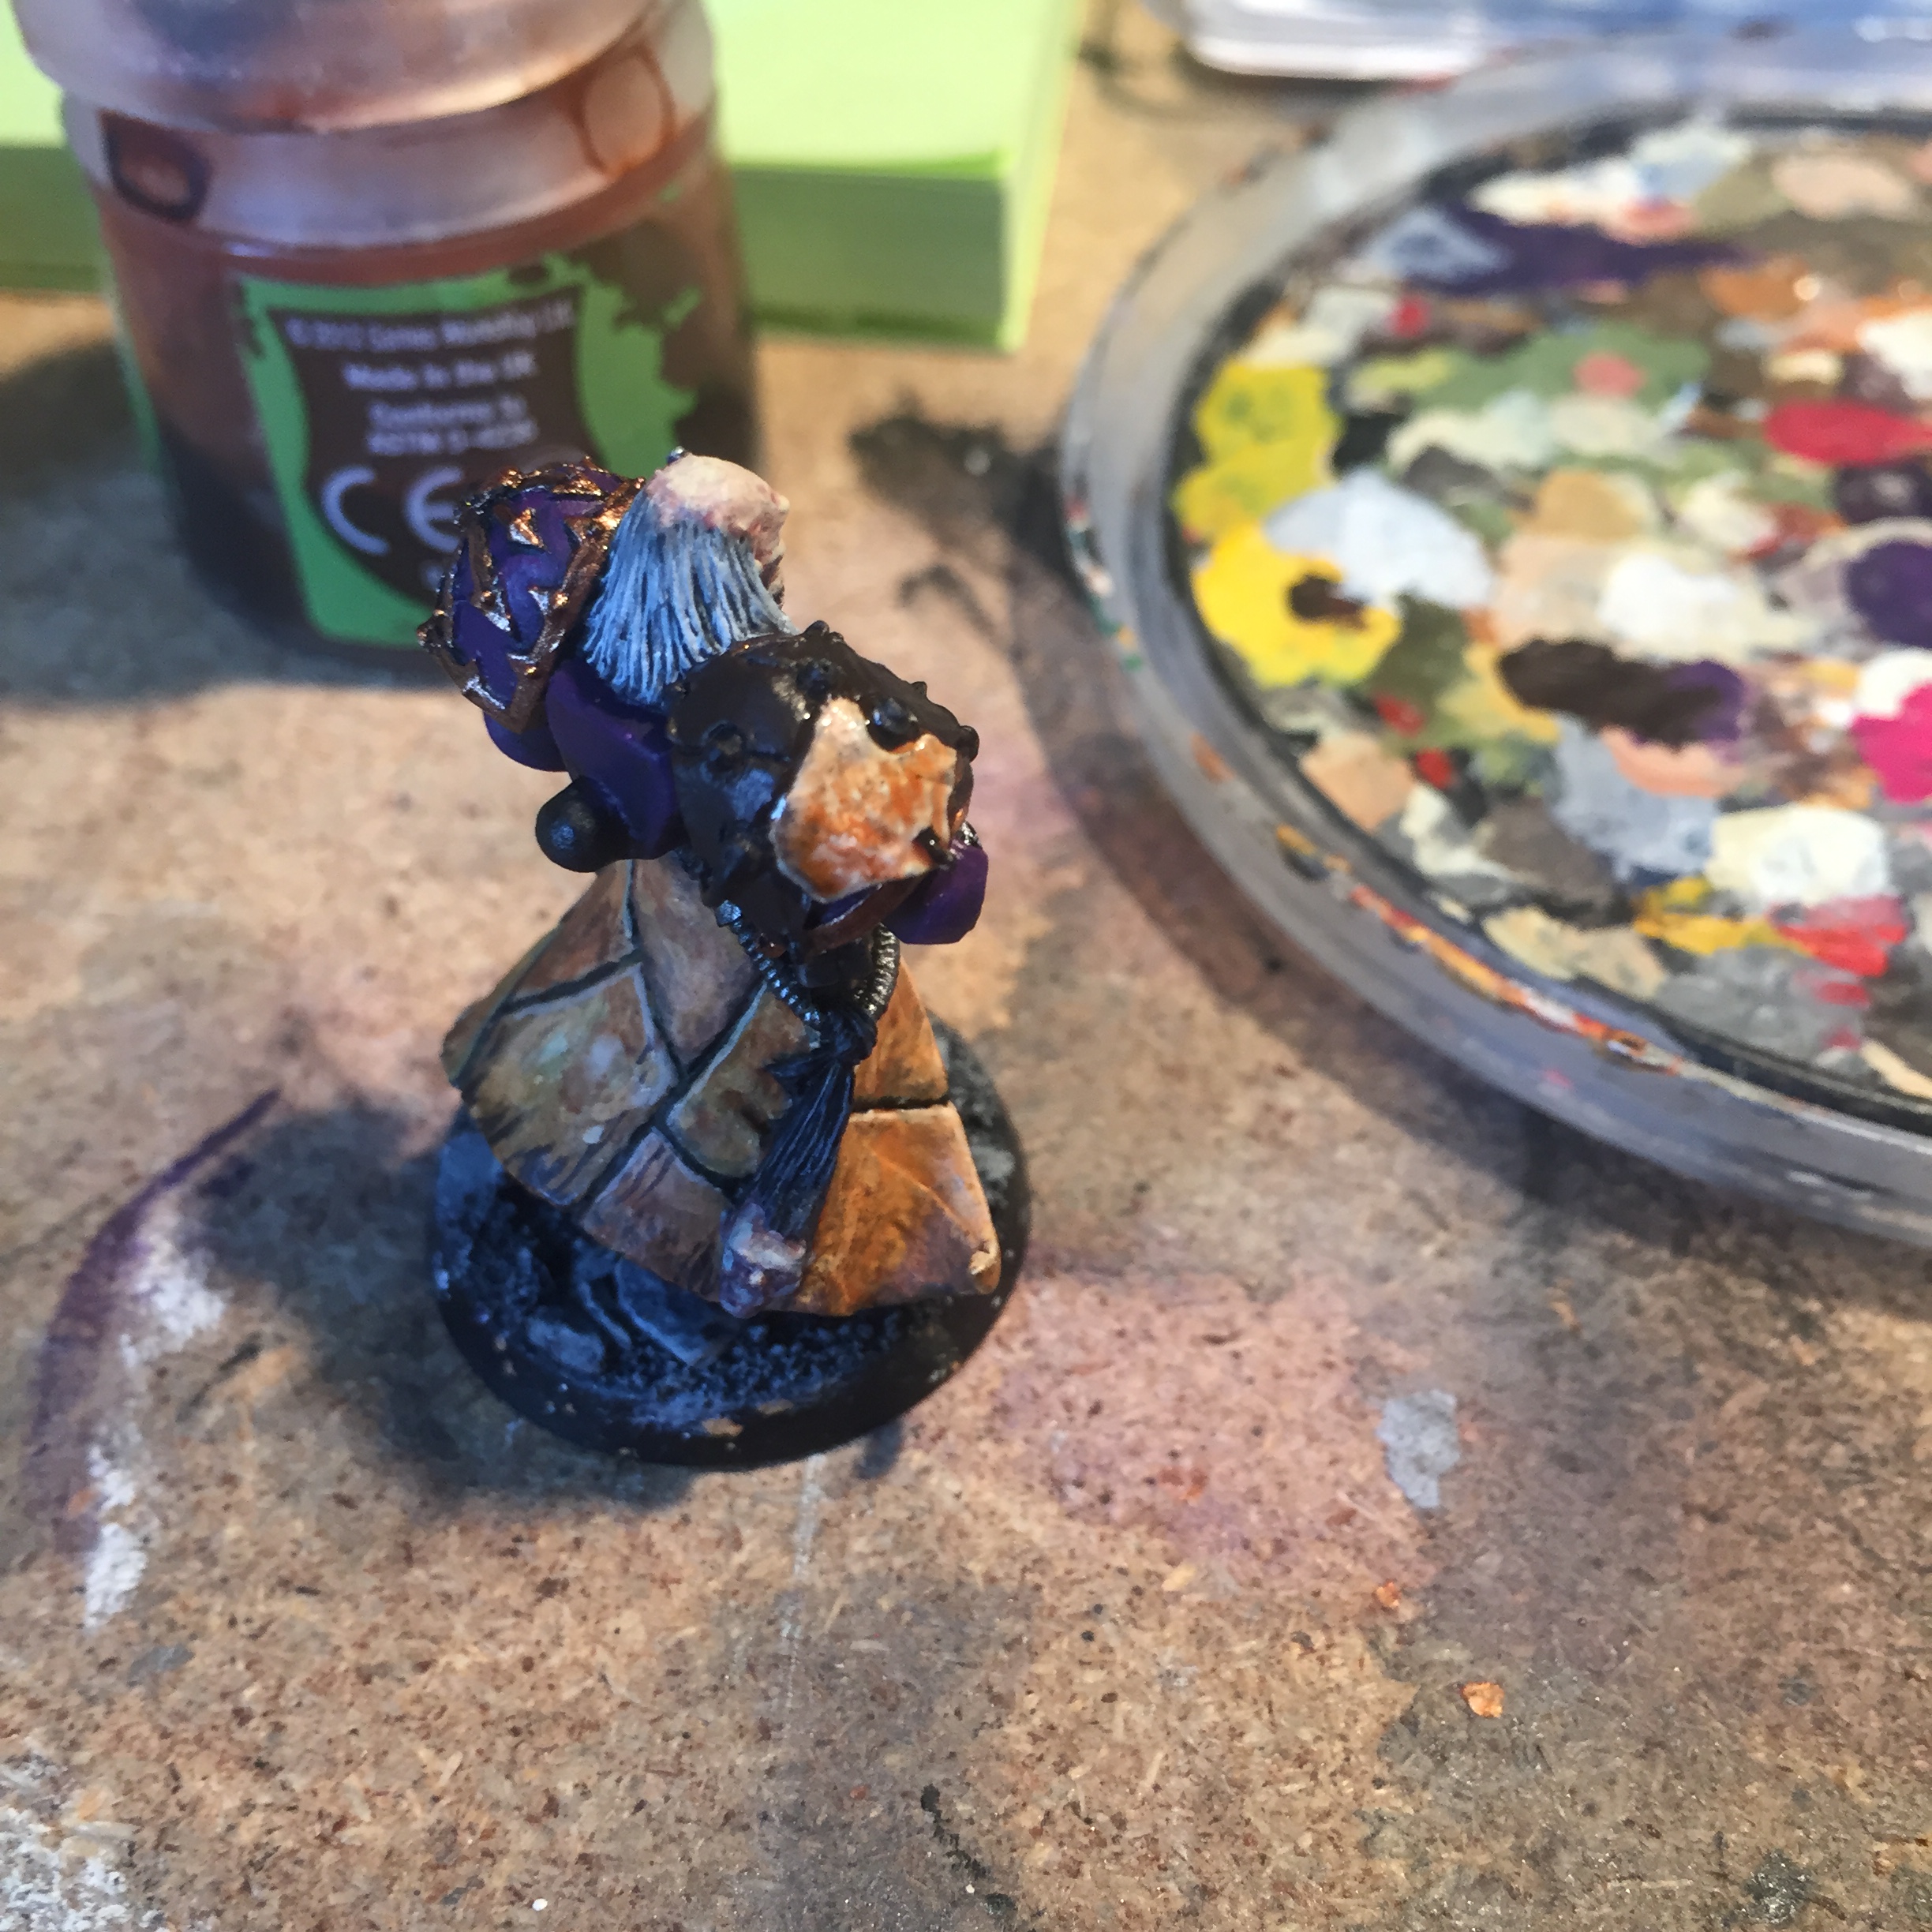
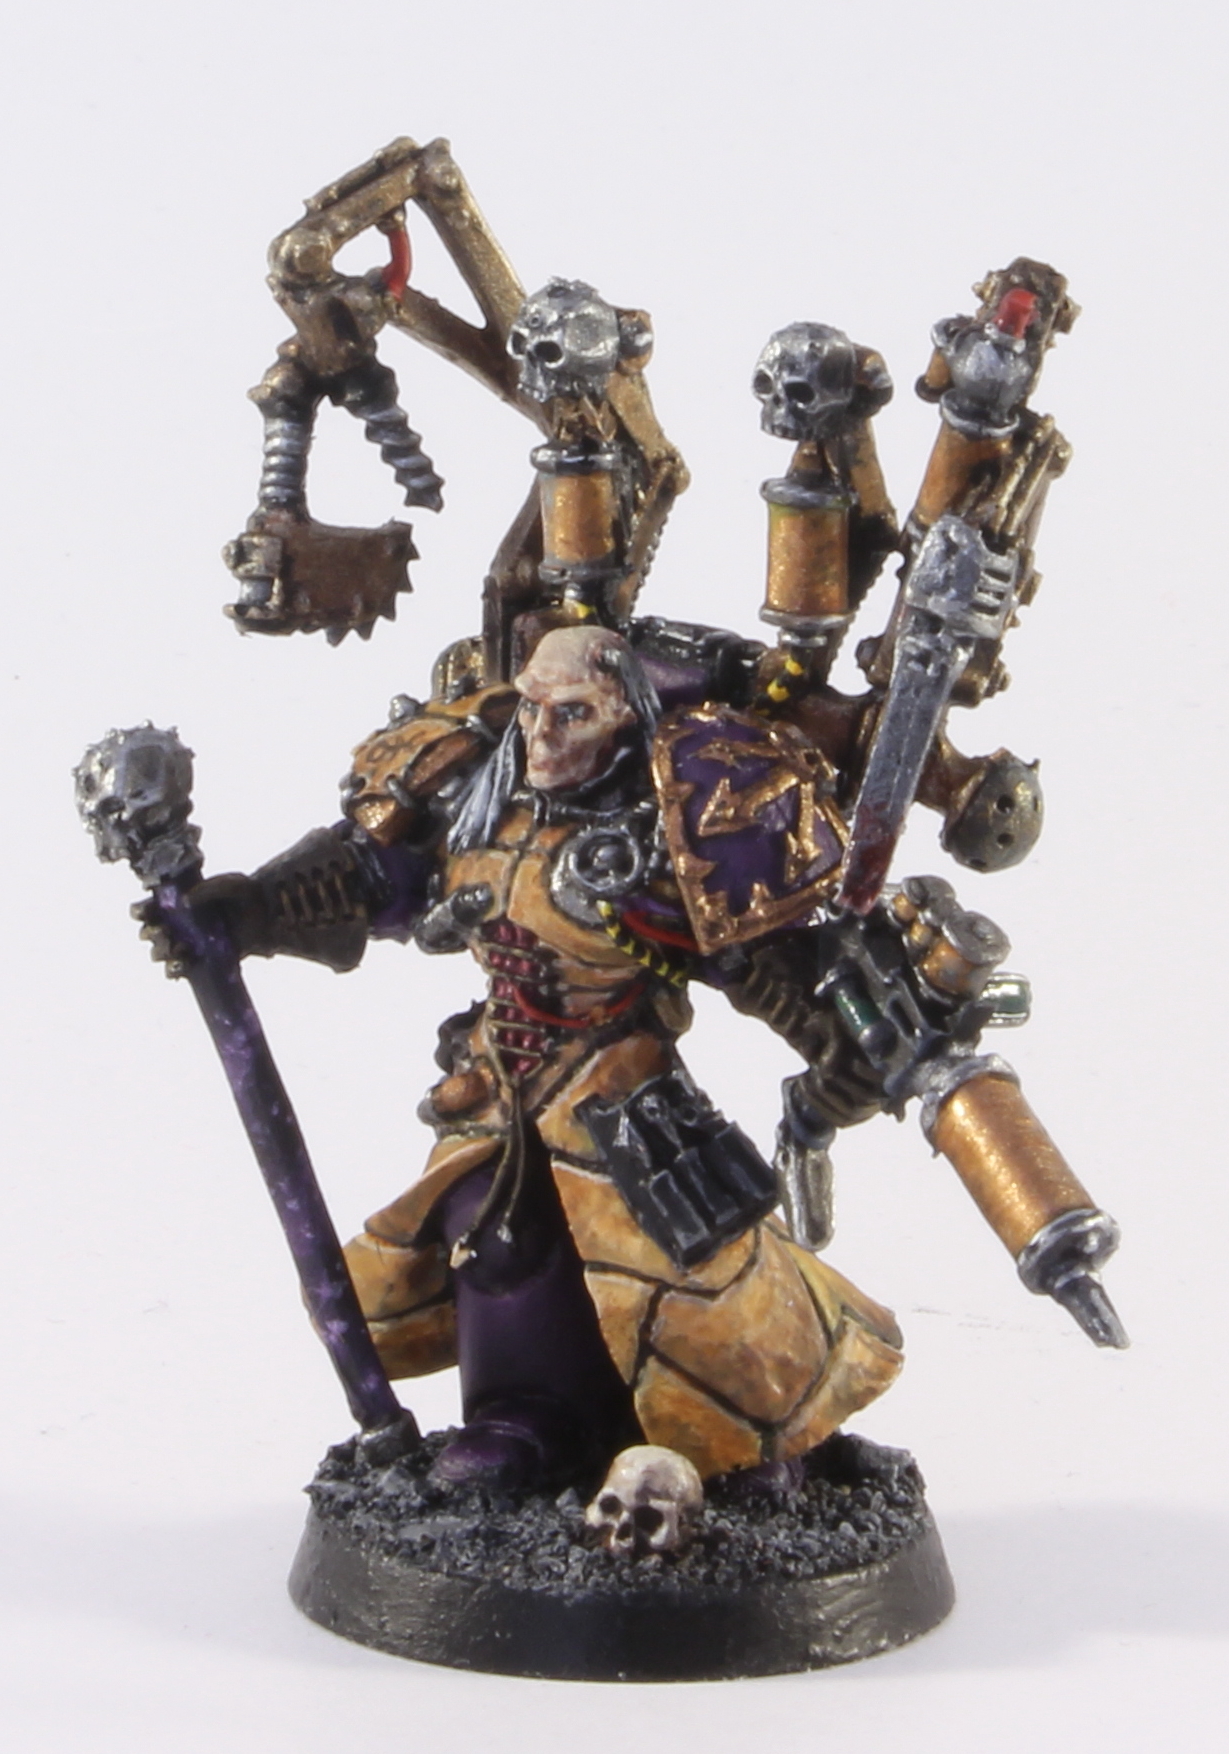
October was a little quieter, but I did get to paint the devil you see above and his heavy metal-inspired shield there, and this might have been the most amount of fun I had with freehand all year. Thank you for everyone on twitter who voted for me to use a Heavy Metal album cover for the shield – I hope you’re happy with my choice of Slayer’s Season’s in the Abyss as the source material. I also started my new job around this time and I’m happy to report that I’m still loving my new gig. Long may that continue.
I also got to complete a project that had been living in my head for years and years, by converting and painting the Stalking Scorpion – track down the full article on this blog for all the details, but it made me very happy.

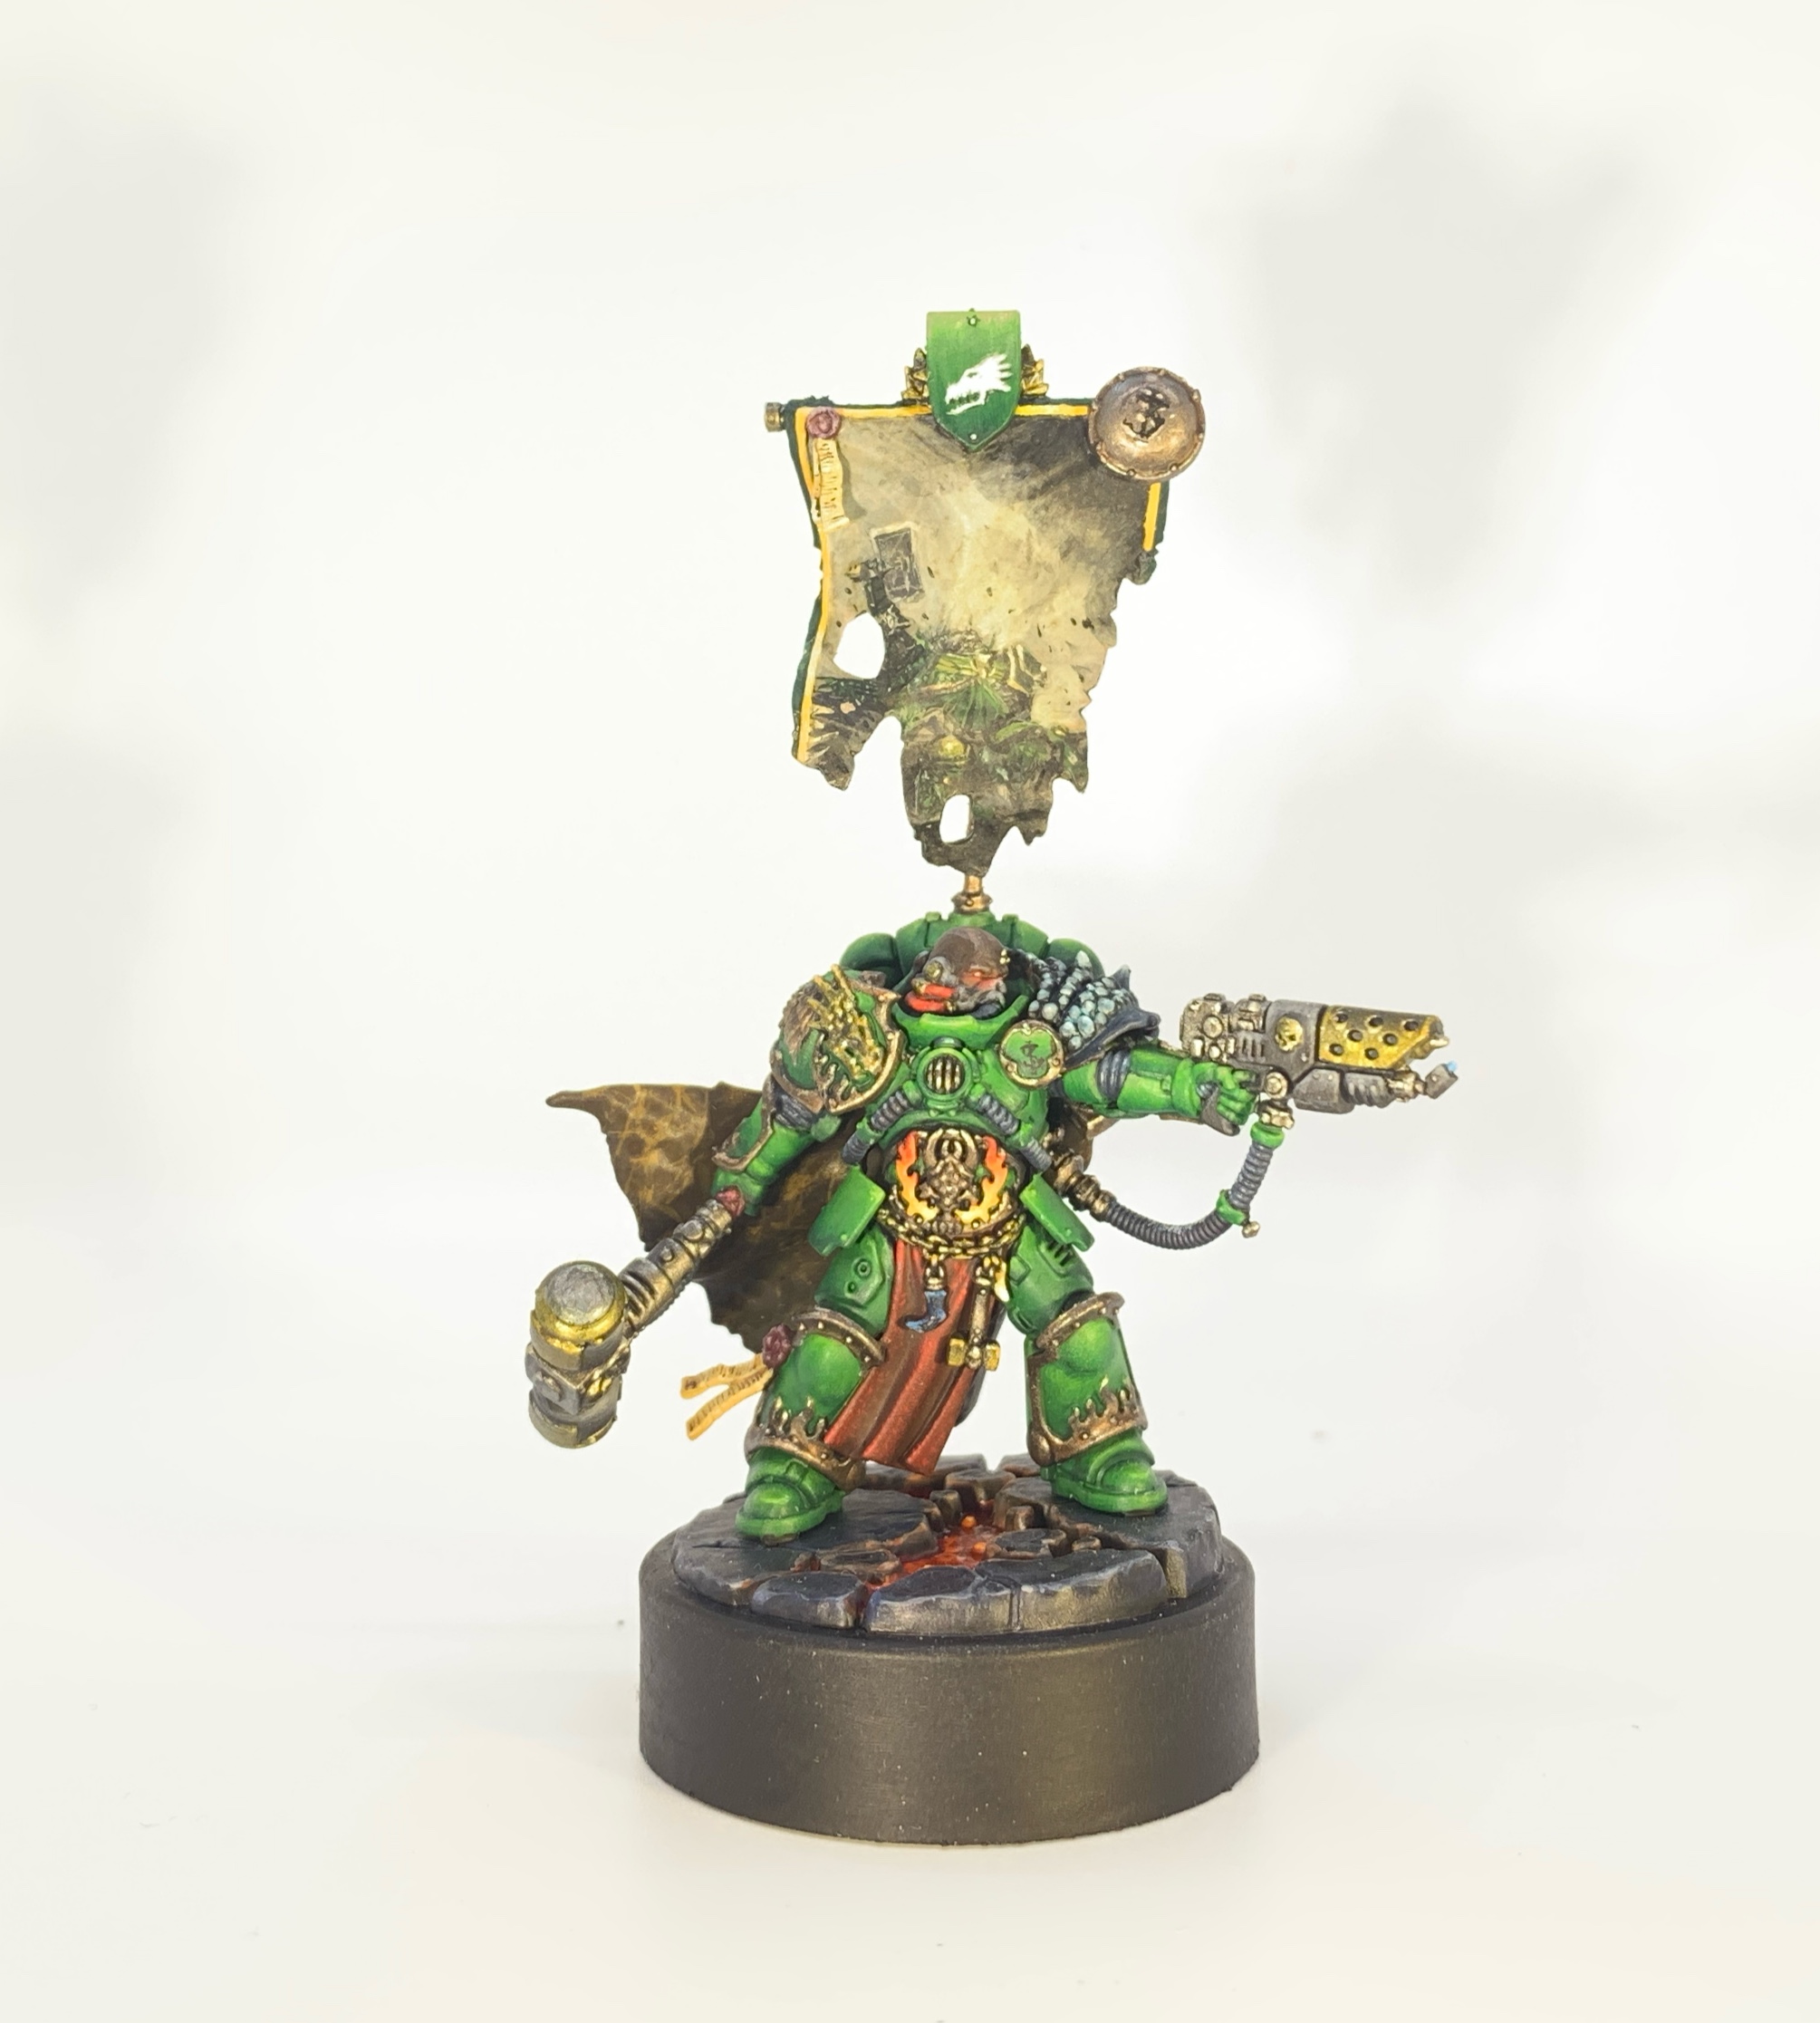
The big star of November was almost certainly High Marshal Helbrecht which featured a bit more freehand, and while I had to rush it out at the end, I’d rather have had another week to work on it. But I had so much to do and I got to post it on the same day that I attended Salute so it was lovely to see all of the positive feedback come in on a tiring, long day.

While there are a lot of floors in the above miniature in terms of how I painted it, there’s nothing that I can’t fix, and I really like how brave I was with some of the choices. I’ve never done OSL that strong, or attempted a banner quite like that. That’s something I want to take into next year – be braver, and take some more chances. A little less time in my comfort zone would do me good, right?

And here we are in December! It’s cold and wet, there’s a new variant of Corona doing the rounds, World War 3 might kick off any moment and here I am still painting! These dragons got done and a handy tutorial to accompany them came out on the blog just a little while ago. Those are likely to be the last things to get finished this side of Christmas given everything that’s going on (as ever, it’s a busy time of year) but I’ll still be painting through to new year, so expect to see more from me before 2022 goes live. As ever, you’ll hear about it here first. I’m hoping I get some time to finish off this guy…

Who Games Workshop were kind enough to send out to me, and I think he’s such a cool mini that I want to do him justice and paint him in a fancier style. That’ll take me some time, and I just want to say if you’re an aspiring painter, the Shadow Throne box offers you a great selection of amazing units and characters to test out schemes and styles on with a lot of variety on offer. But I digress, because I’m also happy to have these guys to work on too:

And while these Vindictors won’t be as fancy as the Custodes chap above, they are the penultimate piece of my Stormcast jigsaw puzzle, and by the new year, I’m hoping to be able to field my Ashen Stars as a 2k point army and get back into AoS (it’s been some years). And speaking of plans for next year…
Heresy & Heroes in 2022
It’s about time for me to be thinking about my hobby plans for next year. As ever, with any plans I make, some of these are bound not to happen or go wrong, and I’ll probably quit the hobby and come back later or something like that. But these are my good intentions that the roads to hell are bound to be pathed with come this time next year. To start with, I want more armies…

First up (and thanks again to twitter for helping me decide the order of this), I am going to embark on a Maggotkin of Nurgle army. I love painting gross and gribbly things, and the new book is the perfect chance for me to dive into this army. I’ve worked out my list and will be sticking to that.
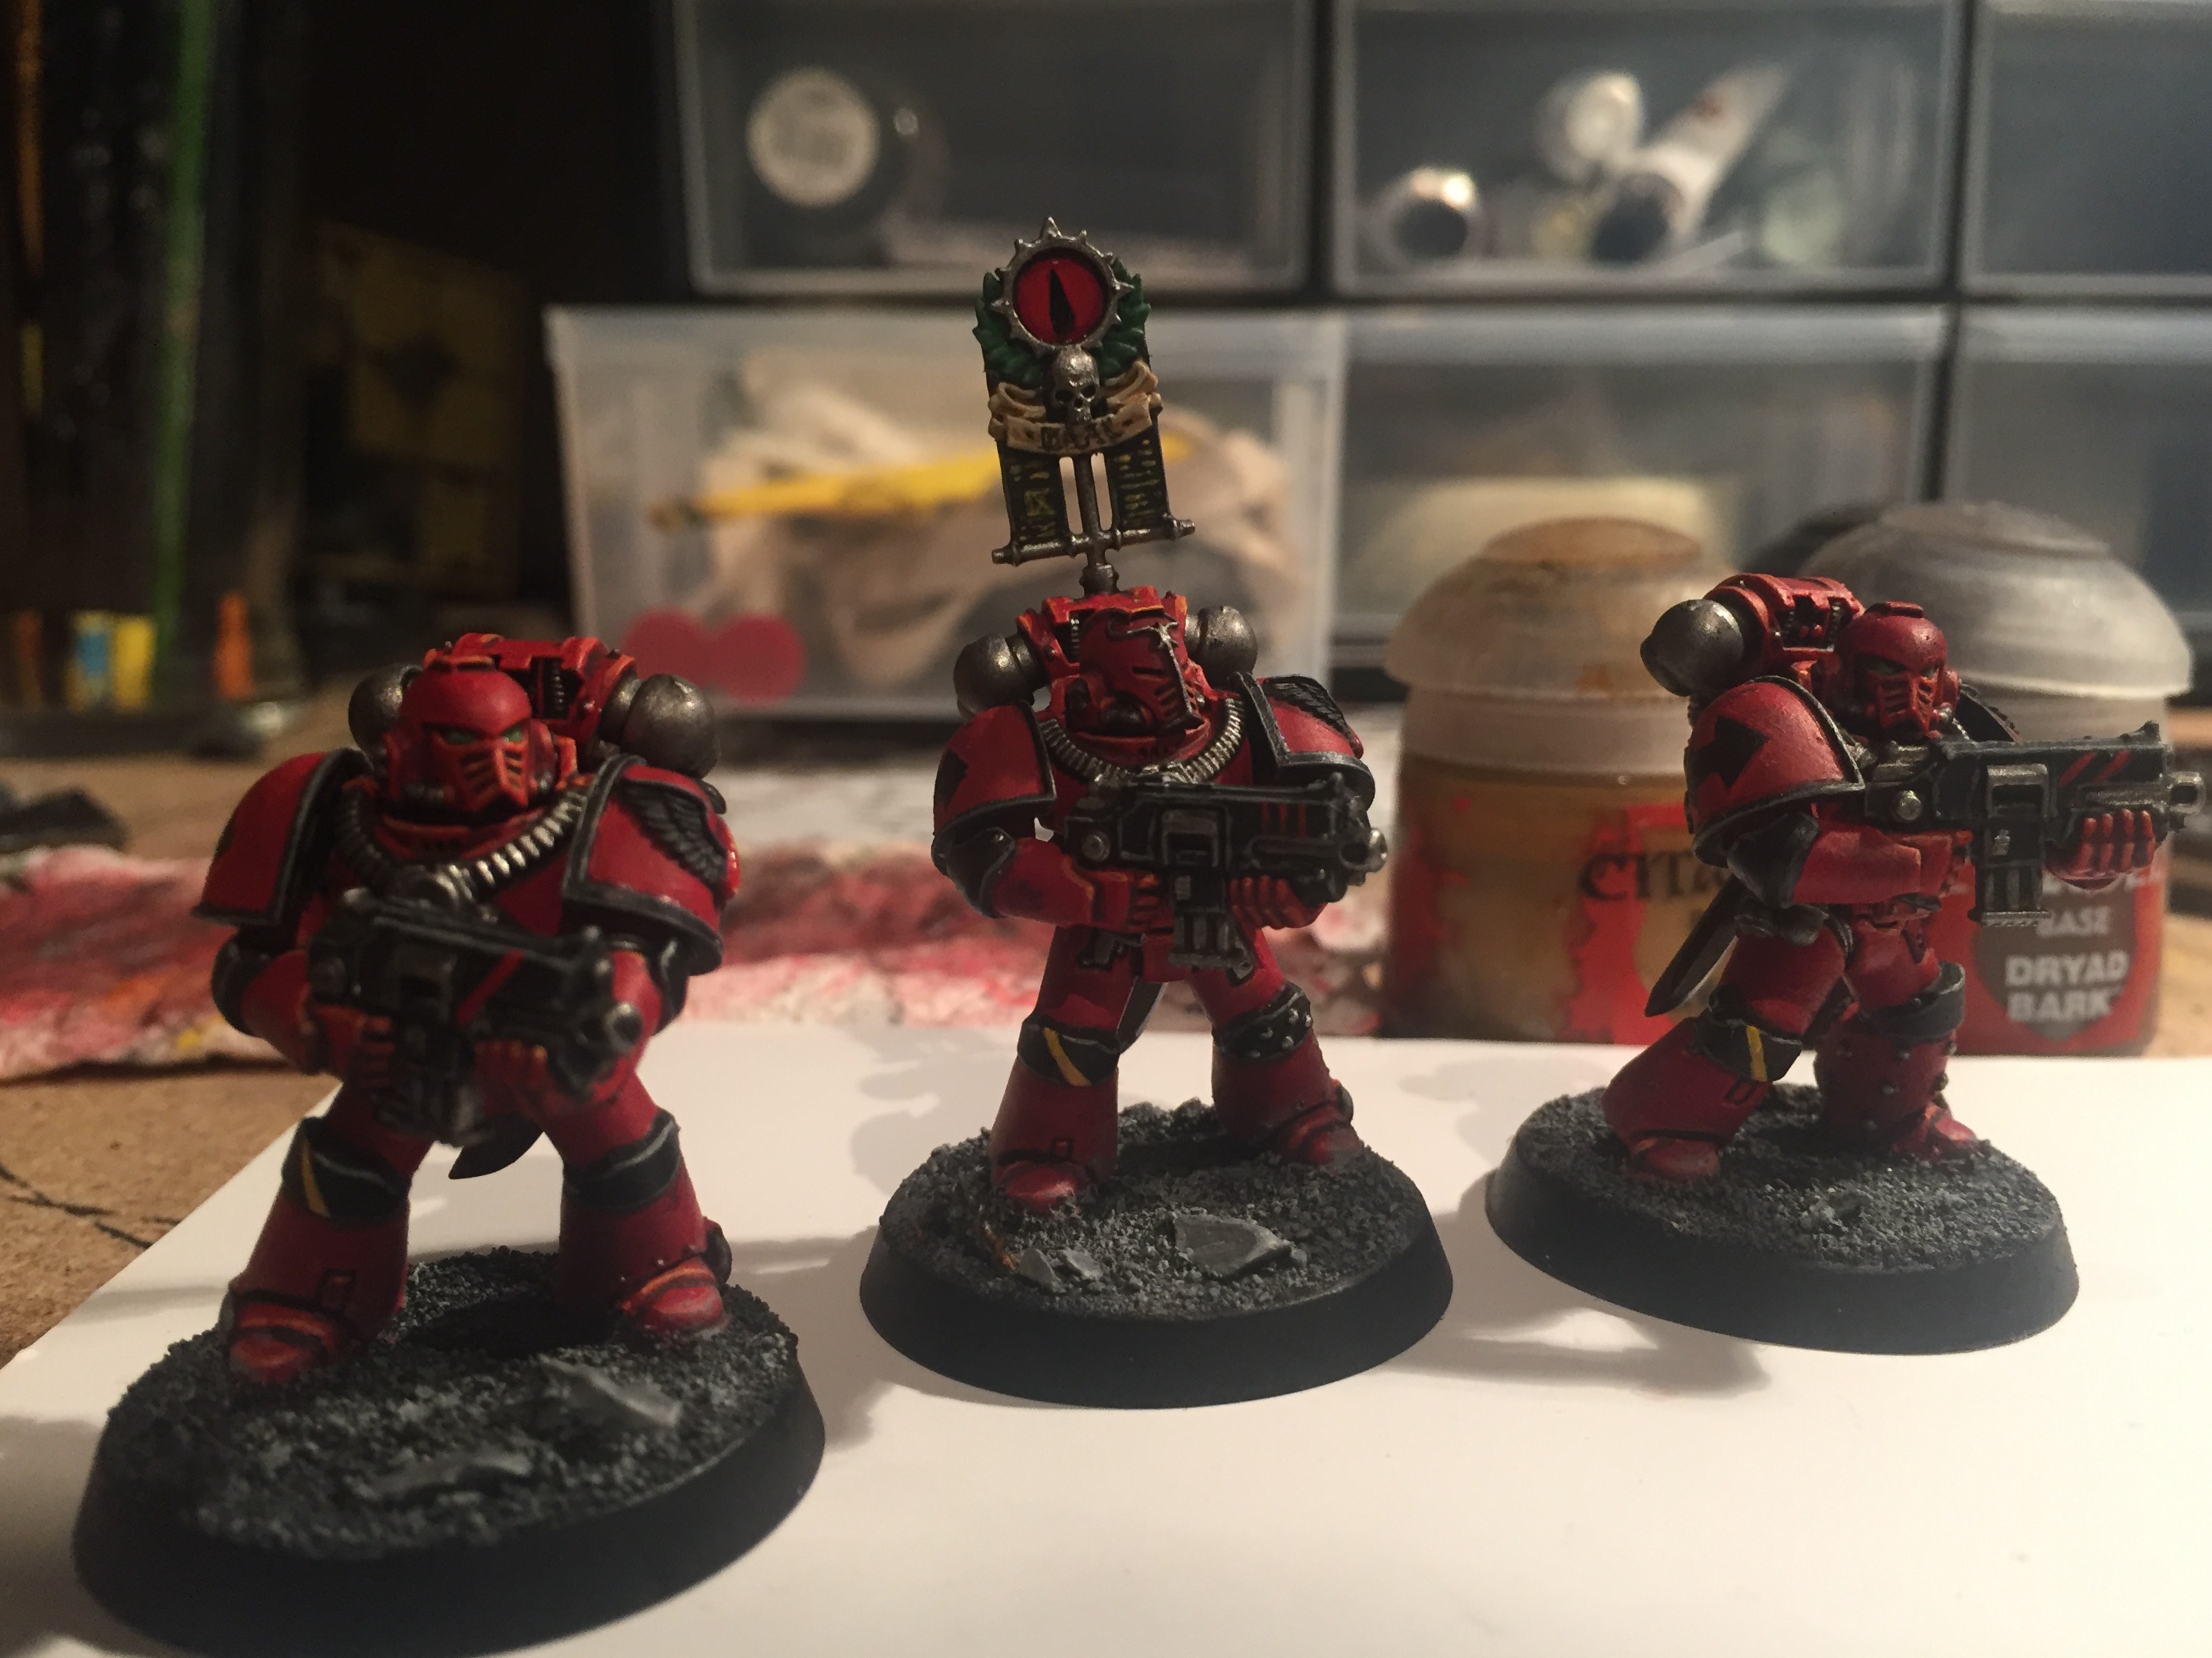
Then, I’m going to paint my first Primaris Blood Angels. Long time readers will know that I love this army, and I now have all the pieces I need to put together a 50 power level list. Well, I actually have plenty more and could probably put together 100 power, but 50 power is a good place to start I think. Now, the crazy part of this plan is that I want to have both of these projects completed in 26 weeks. By the end of June, I should have both to play with if I stick to the complicated spreadsheet that I’ve been working on. Will all of that actually happen and be on time? Who knows!

My quest to do better than a finalist pin at Golden Demon will hopefully continue. It’s great to hear that there’s a US version happening at Adepticon, but I’ll be waiting for a UK one to crop up again and hopefully it won’t be too long before we get word of this. Will it be in May as per? We’ll have to wait and see, I guess. And once those armies above are done, I intend to get to work on my 2023 entries. After speeding through two armies, it will be great to spend months on a single mini again!

I’m almost a bit nervous about putting this one out there, but why not I guess – but just know that I’ve been playing with this idea for a year now and still haven’t done anything with it, so all bets are off. I may *MAY* start a podcast. We shall see. No promises but if I can get my head around it all, and get everything I need together to make it happen, you’ll hear about it here first. If I do do it though, this could be a lot of fun!
And of course, you can expect plenty more of the usual throughout 2022. There will be reviews, analysis, lists, painted minis, reports from events and everything else you have come to expect from this strange little blog of mine. I hope you’ll tune in and enjoy it all, and as ever, I look forward to getting the content out to you. Onwards (to the new year)!


 40kaddict
 4gotowar
 Castigator's Chaos
 convertorum
 darkfuturegaming
 ftgtgaming
 Mind of the Daemon
 taleofpainters
 talkwargaming
 Twisted Brushes
 weemen