
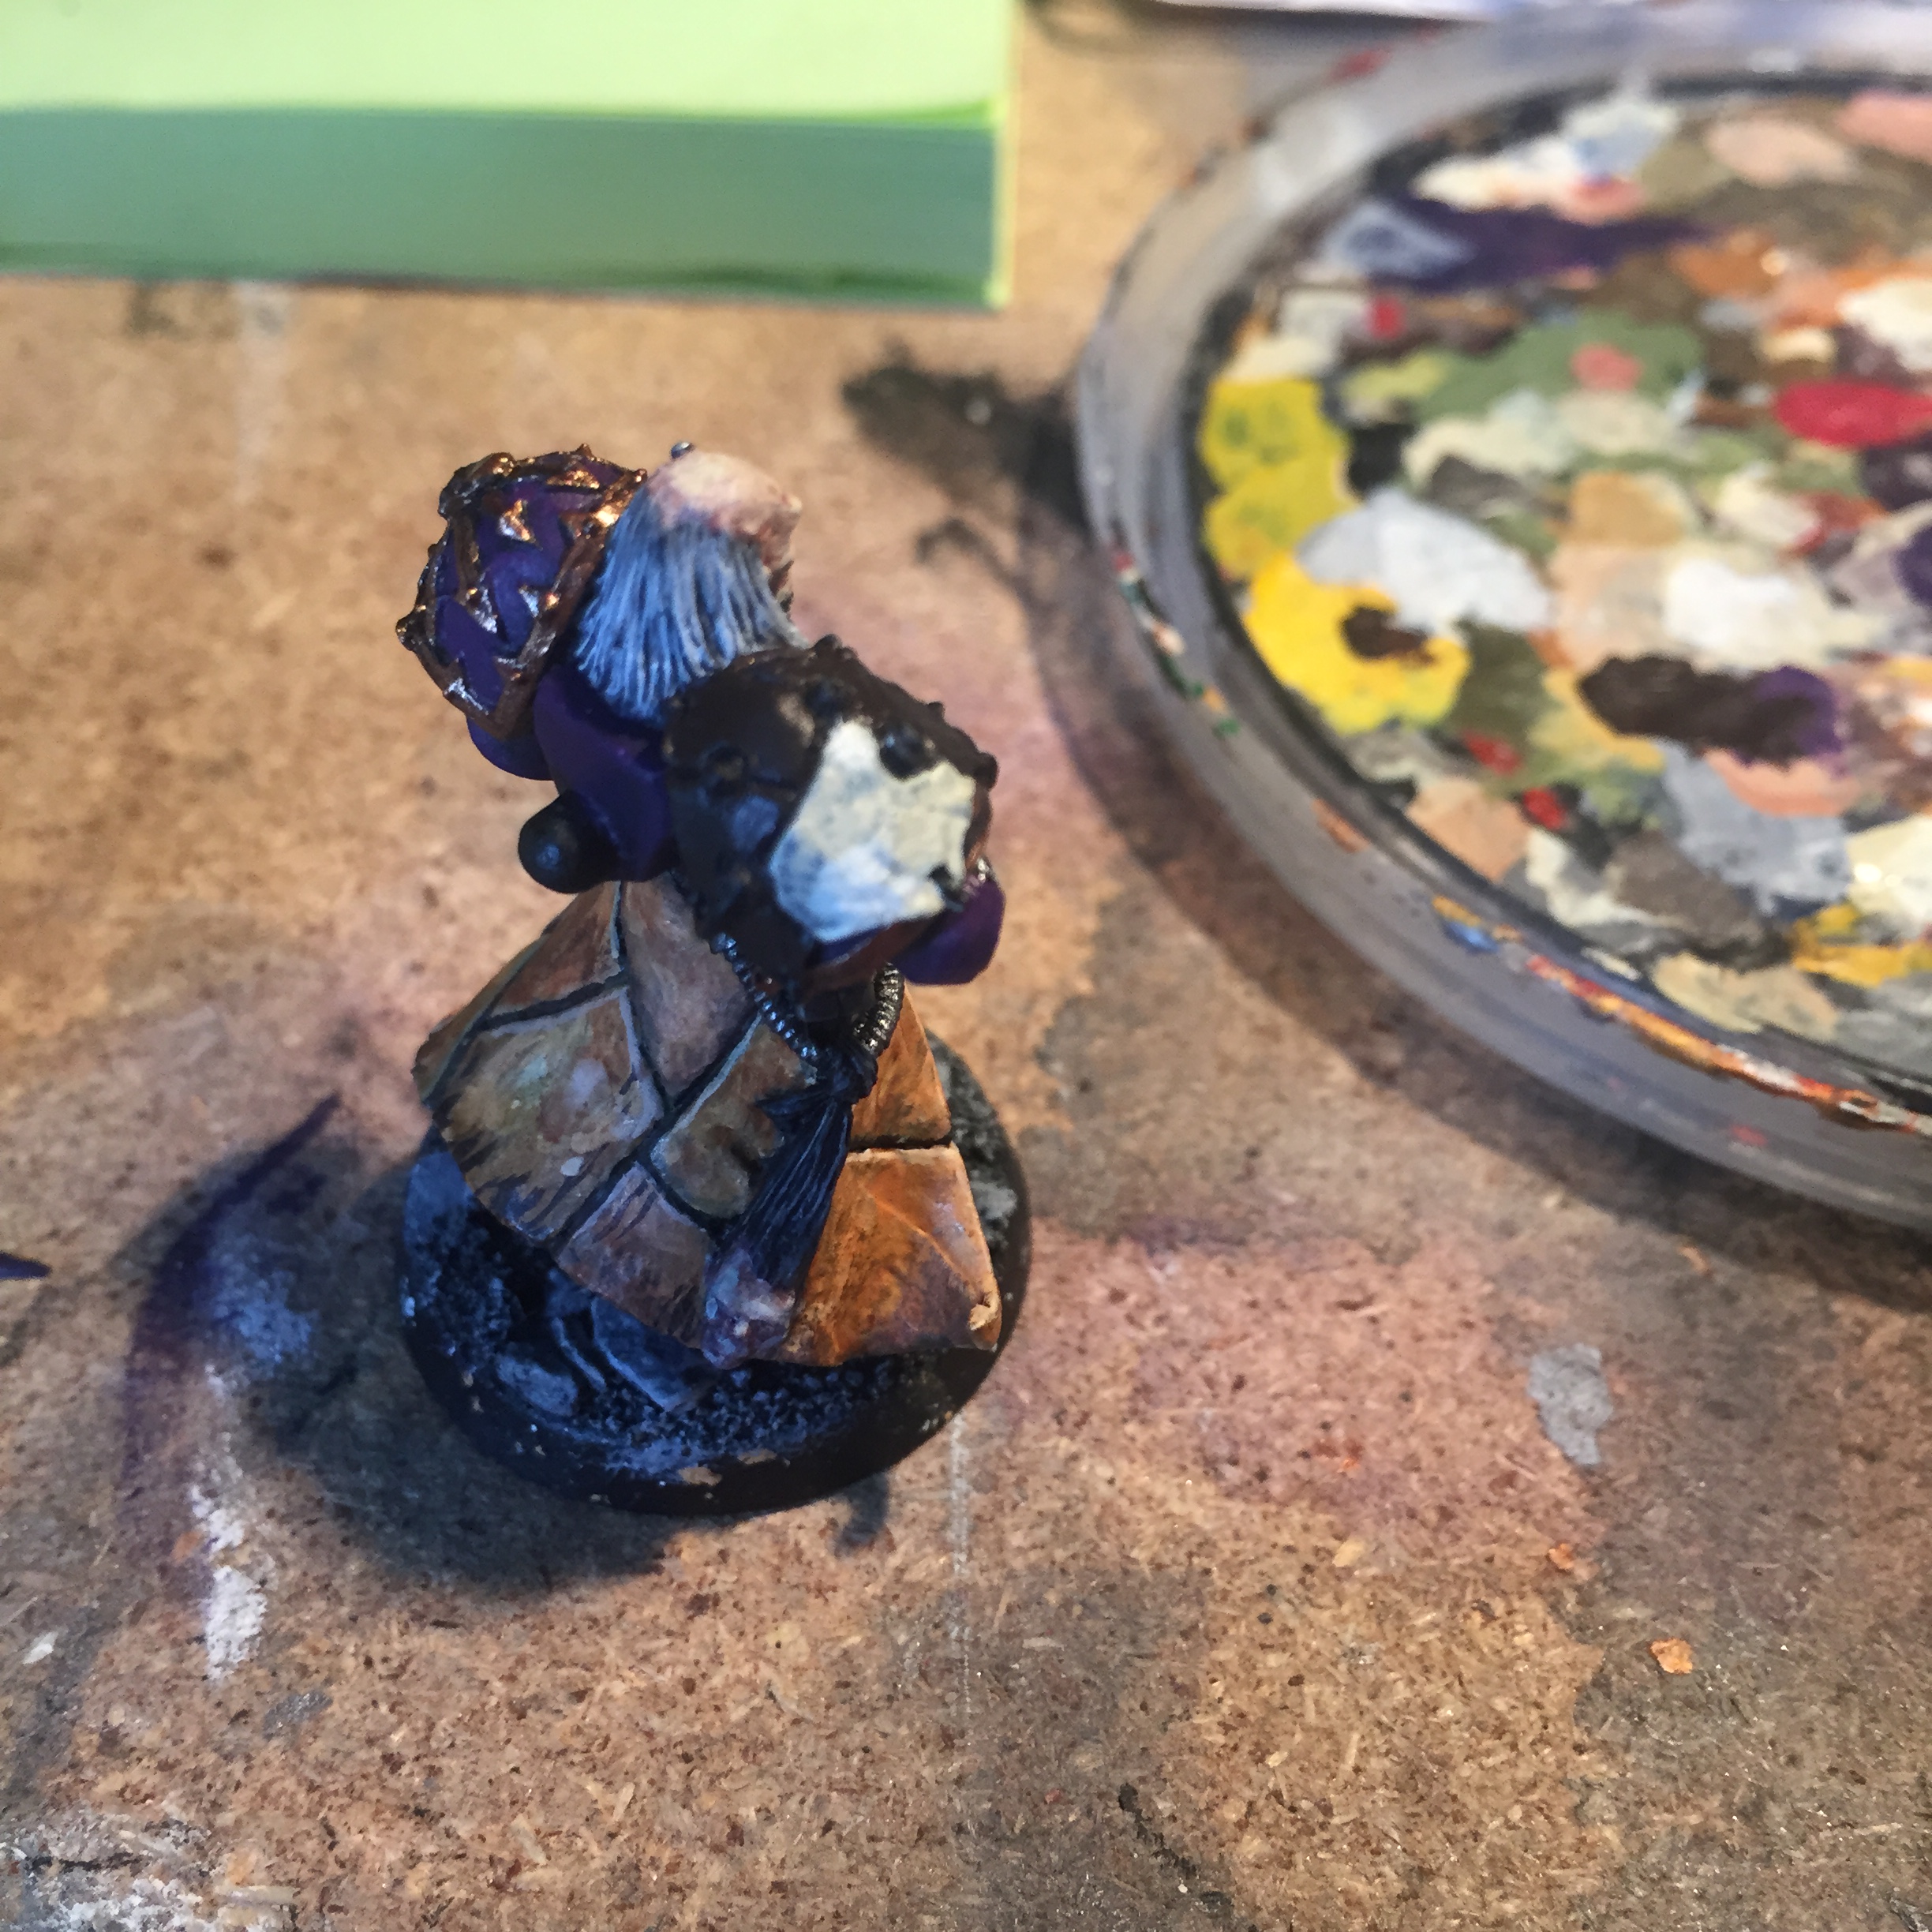
I recently finished my Fabius Bile model (see the last post) and rather than go for a traditional skin tone look that one might use for living flesh, for his delightful dead skin coat, I wanted to make it look like really ancient skin. Human leather, if you will. Charming, isn’t it. After all, Fabius Bile has been flaying people (probably alive) for over 10,000 years, so unless this is a new addition to his wardrobe, it’s probably quite old. Now, these pics were taken with an i-phone, so they’re not exactly top quality, but I can assure you that the finished look of this really works, and I’ll throw in another shot of the completed model at the end so you can see a little better what I mean.
The first thing I did was look for inspiration. I recalled reading a while back that at Harvard University Library, they had made the rather grizzly discovery that some of their books that they had long thought to be bound in leather were actually bound with human skin. Pretty gross, right? Well, as gross as it is, there were a ton of pictures of one of these books online and they provided a good basis for the look I was trying to achieve. Here’s one of those now:
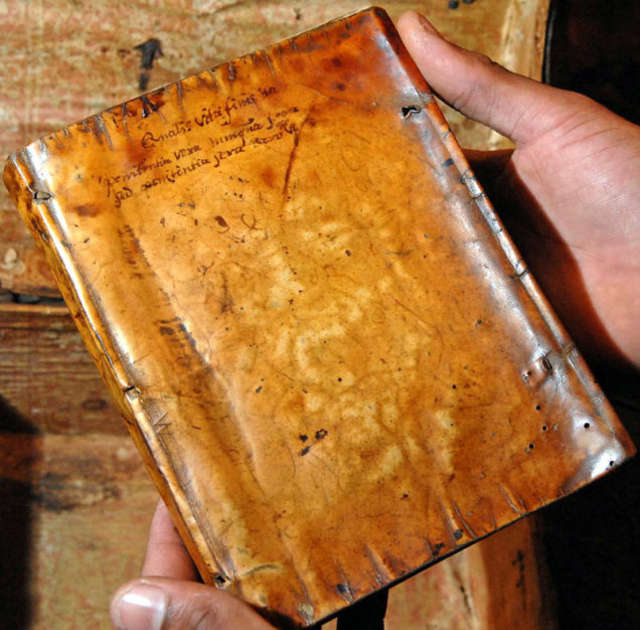
Disregarding for a moment what this thing is actually made of (if you can), it does have a really cool look to it from the perspective of someone interested in colours. That yellowing, going into really rich browns from almost bone-coloured flecks… it would be beautiful if it wasn’t slightly upsetting. I decided to use this as a jumping off point – not something I was going to try and copy, but something that would provide me with the palette of colours that I would work from. So here’s my step by step guide to painting ancient dead skin.
1. Prime – Rhinox Hide

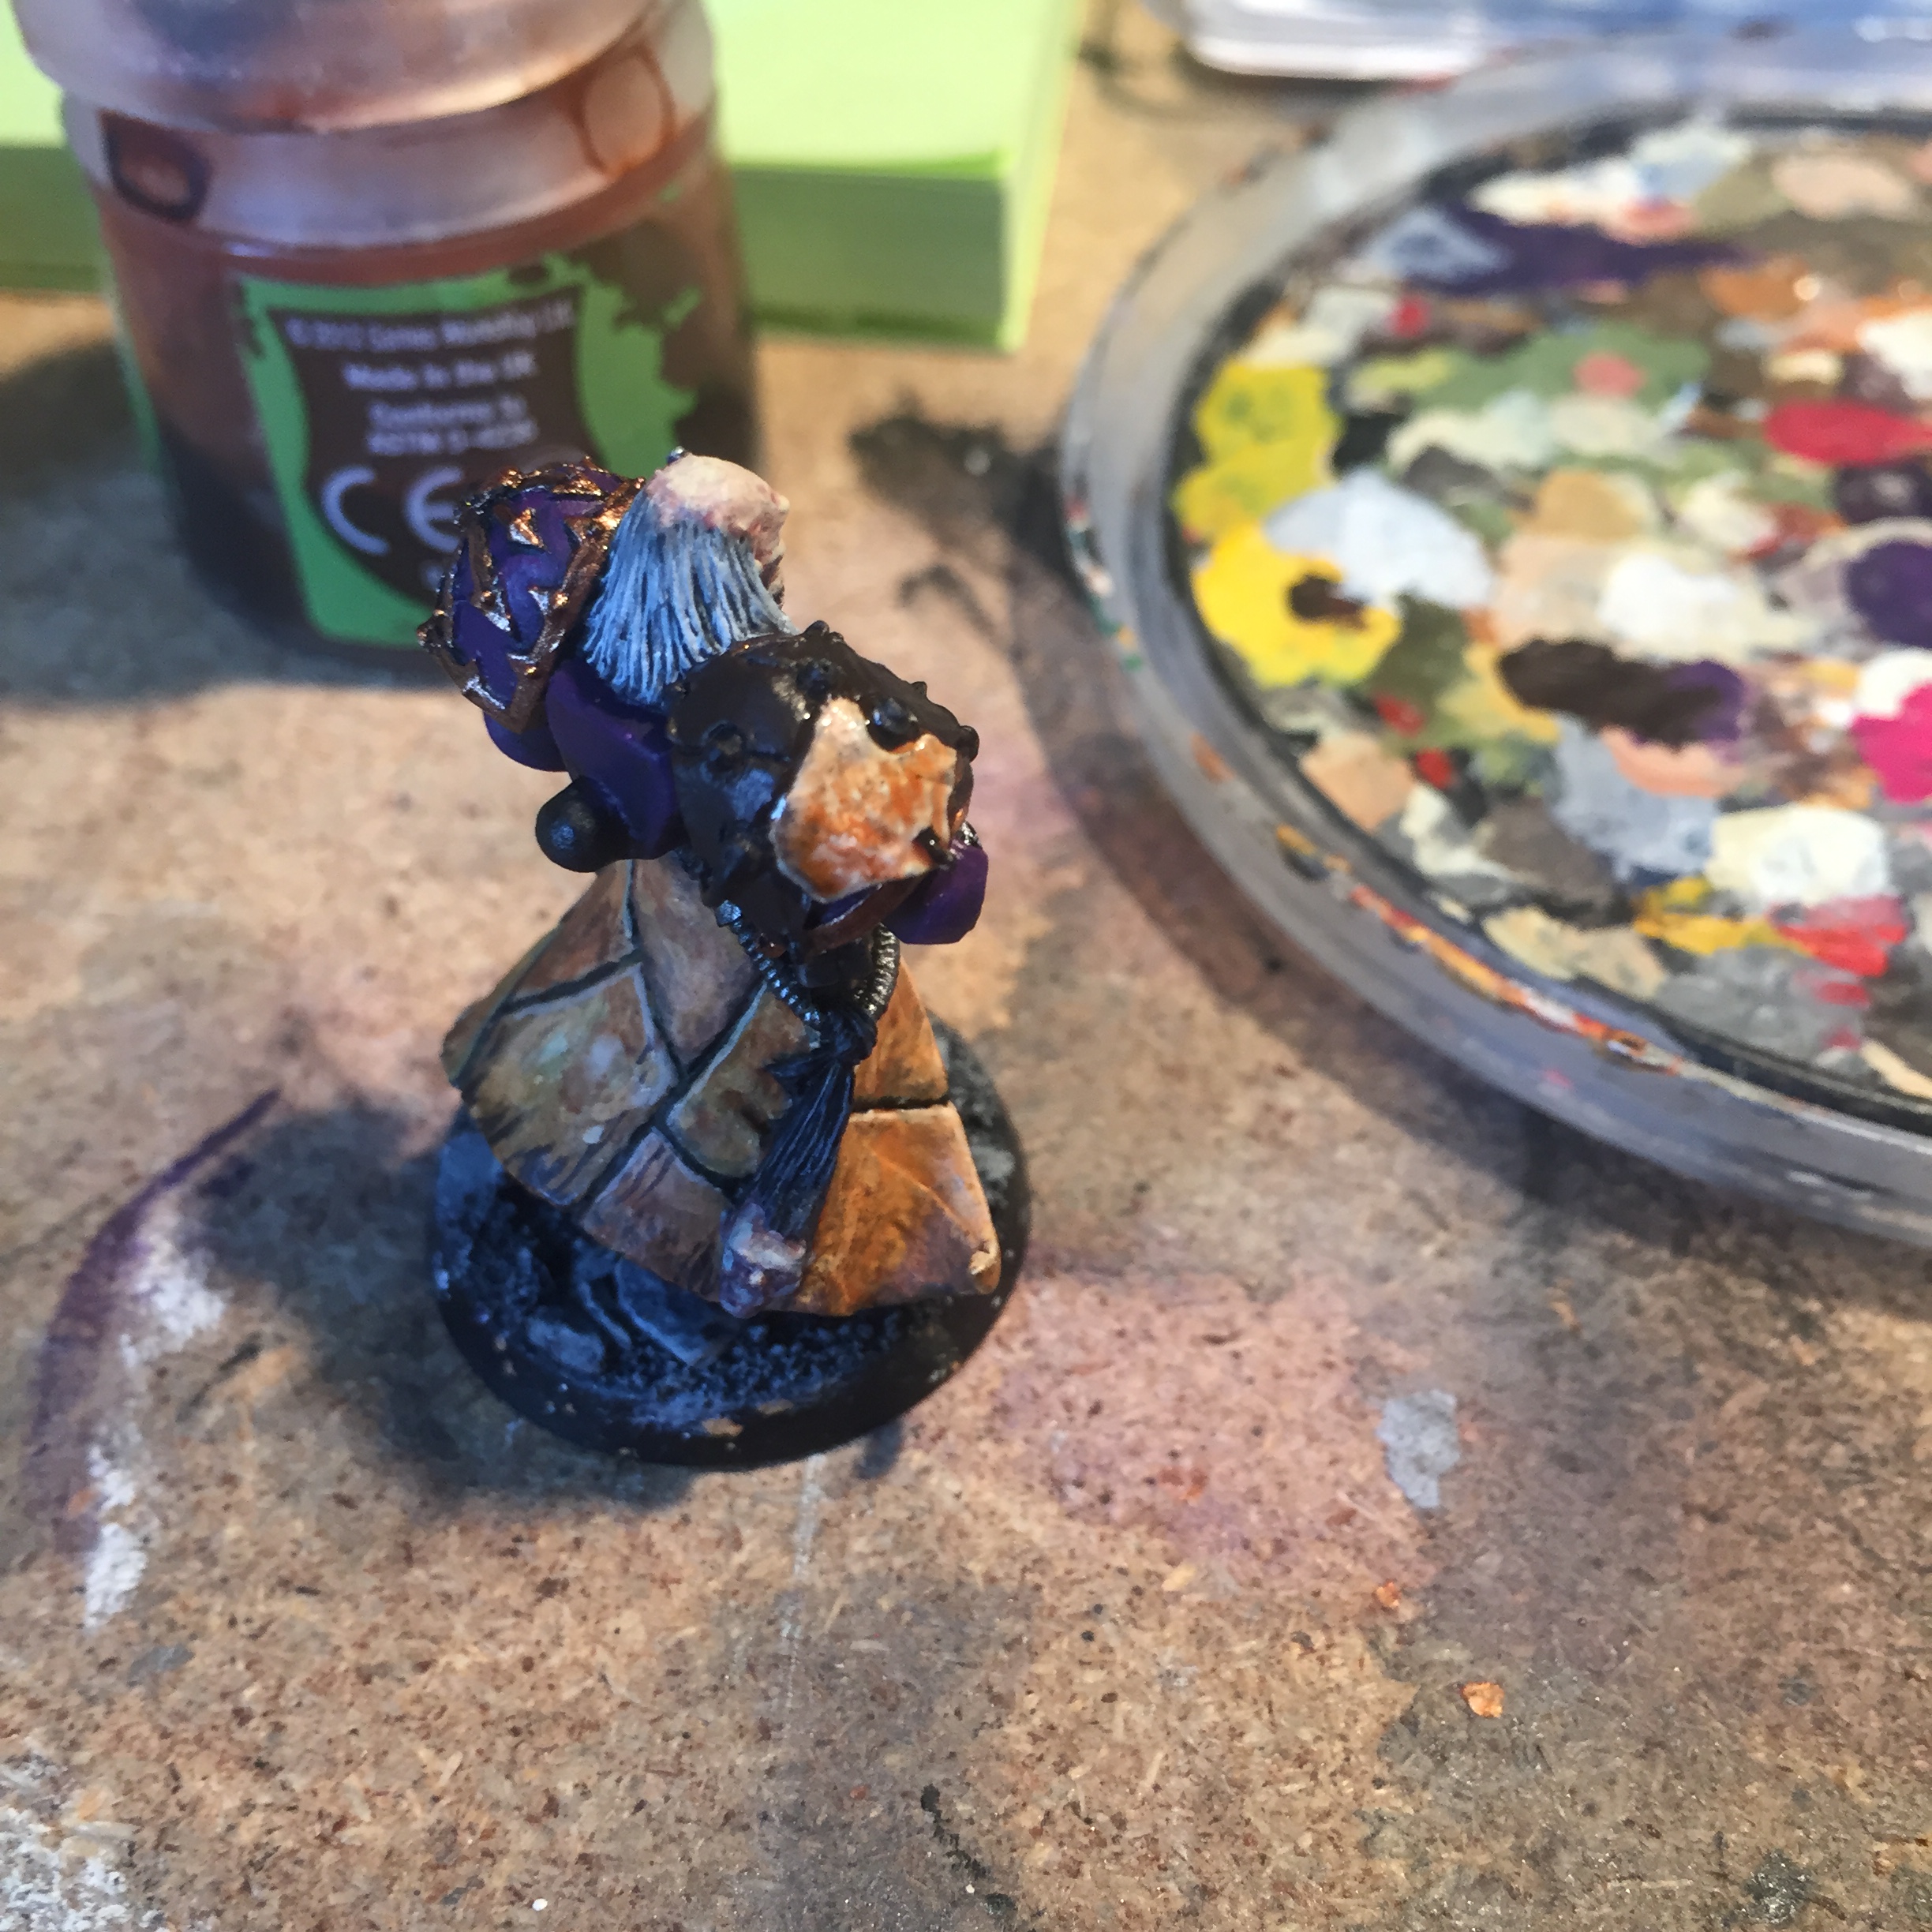
I’m working on the shoulder pad here (as you can see the coat had been done at this point). I typically undercoat black but I then primed the skin patches with a thin coat of Rhinox Hide. Make sure you get right into the cracks – you don’t really want any black coming through here.
2. Base – Choose Your Weapon!
Now, if each different patch has come from a different person, each should be a little different, right? So I picked out four different colours to use as the base across the different patches. In my case I used Screaming Skull (shown here), Kislev Flesh, Cadian Fleshtone and Ungor Flesh. Pick the one you’re going to use and, after watering down just a tad, apply it to the patch at hand. Then, mix that colour with a bit of White Scar and dab a couple of spots of this onto that same patch. Don’t go into the cracks though – you want to keep these dark. It’s good for contrast and, when you look at some mummified skin, the darker pigments are always in the recesses (again, charming).
3. Detail – Choose Another Weapon!

You now want to give it a few spots/scratches with a darker colour. I typically used XV-88 or Deathclaw Brown but you can go all the way back to Rhinox Hide if you’d prefer. I didn’t do this on every patch either – helps to keep things different. Now, put a little of this on an old brush (something a bit gnarly that has long since lost its point) and then take most of it off again. Dab very gently, and not all over. Think of it like a little rash.
4. Washing – Reikland Fleshshade/Fuegan Orange
Apply the flesh wash to the lower part of the patch, and the orange shade to the upper part (presuming that your light source is above). Don’t worry about them mingling a bit – that’s actually preferred. Don’t slather the patch, but apply enough to allow it to pool just a little in the recesses.
5. And Repeat…

Before we go on to the final step, do this again over all the patches on the area you’re working on. It’s quite easy to patch process all of this so it’s a good time saver. It also means there’s less waste in the next step!
6. Glaze – Averland Sunset/Lahmian Medium
Now, you could, I suppose, use Casandora Yellow glaze, but I find this a little too orangey for this, so I’d suggest making your own glaze by adding a good amount of Lahmian Medium to a small splodge of Averland Sunset. A little yellow will make a fair amount of the glaze, as you need to use a good bit of the medium to get it looking like this:
Apply across the area, covering all patches (and let it go into the cracks too, though don’t let it pool) and leave it to dry. It should now look like this:

7. Highlights – Mixing Time!
I tried initially to do the highlights earlier in the process but they all got covered with everything else and didn’t really work, so I then started to do it at the end. You want to create a light flesh shade – think Kislev Flesh mixed with Screaming Skull. Muddy it up with some Reikland Fleshshade and then add in some of that yellow glaze you just made. Basically, if it looks like a good highlight colour for what you’re highlighting, then you got it right. Take a fine detail brush and apply it to the upper (again presuming that your light source is above) edges of the patches and the upper parts of any vertical edges. Also, it looks like I forgot to take a photo of this step but you can see it in the below pic so, yeah.
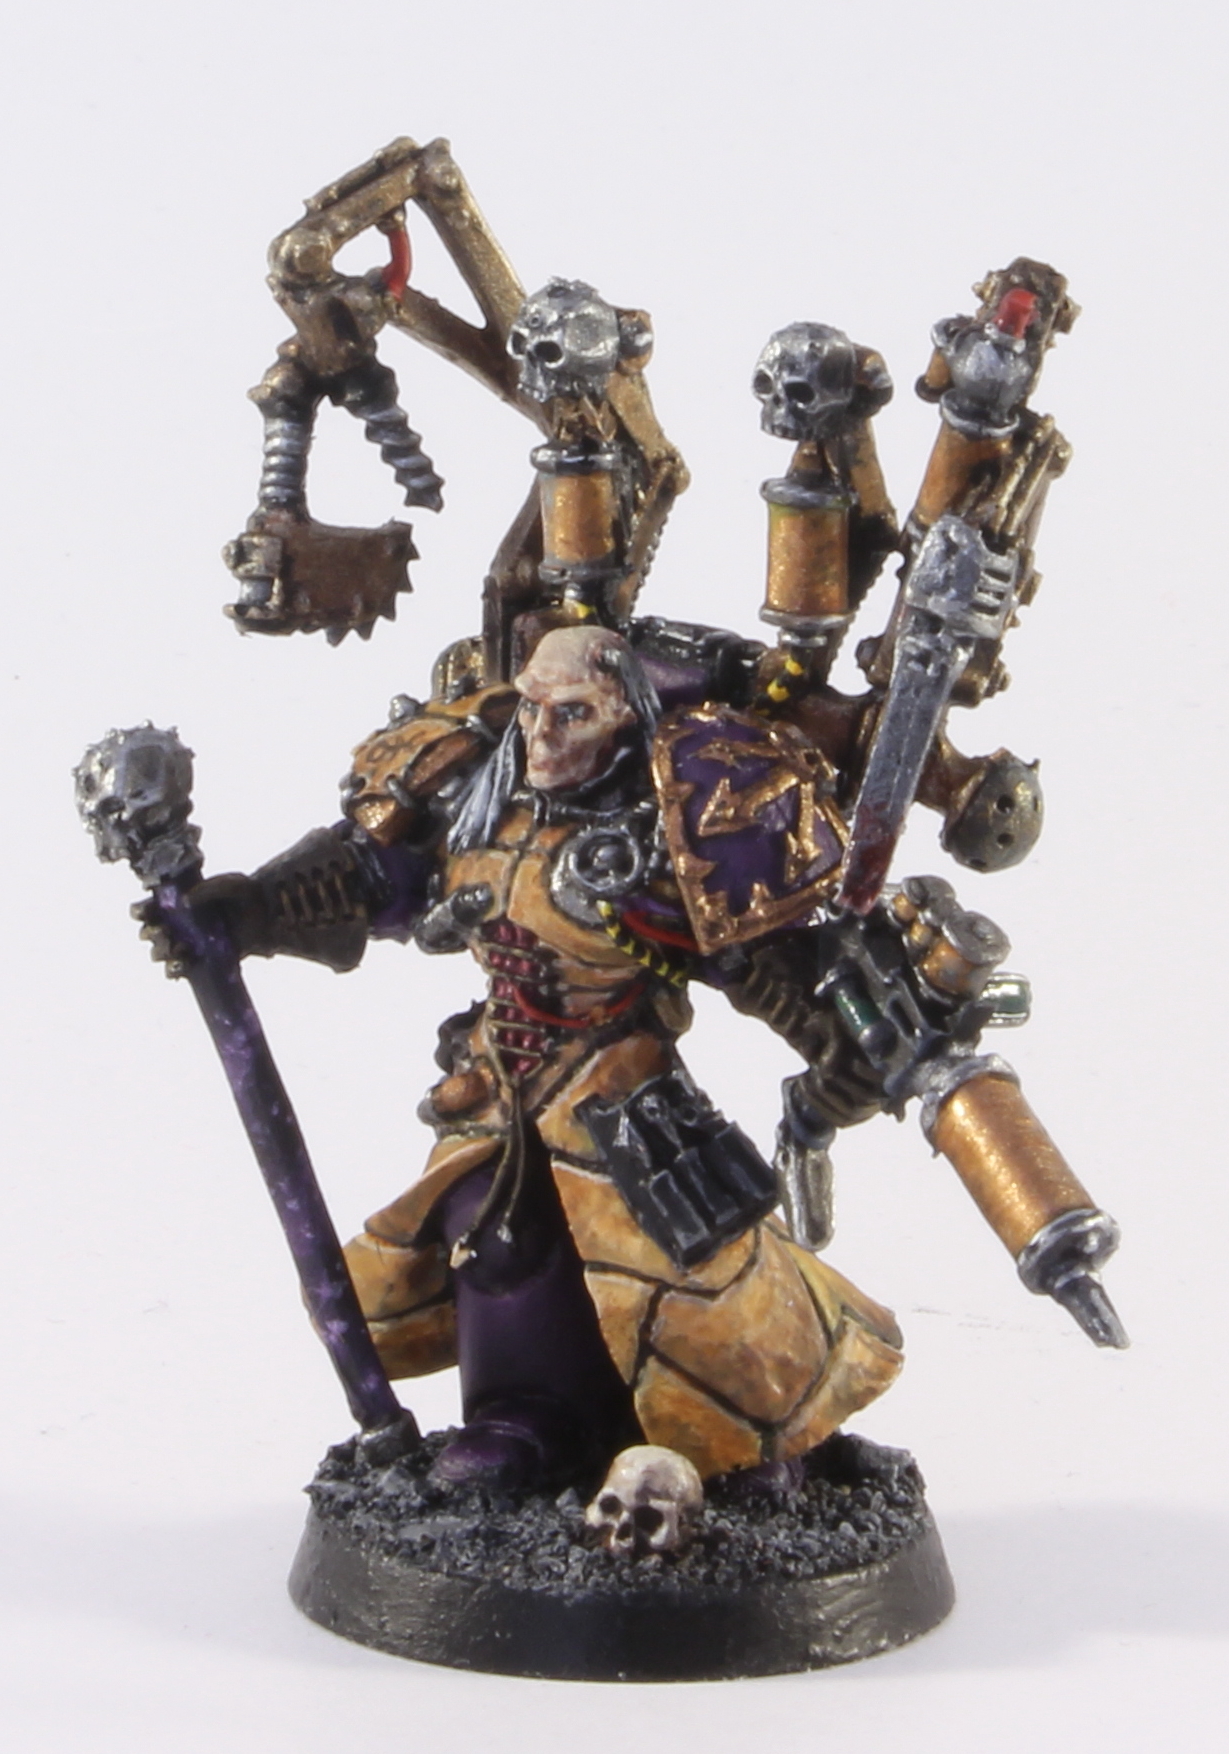
And you’re done! Here’s Fabius in all of his glory again. If you were really brave you could consider adding tattoos (I’d do that before you add the washes with something like Dark Reaper – I only tried it once with his Slaanesh symbol on his shoulder there) but essentially, that’s it. Perhaps, in retrospect, I might have gone a little lighter to get it more like the book above, but ultimately I’m satisfied with the end result and would quite like to use this again. Onwards!
Was this useful? Would you have done anything differently? Stick your comments and ideas below. Cheers!
 40kaddict
 4gotowar
 Castigator's Chaos
 convertorum
 darkfuturegaming
 ftgtgaming
 Mind of the Daemon
 taleofpainters
 talkwargaming
 Twisted Brushes
 weemen