

Some of you have asked me how I paint the bone on my Mortifactors Space Marines and, as a friday treat, I’ve decided to walk you through it. Using one of the Vanguard Vets that I’m currently working on, I’m going to take you through how I create the warm bone look with all the cracks and chips that have appeared on my models. It’s not a quick process and there are probably better ways of doing it out there, but this is the way I do it, for better or for worse. Let’s dive in.
1. Undercoat it black
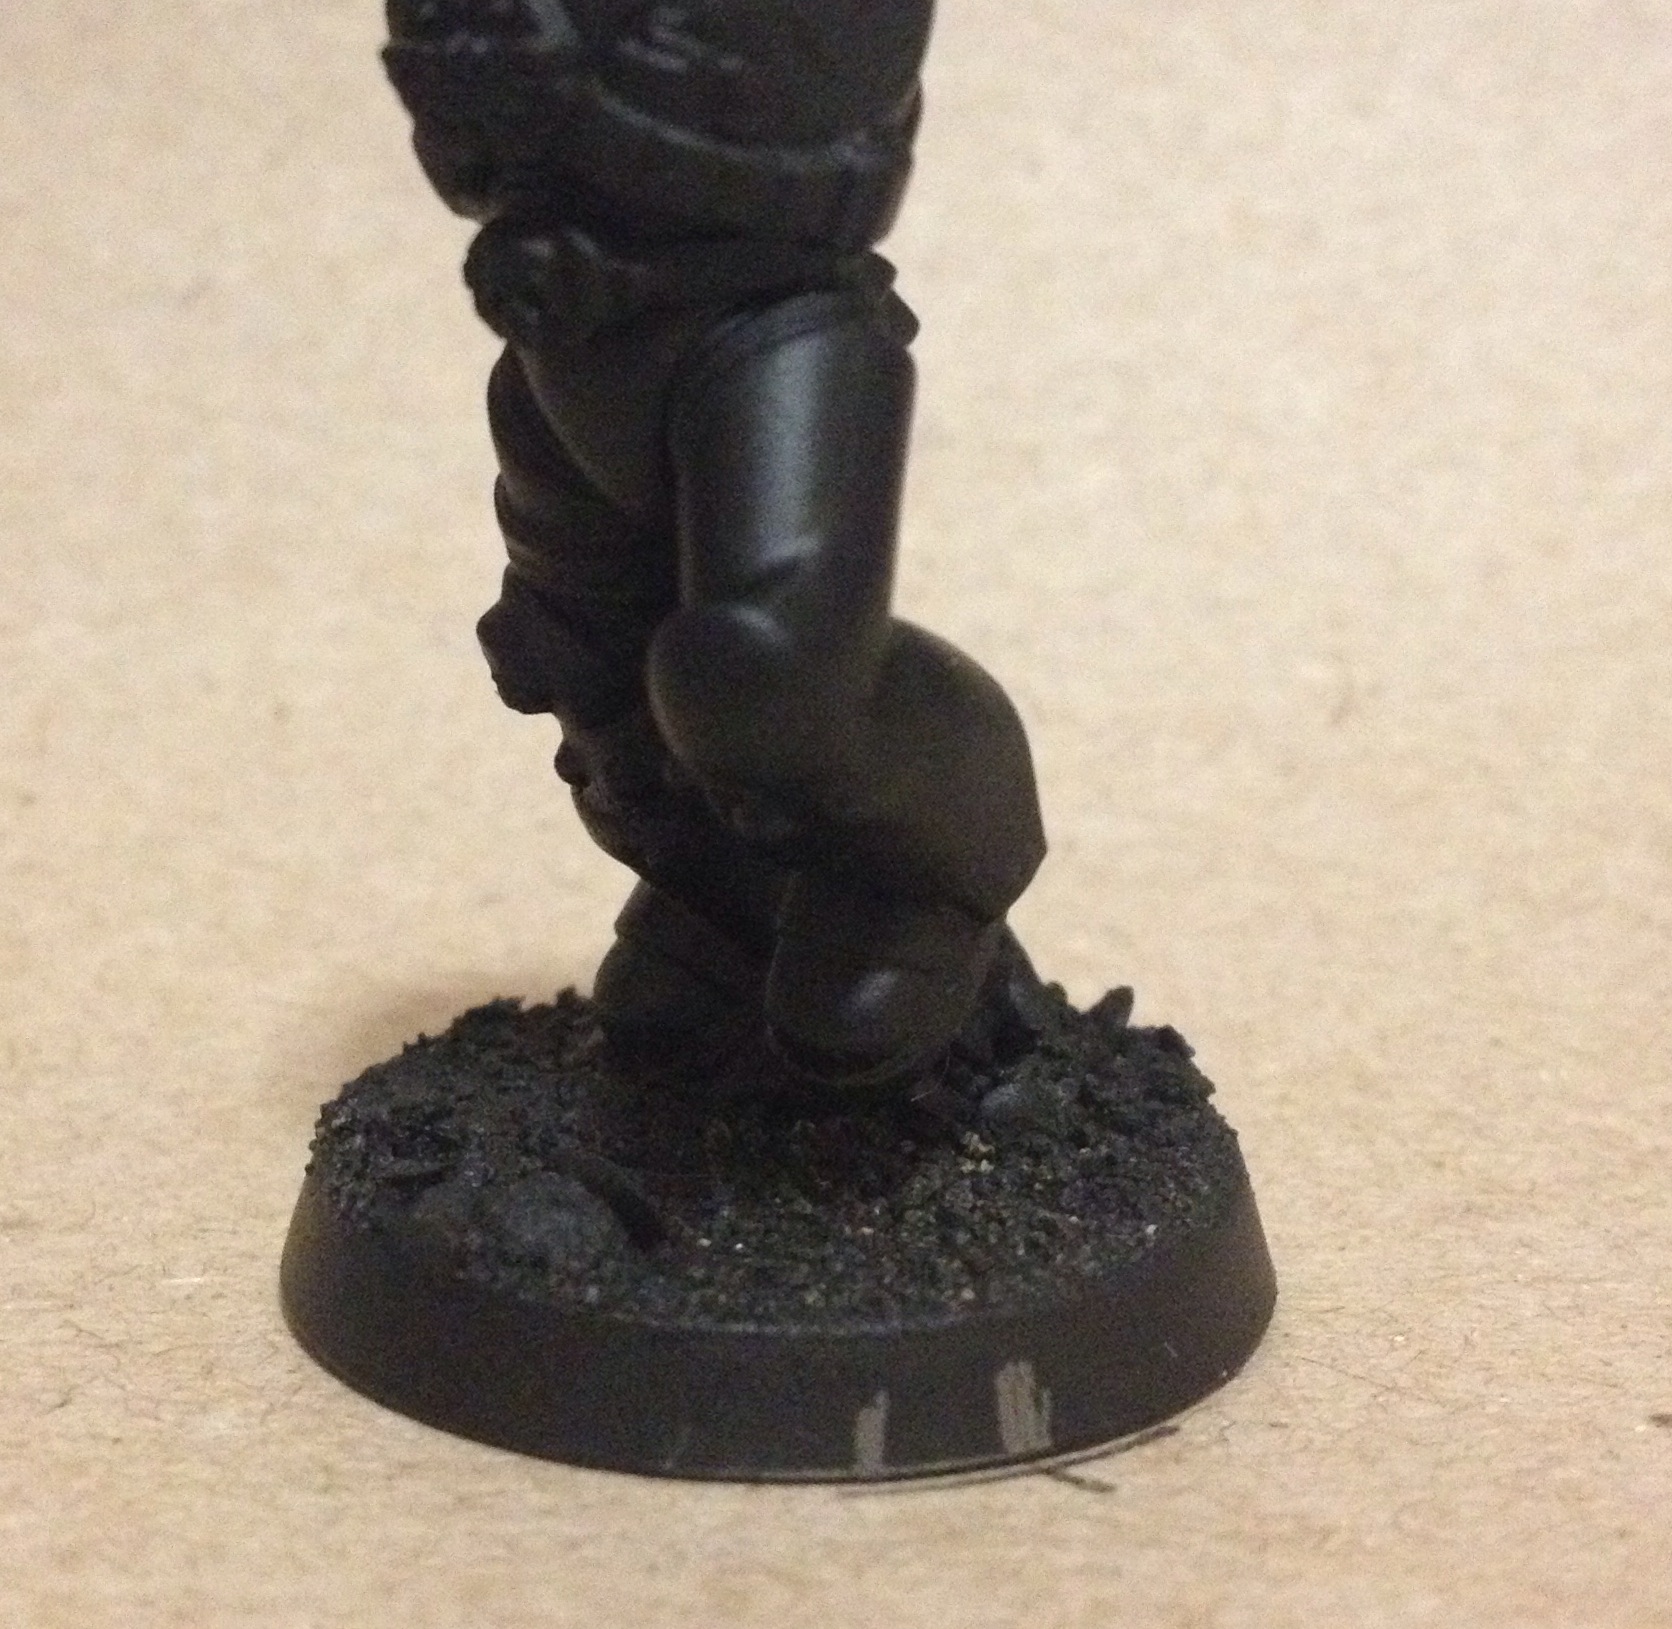
This is actually a relatively important step. You may argue that it doesn’t get seen but I’ve tried using a lighter undercoat and it really does look better on black. It gives an extra layer of depth that effects the colour throughout and so I would recommend going this way.
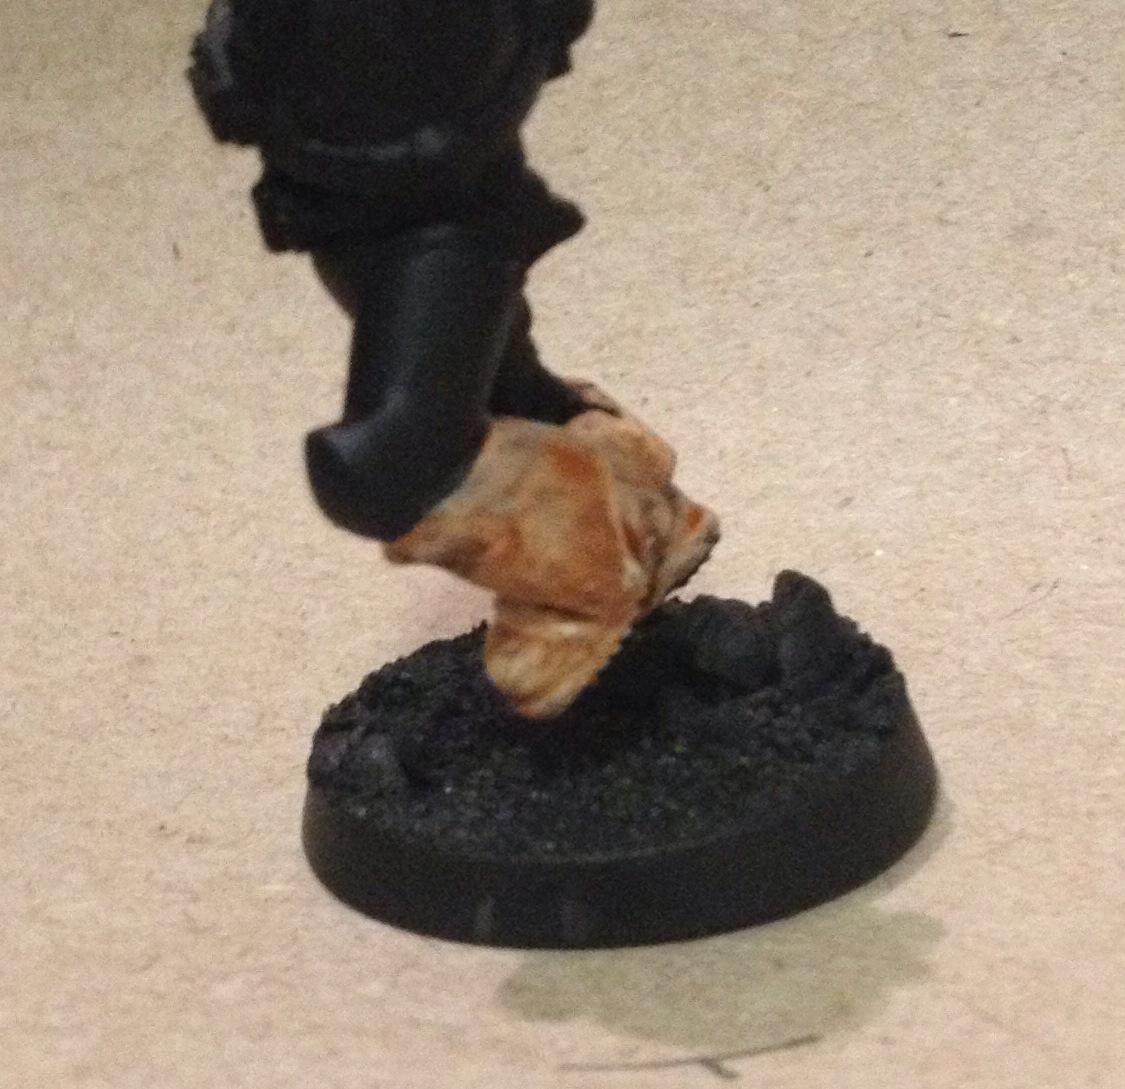
2. Slap on the Bone

Apply Screaming Skull (I’m using the Citadel paint range so will describe this technique using those terms) and keep it rough and thin. Plenty more layers to come and you want some of the shadow coming through from the black – it’ll give depth.
3. Wash it.
A generous slathering of Reikland Fleshshade. This is the last of those layers that’s really going to dictate the texture and it’ll provide some shadow too. Be liberal, especially around any edges and recesses.
4. More Bone!

Now go over it again with Screaming Skull. Make sure that the paint is thick enough to hold together and keep its consistency, but thin enough to be smooth and allow some of that texture through from below. A tiny amount of water is all it takes. Don’t go into the recesses – leave those to give a bit of definition and shadow.
5. Crack it

Right, now for the cracks. Using a very fine brush, use Rhinox Hide and draw on any cracks and chips you want to appear on the bone. Don’t do too many – an accent is better than overwhelming detail.
6. Add Shadow

To add the shadow, use the Reikland Fleshshade and pull a tiny amount down over the cracks, ensuring that it is more on the upper edges of those cracks than the lower ones because that’s where the natural shadow would be if we’re working to the idea that the light is coming downwards.
7. Add Light

The final step! Using a mix of equal measures Screaming Skull and White Scar, and your finest brush again, apply to the undersides of the cracks, and all around the edges of the painted area. And that’s it!

So much bone!!
So, that’s how I paint the bone on my miniatures. There are far better painters and lots of other techniques out there, but I hope this one has been helpful or at least interesting. Any comments or questions, please add them below!
 40kaddict
 4gotowar
 Castigator's Chaos
 convertorum
 darkfuturegaming
 ftgtgaming
 Mind of the Daemon
 taleofpainters
 talkwargaming
 Twisted Brushes
 weemen