
Hello hobby pals! Games Workshop were good enough to send me a copy of the new big box full of tiny toy soldiers – Legions Imperialis (and some smaller boxes of equally tiny toy soldiers), and I have been having plenty of fun painting the miniest of minis. So today, I’m going to show you some of the mini-projects I’ve been working on.

I could take you through the rules and the like, but others will be doing that who are far better than me at such things. And aside from a few Nostalgia pangs, I don’t know what I’d really comment on. It looks like a really solidly worked game to me. I love that it brings Aeronautica Imperialis and Adeptus Titanicus together with the tanks and little people, and that its name gives my spellchecker as much of a headache as those previous titles. It even comes with whippy sticks, just to give your nostalgia feels an extra bit of excitement. Therefore, I shall leave the rules to the experts and focus on putting brush to plastic with a selection of fun things that I’ve been putting together. Now, where to start…
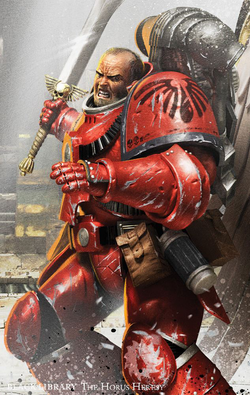
The Glorious IXth Legion
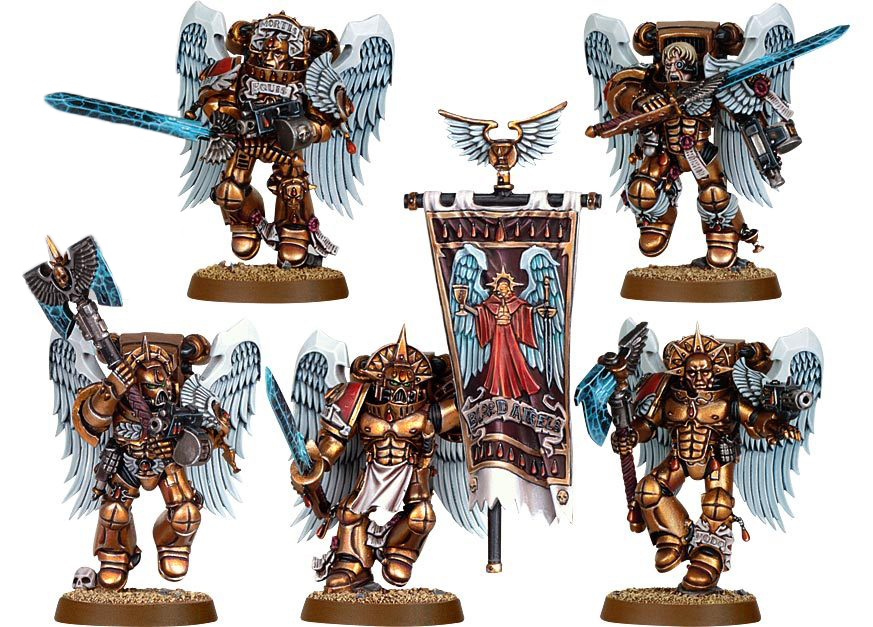
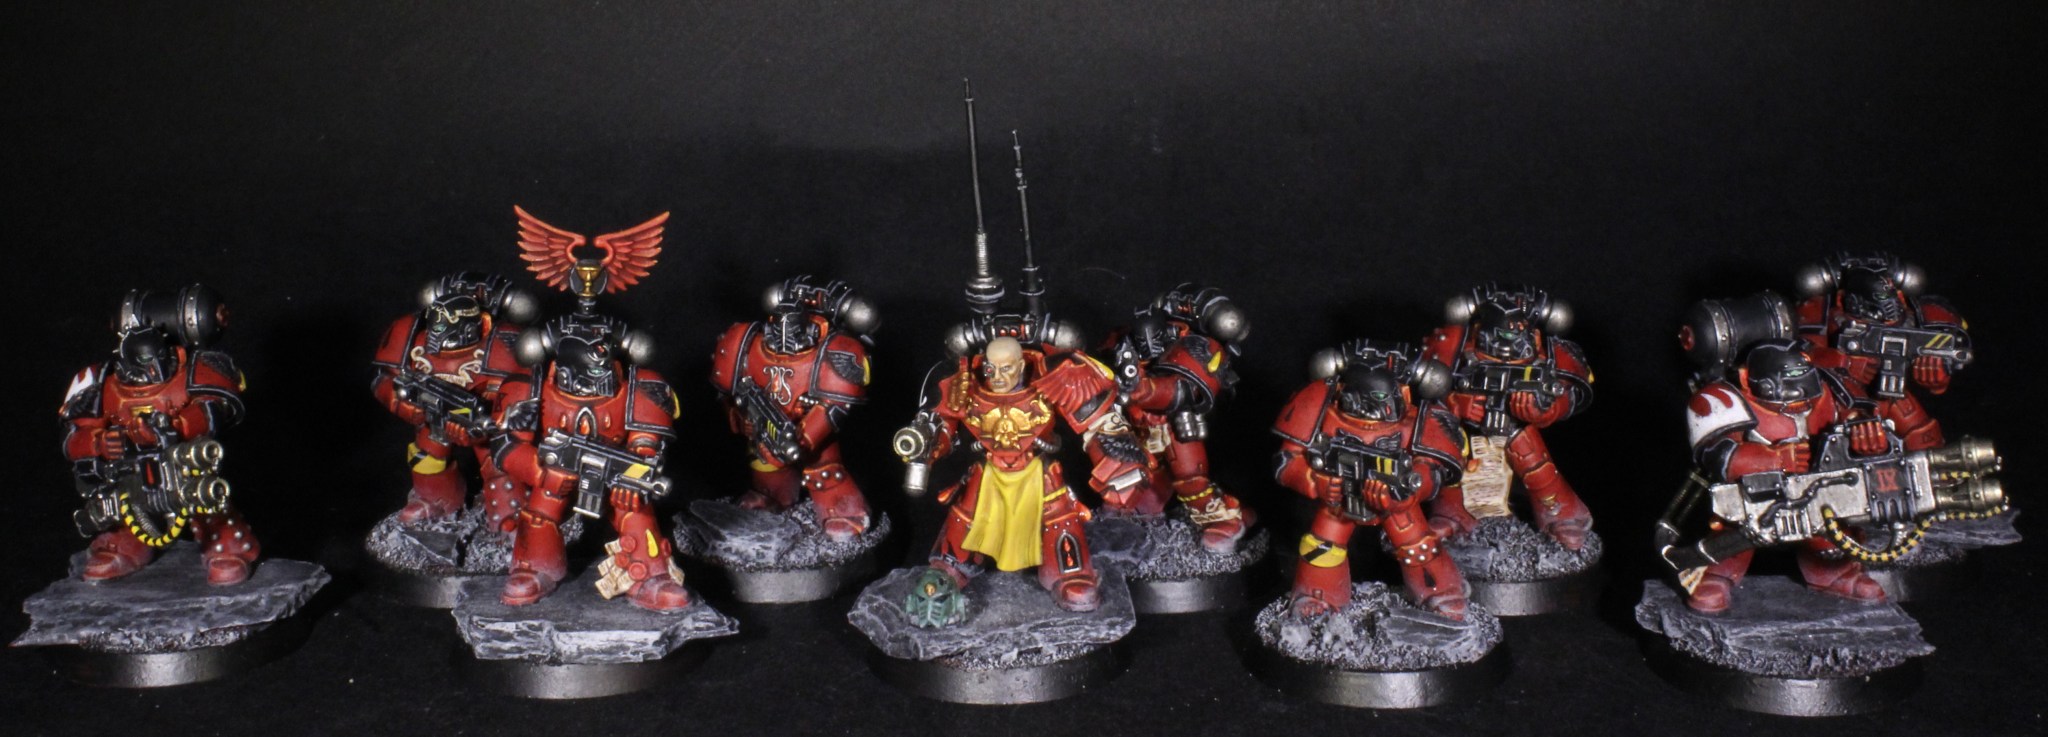
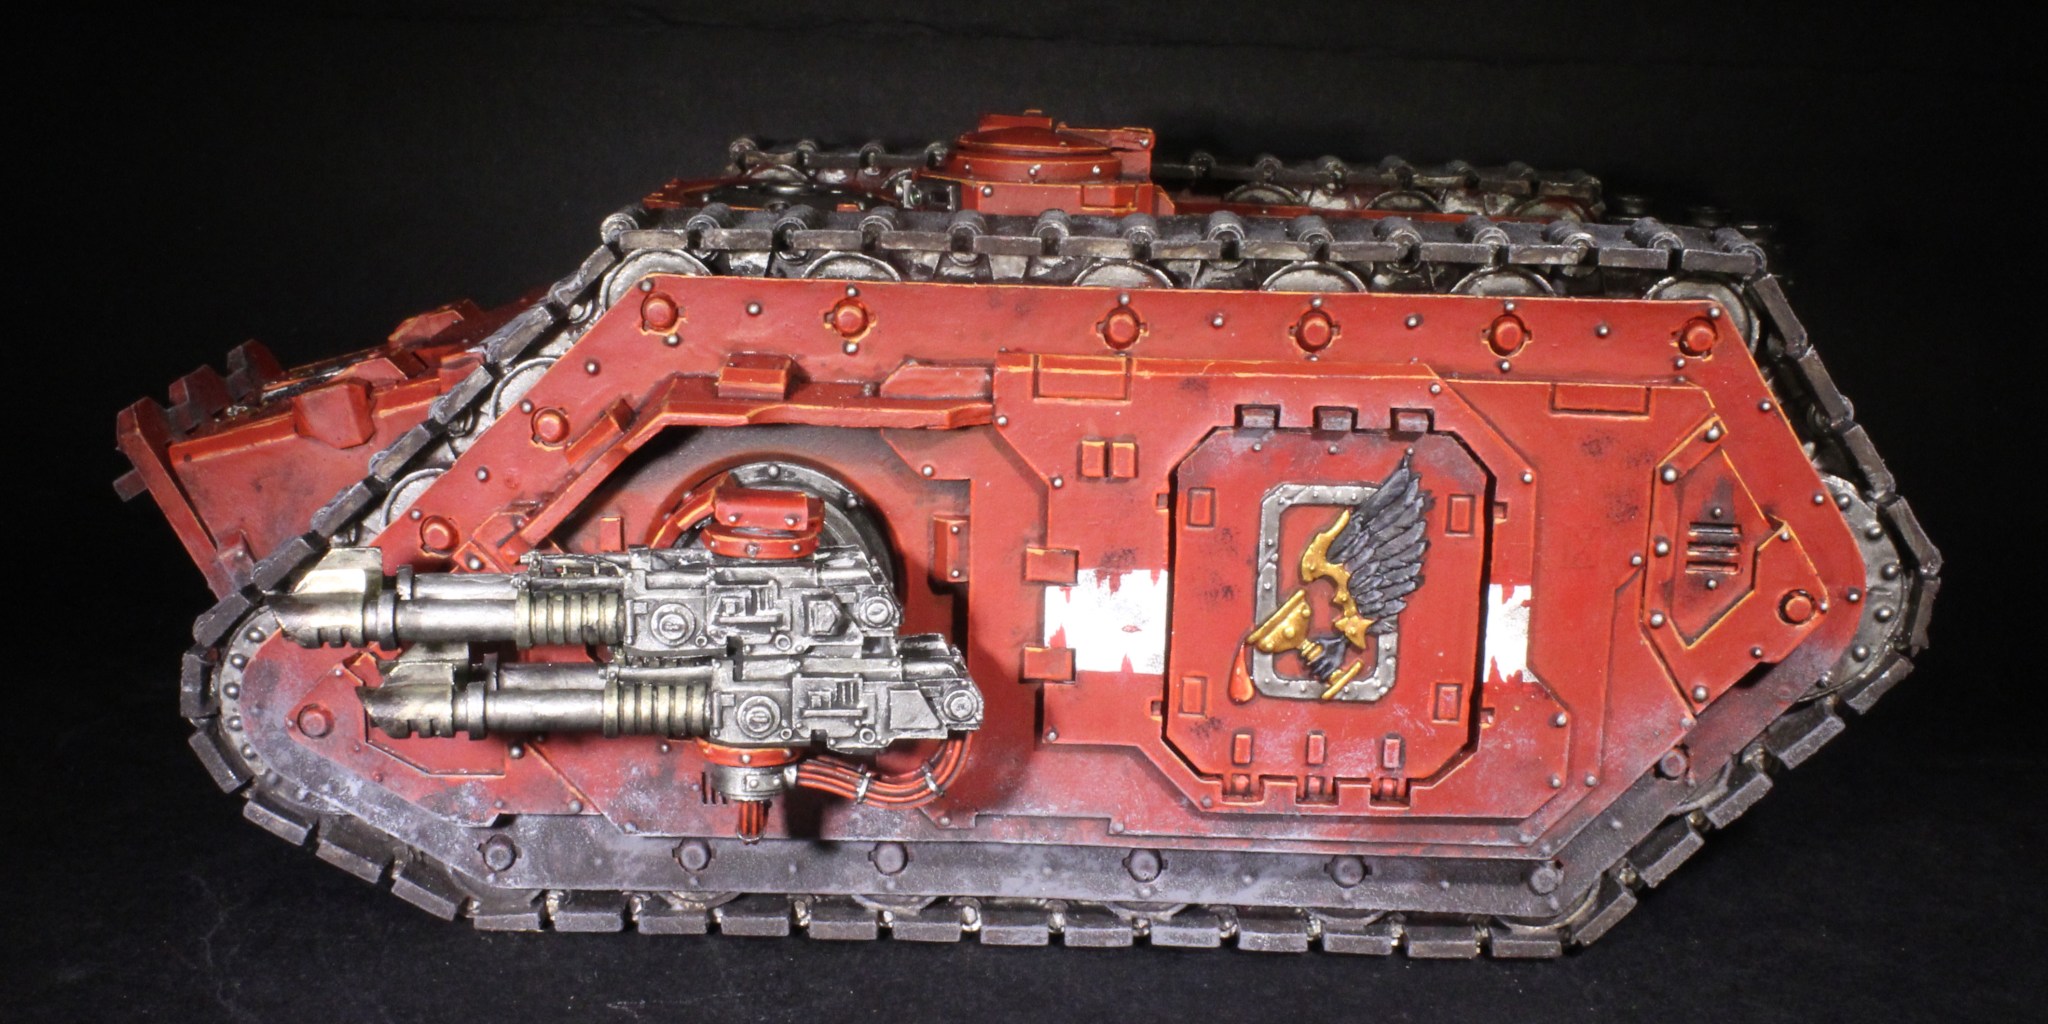
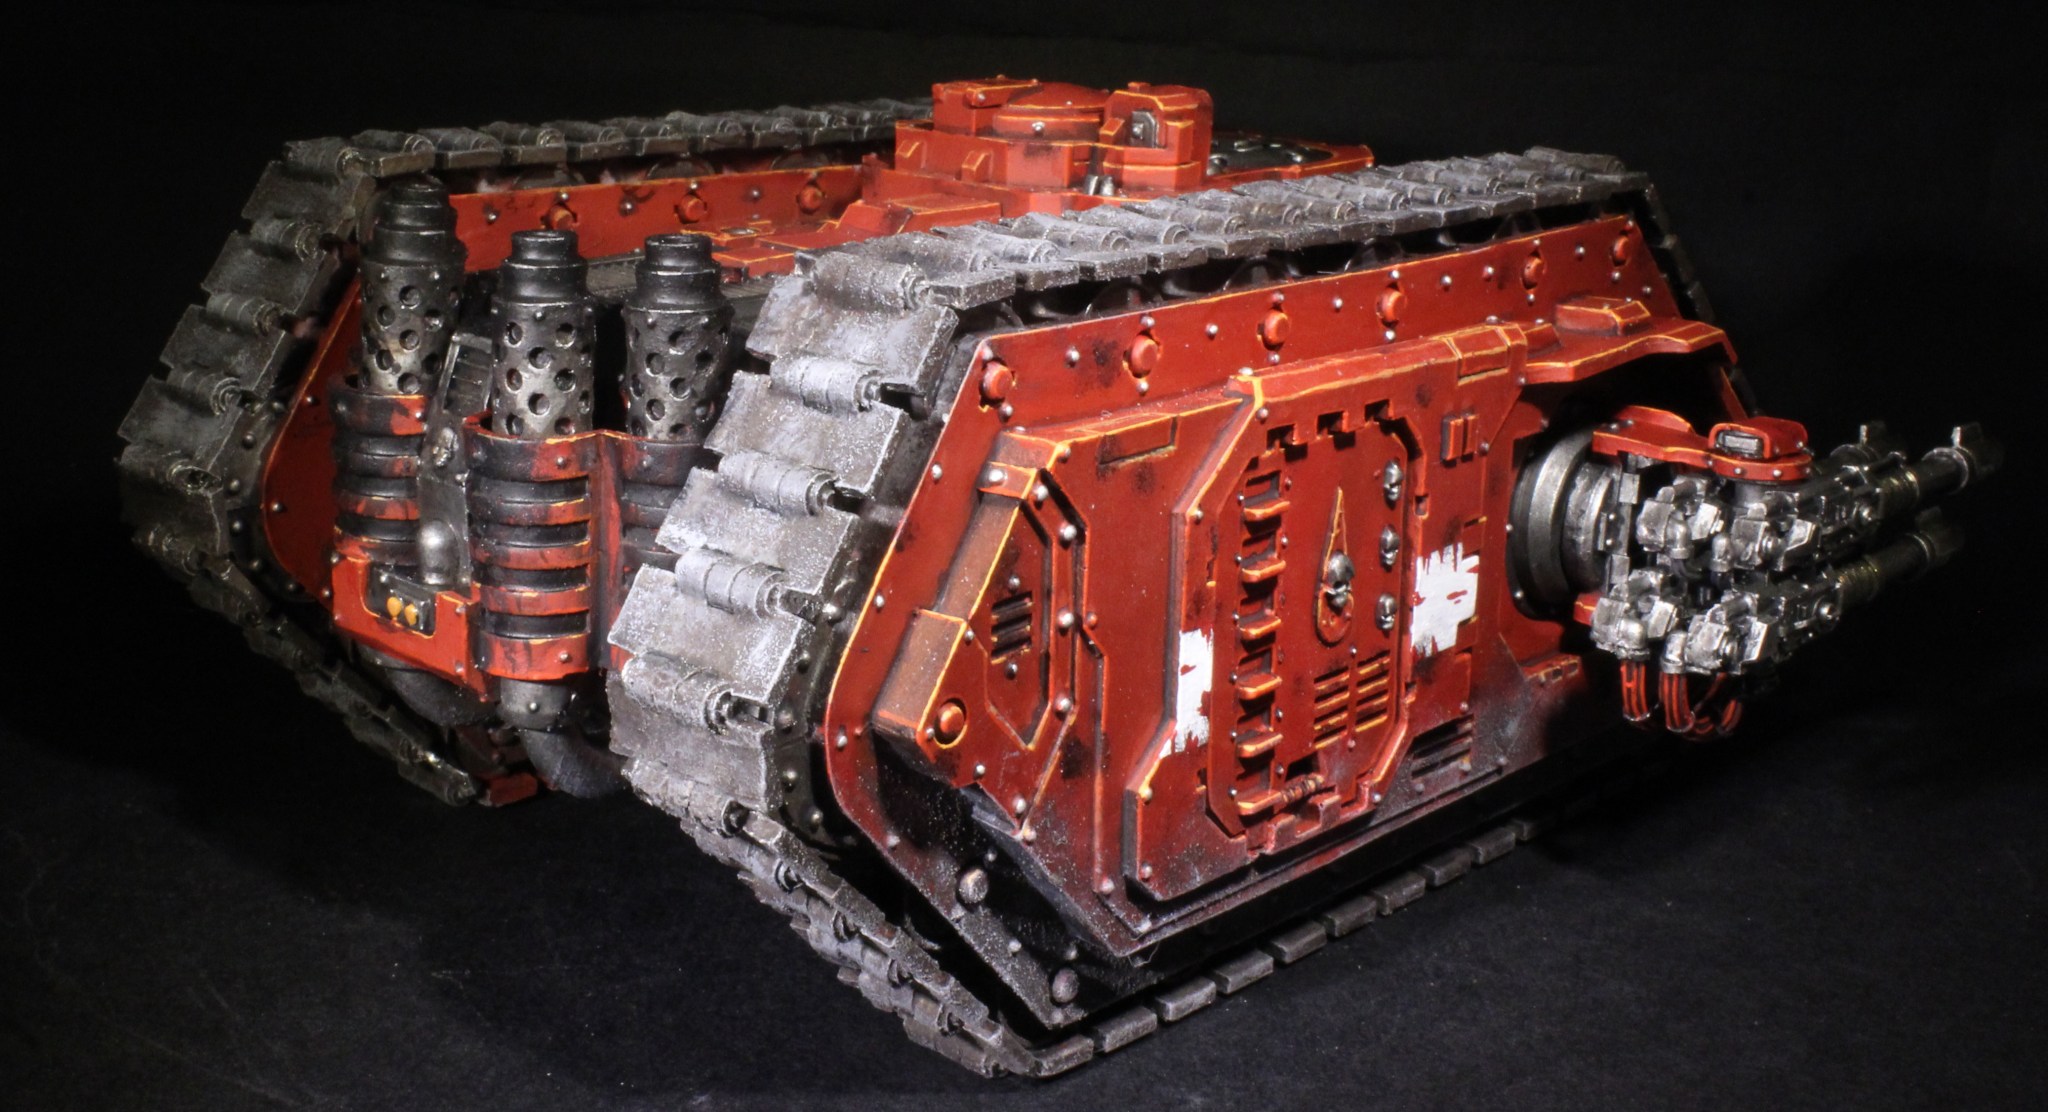
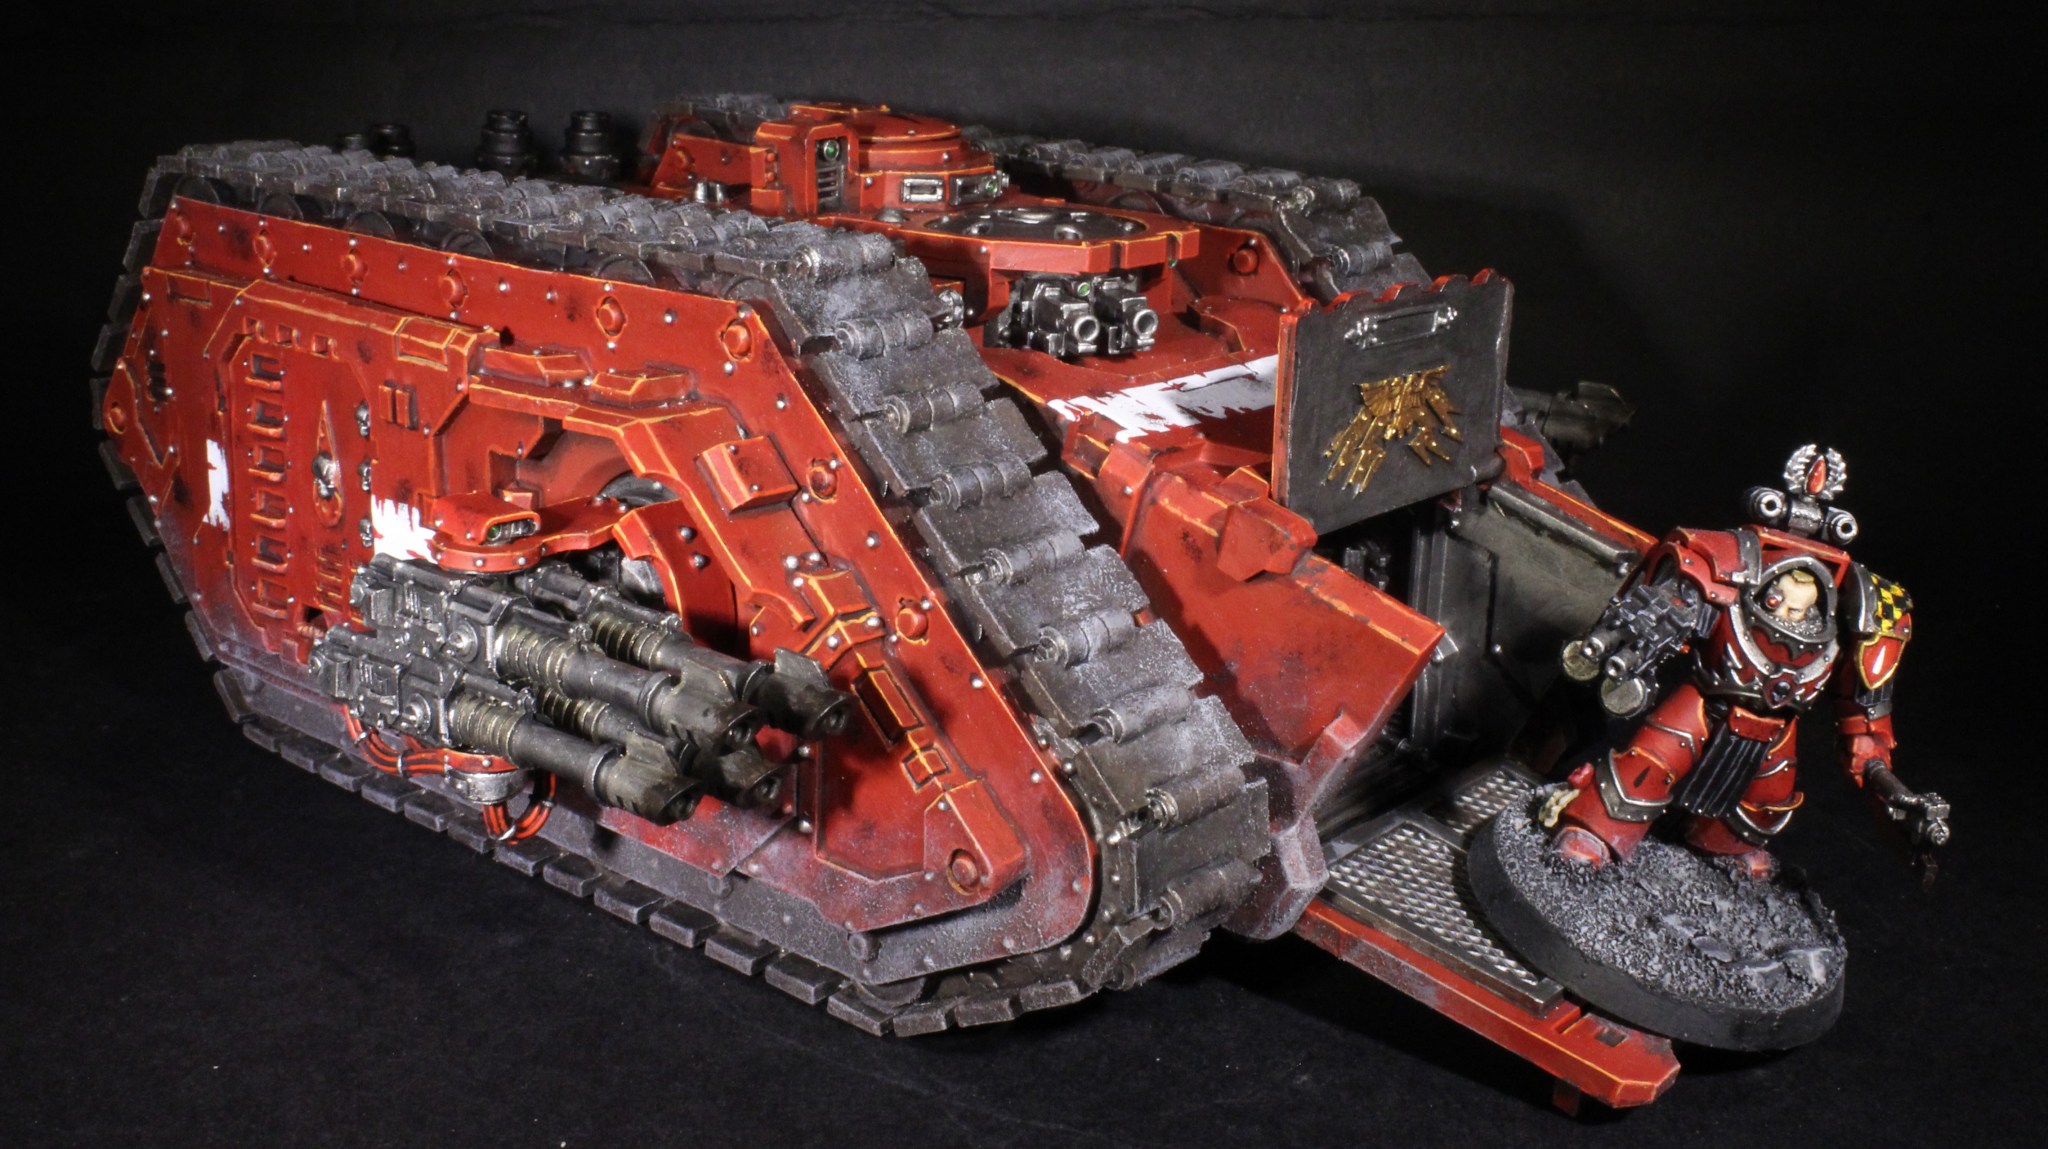
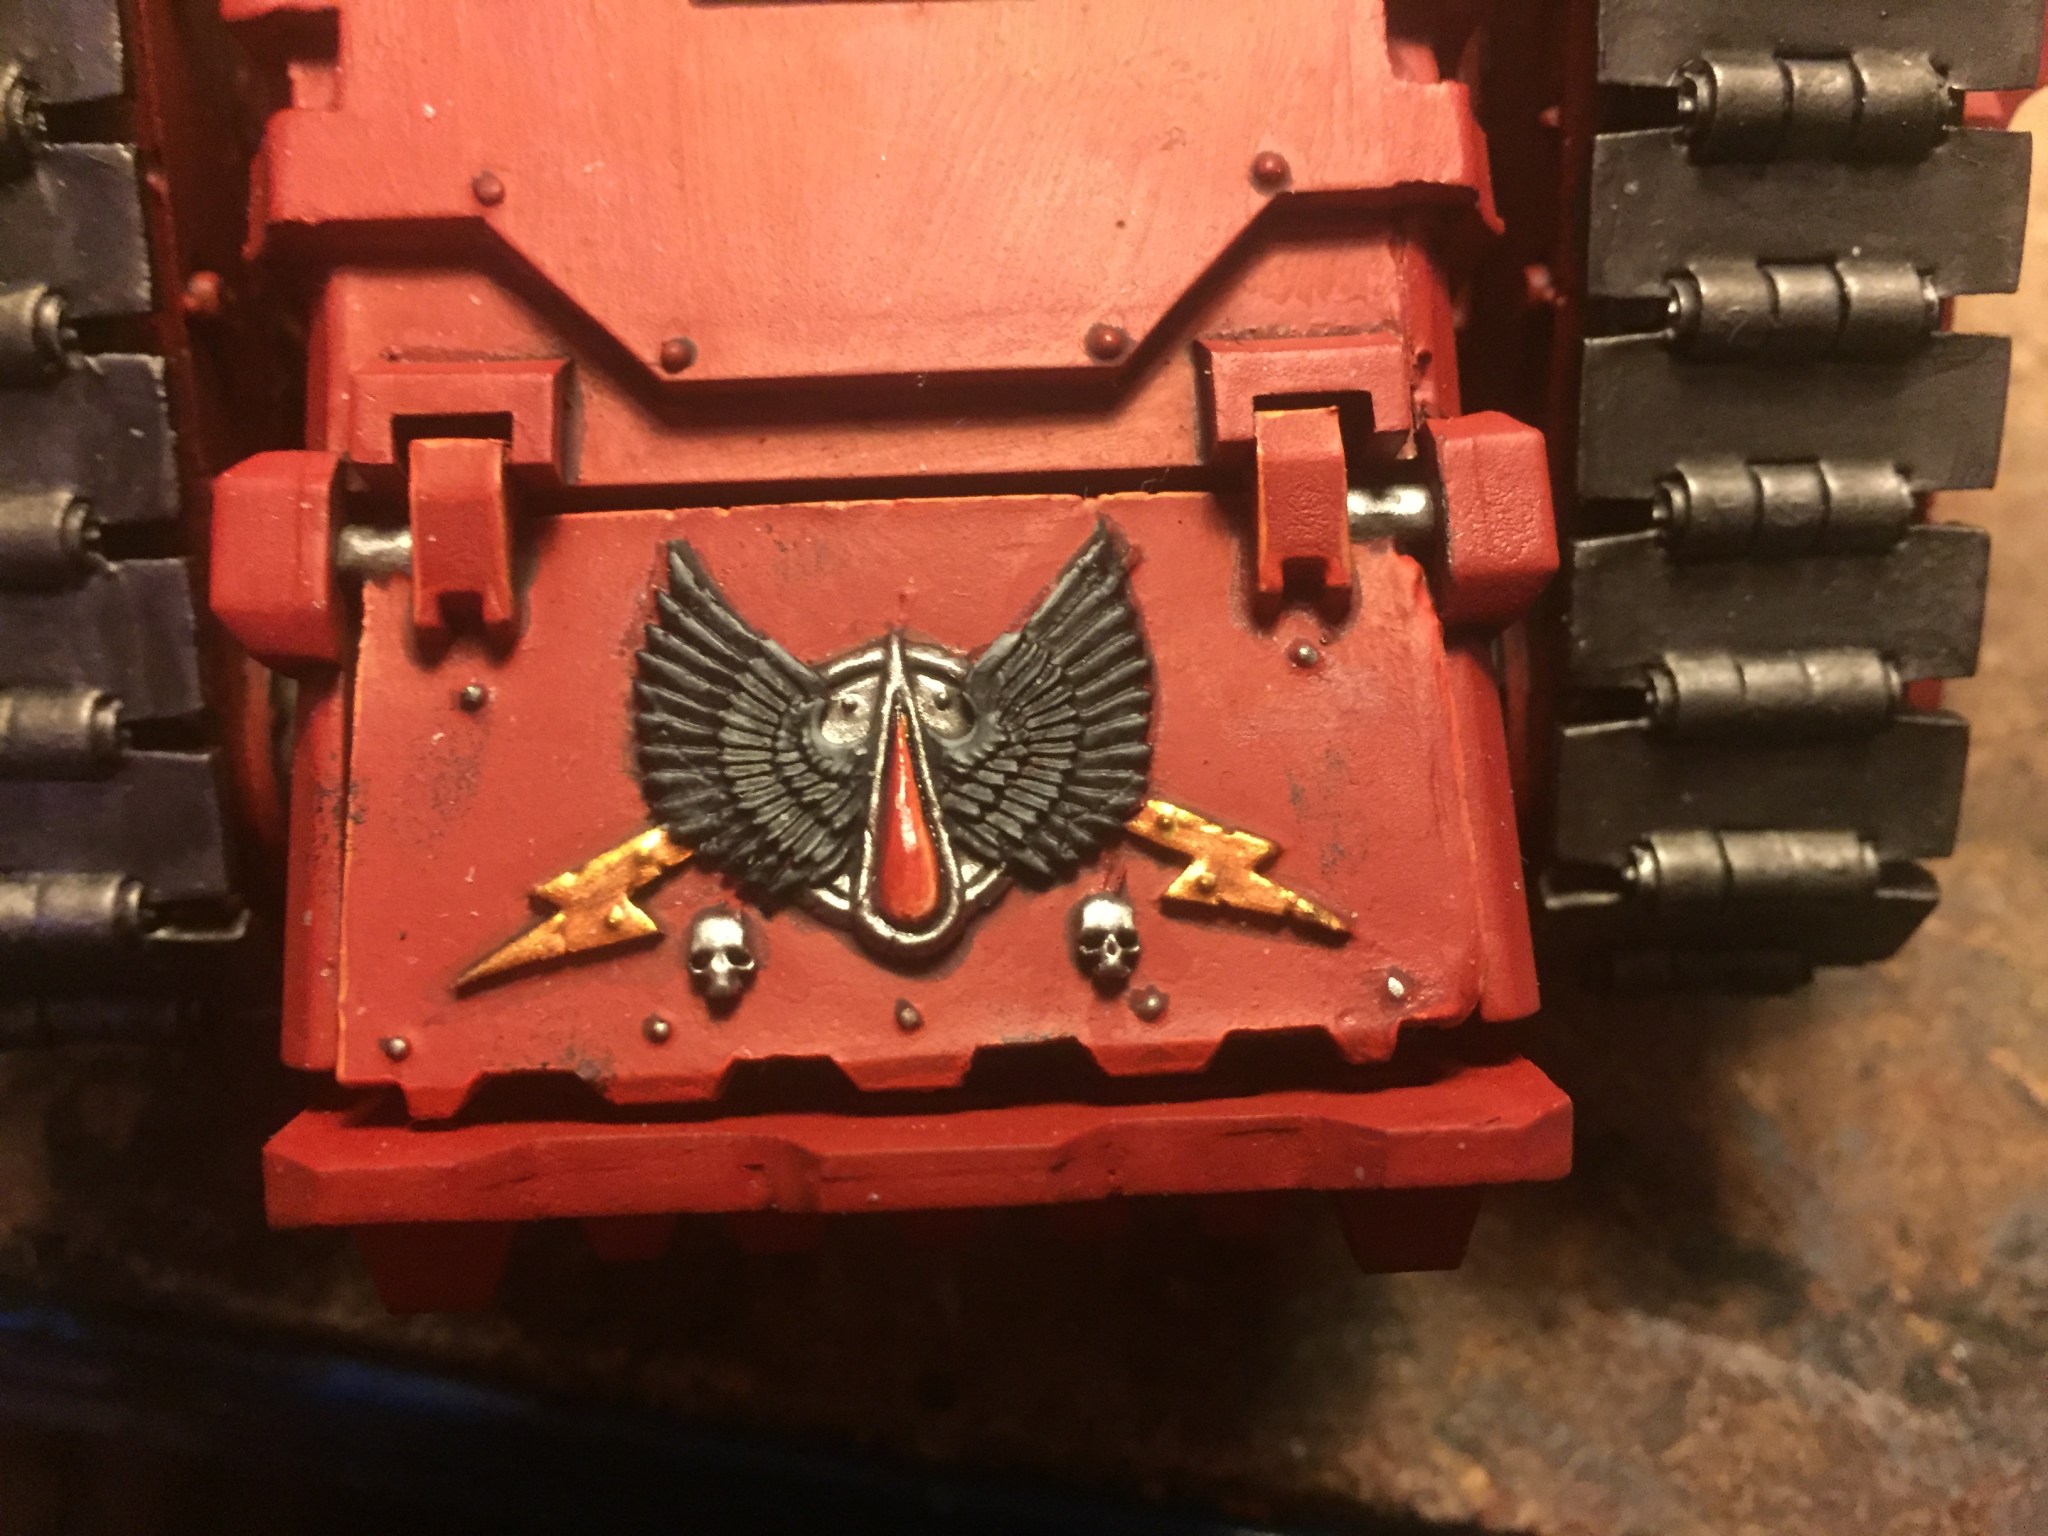
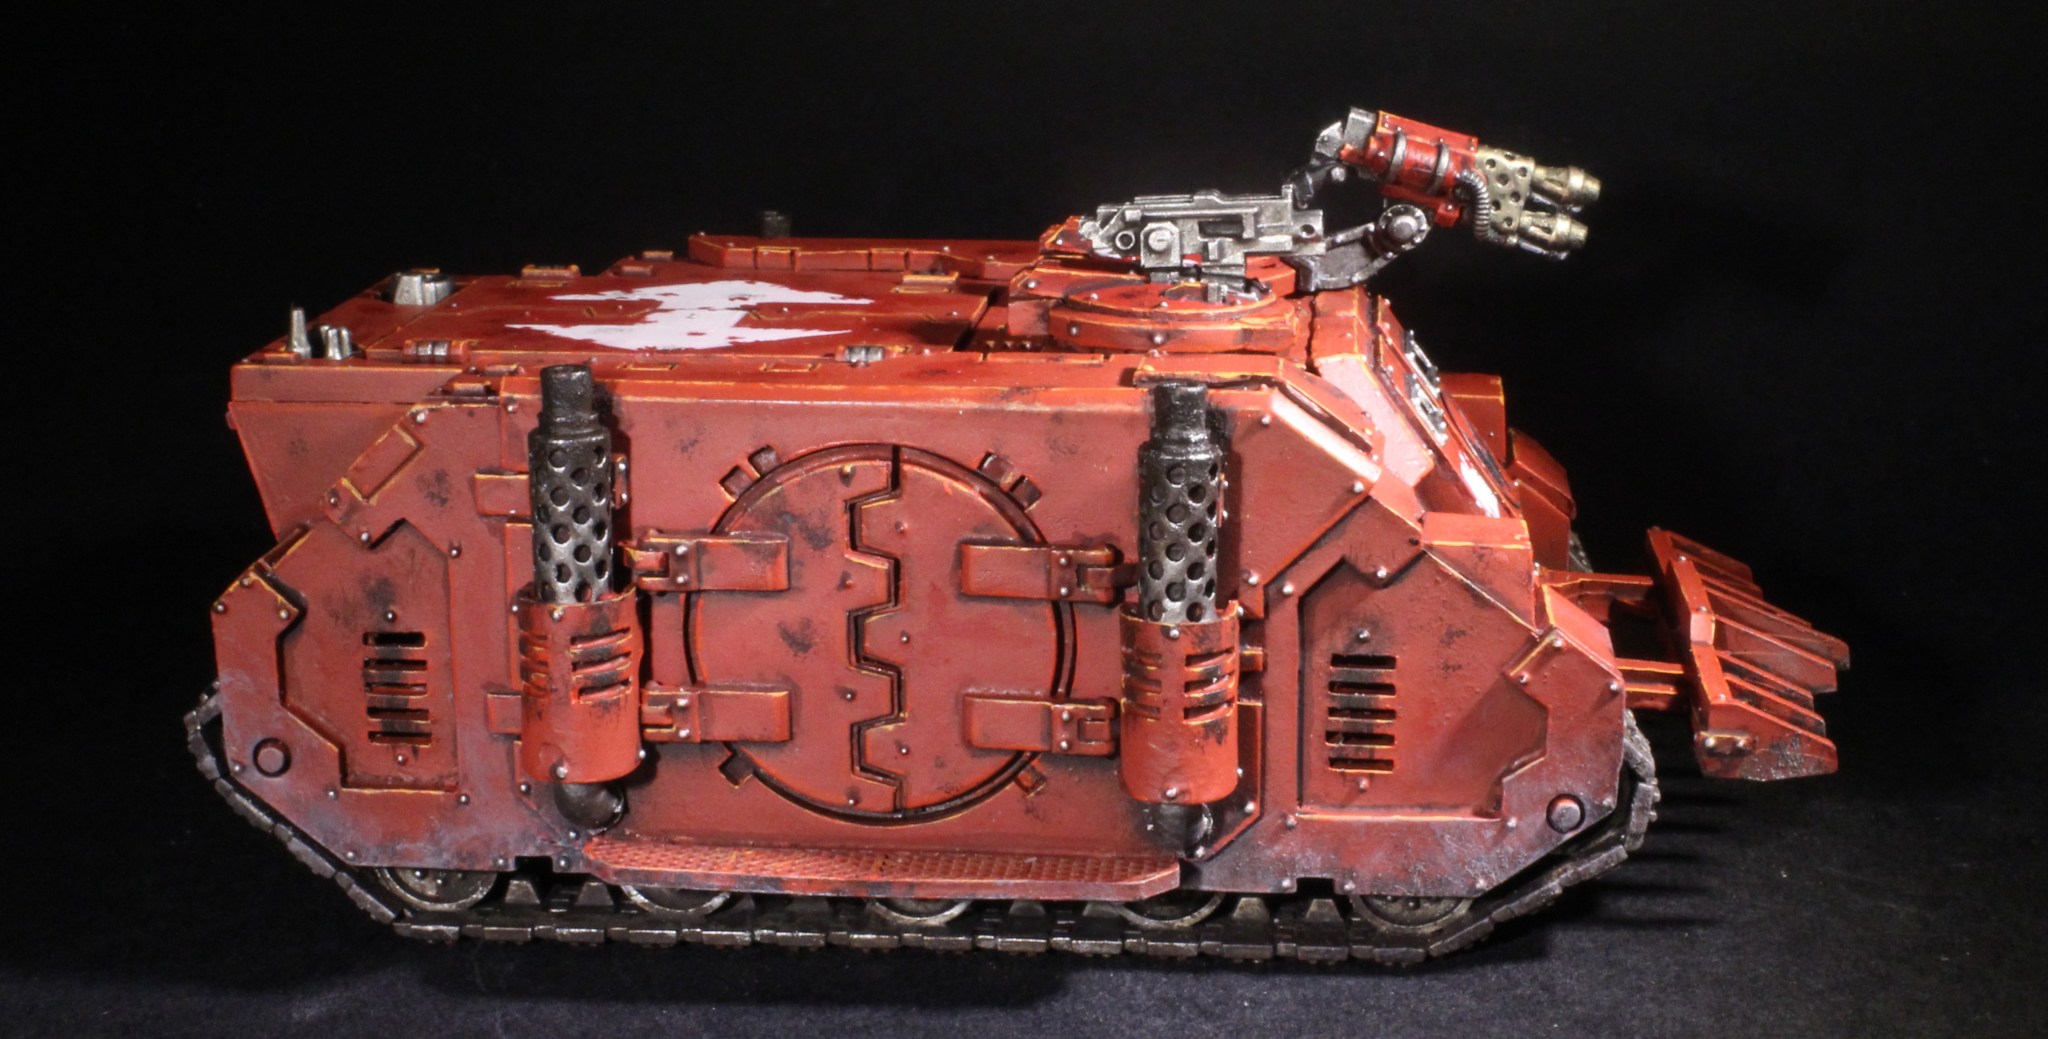
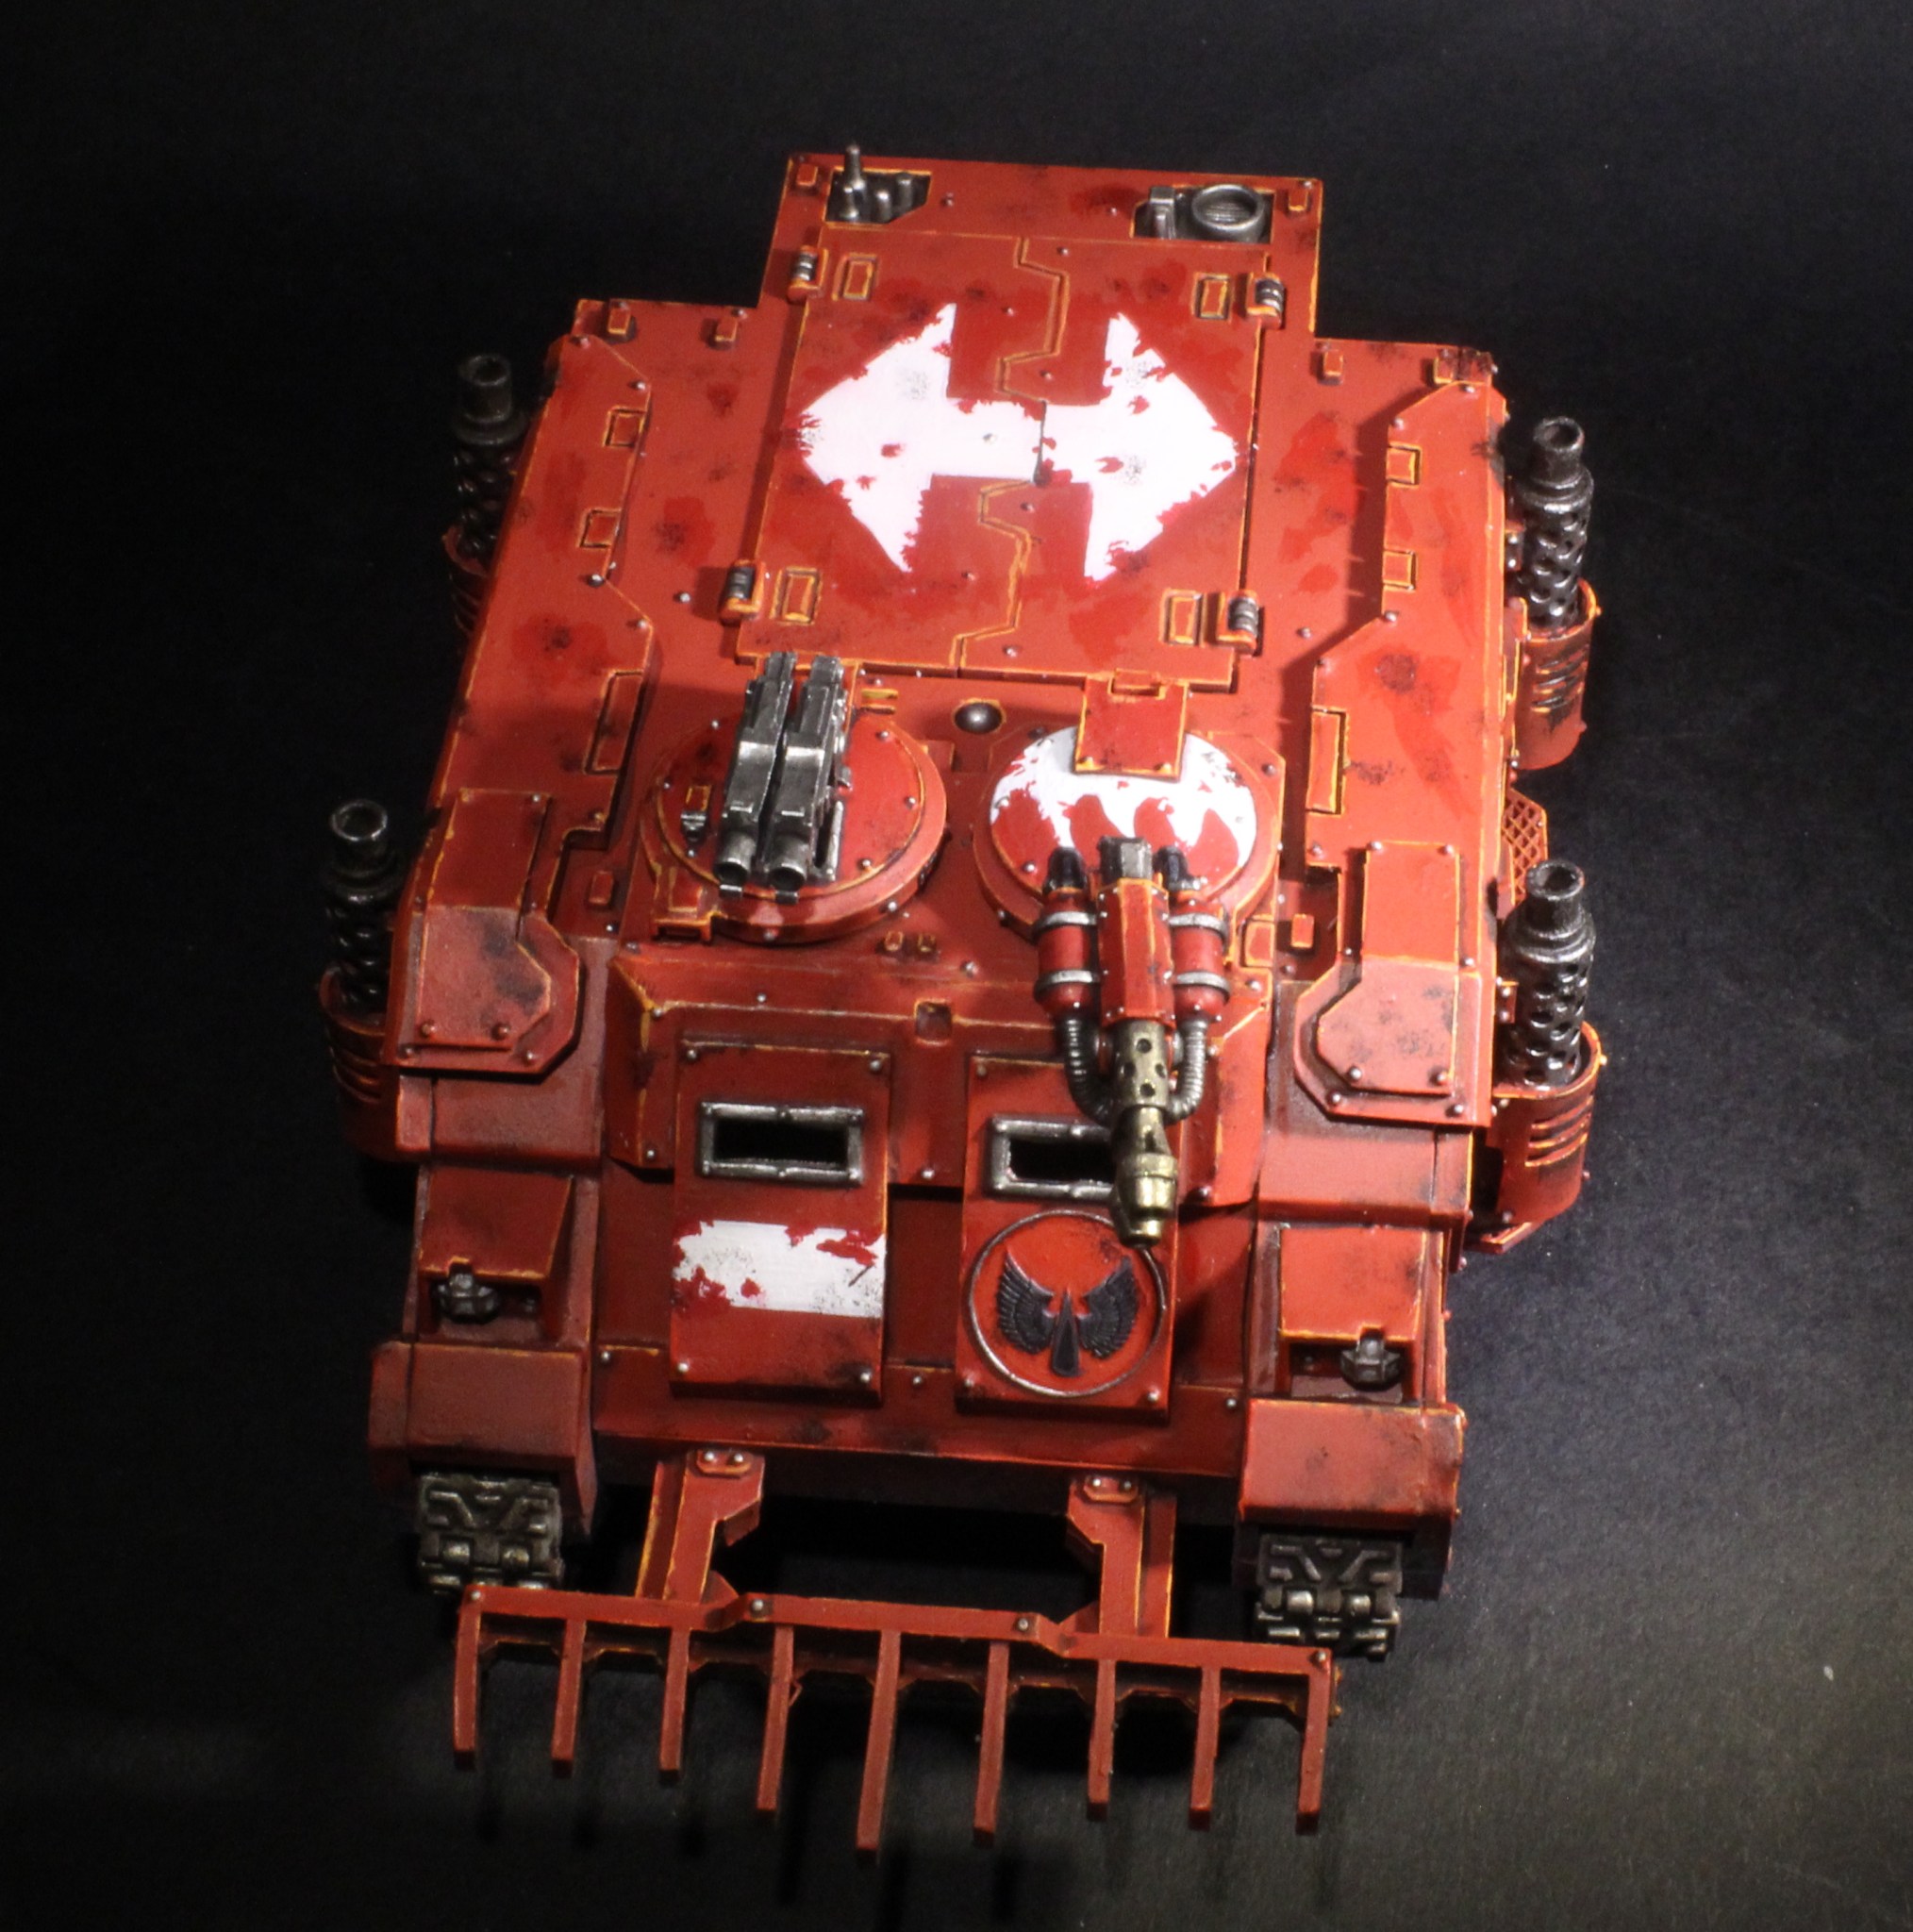
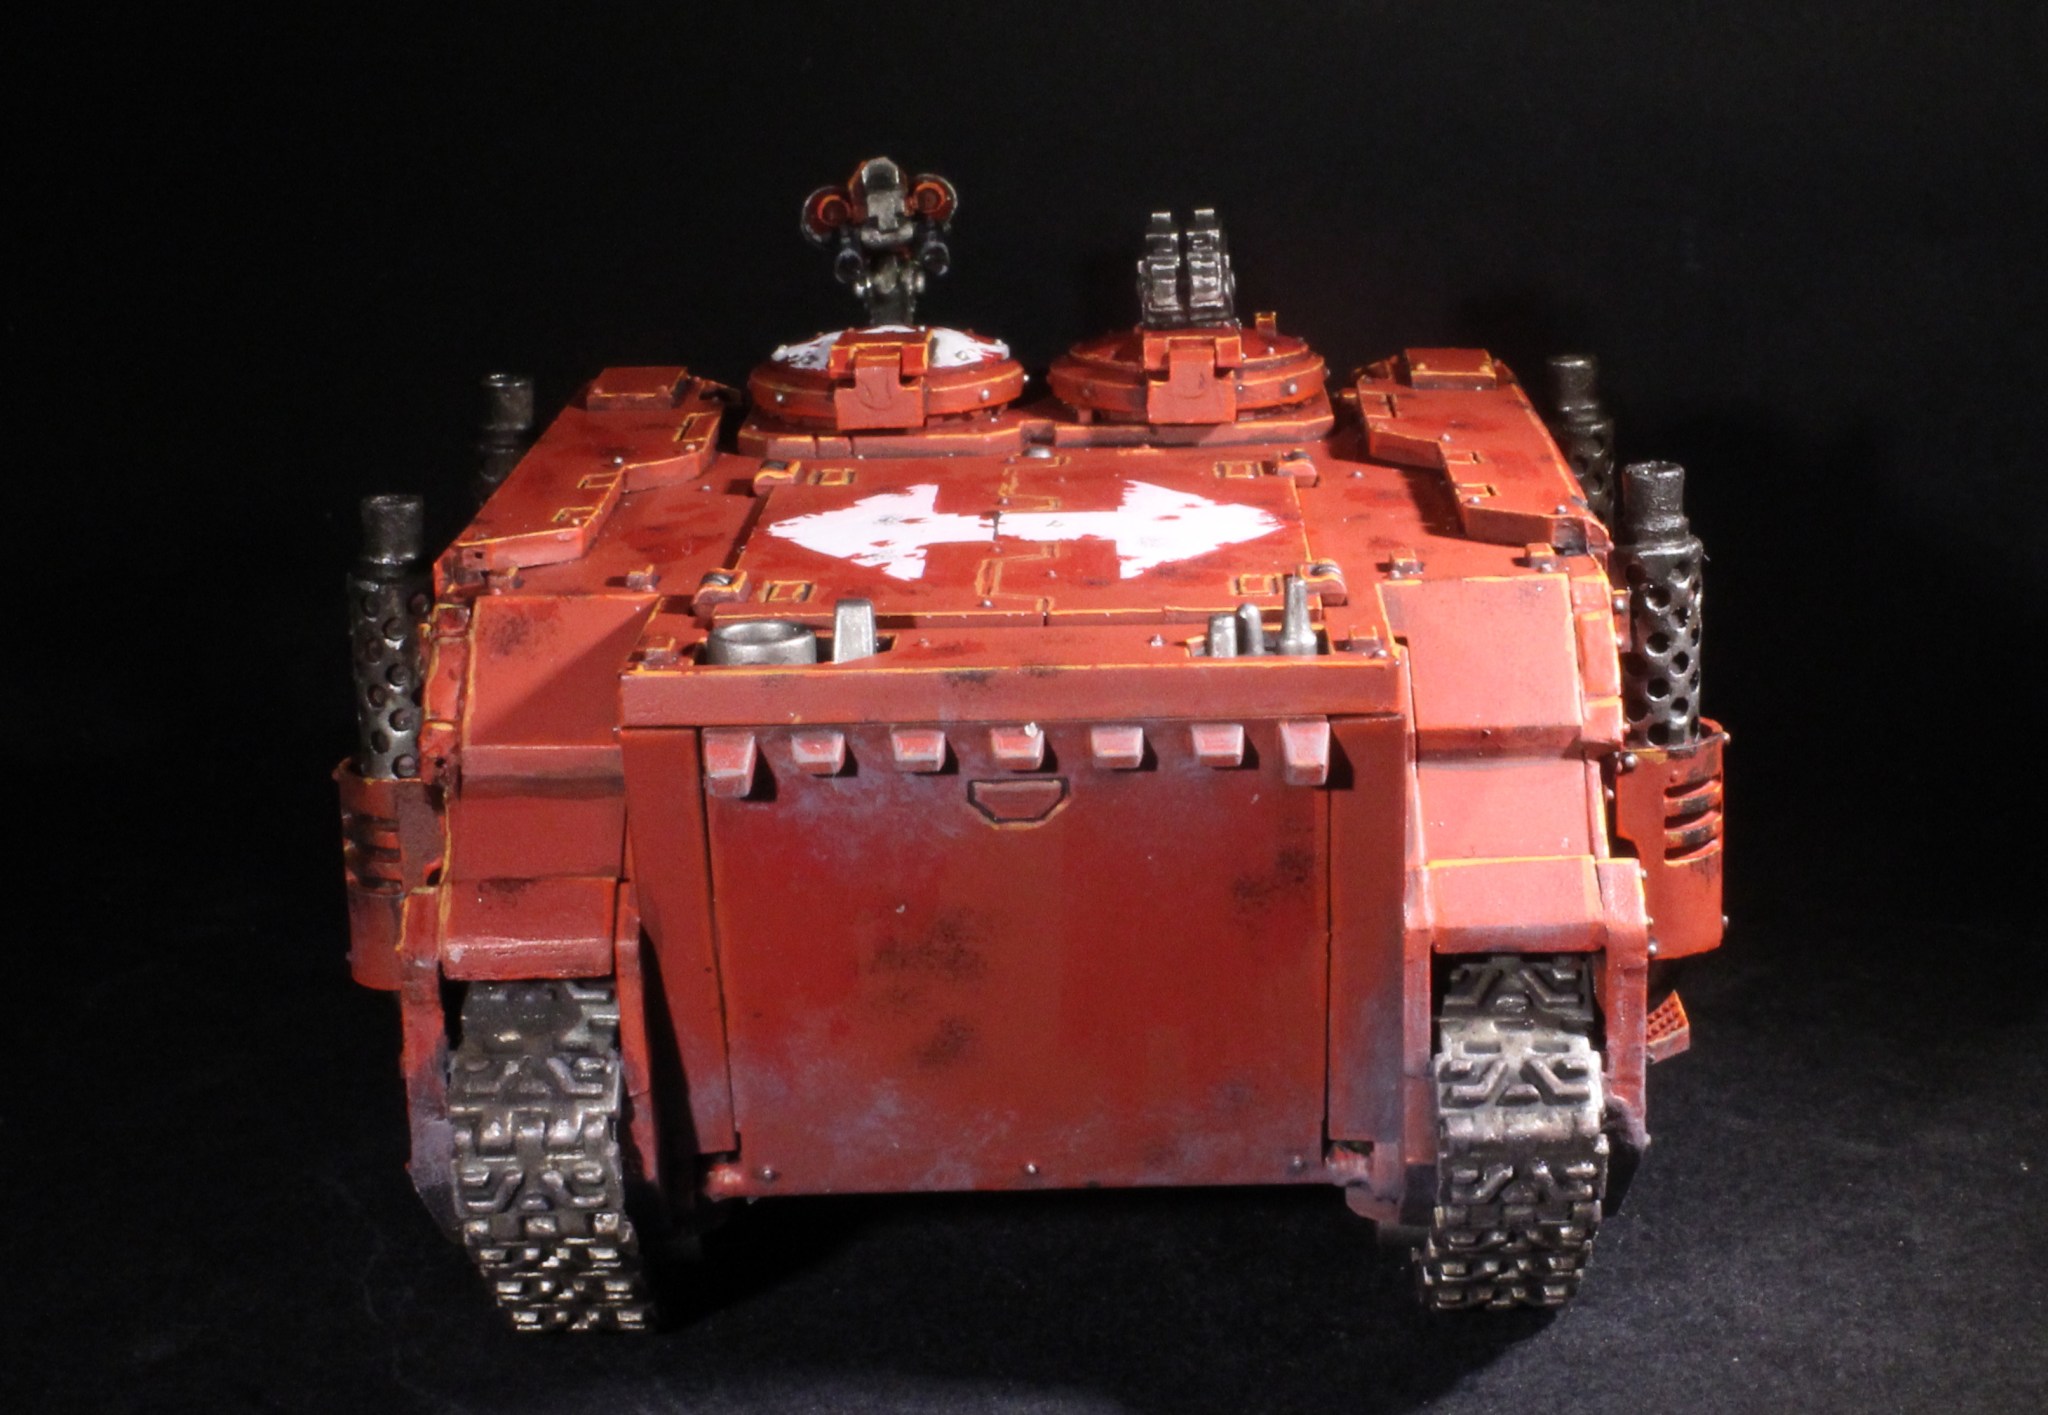
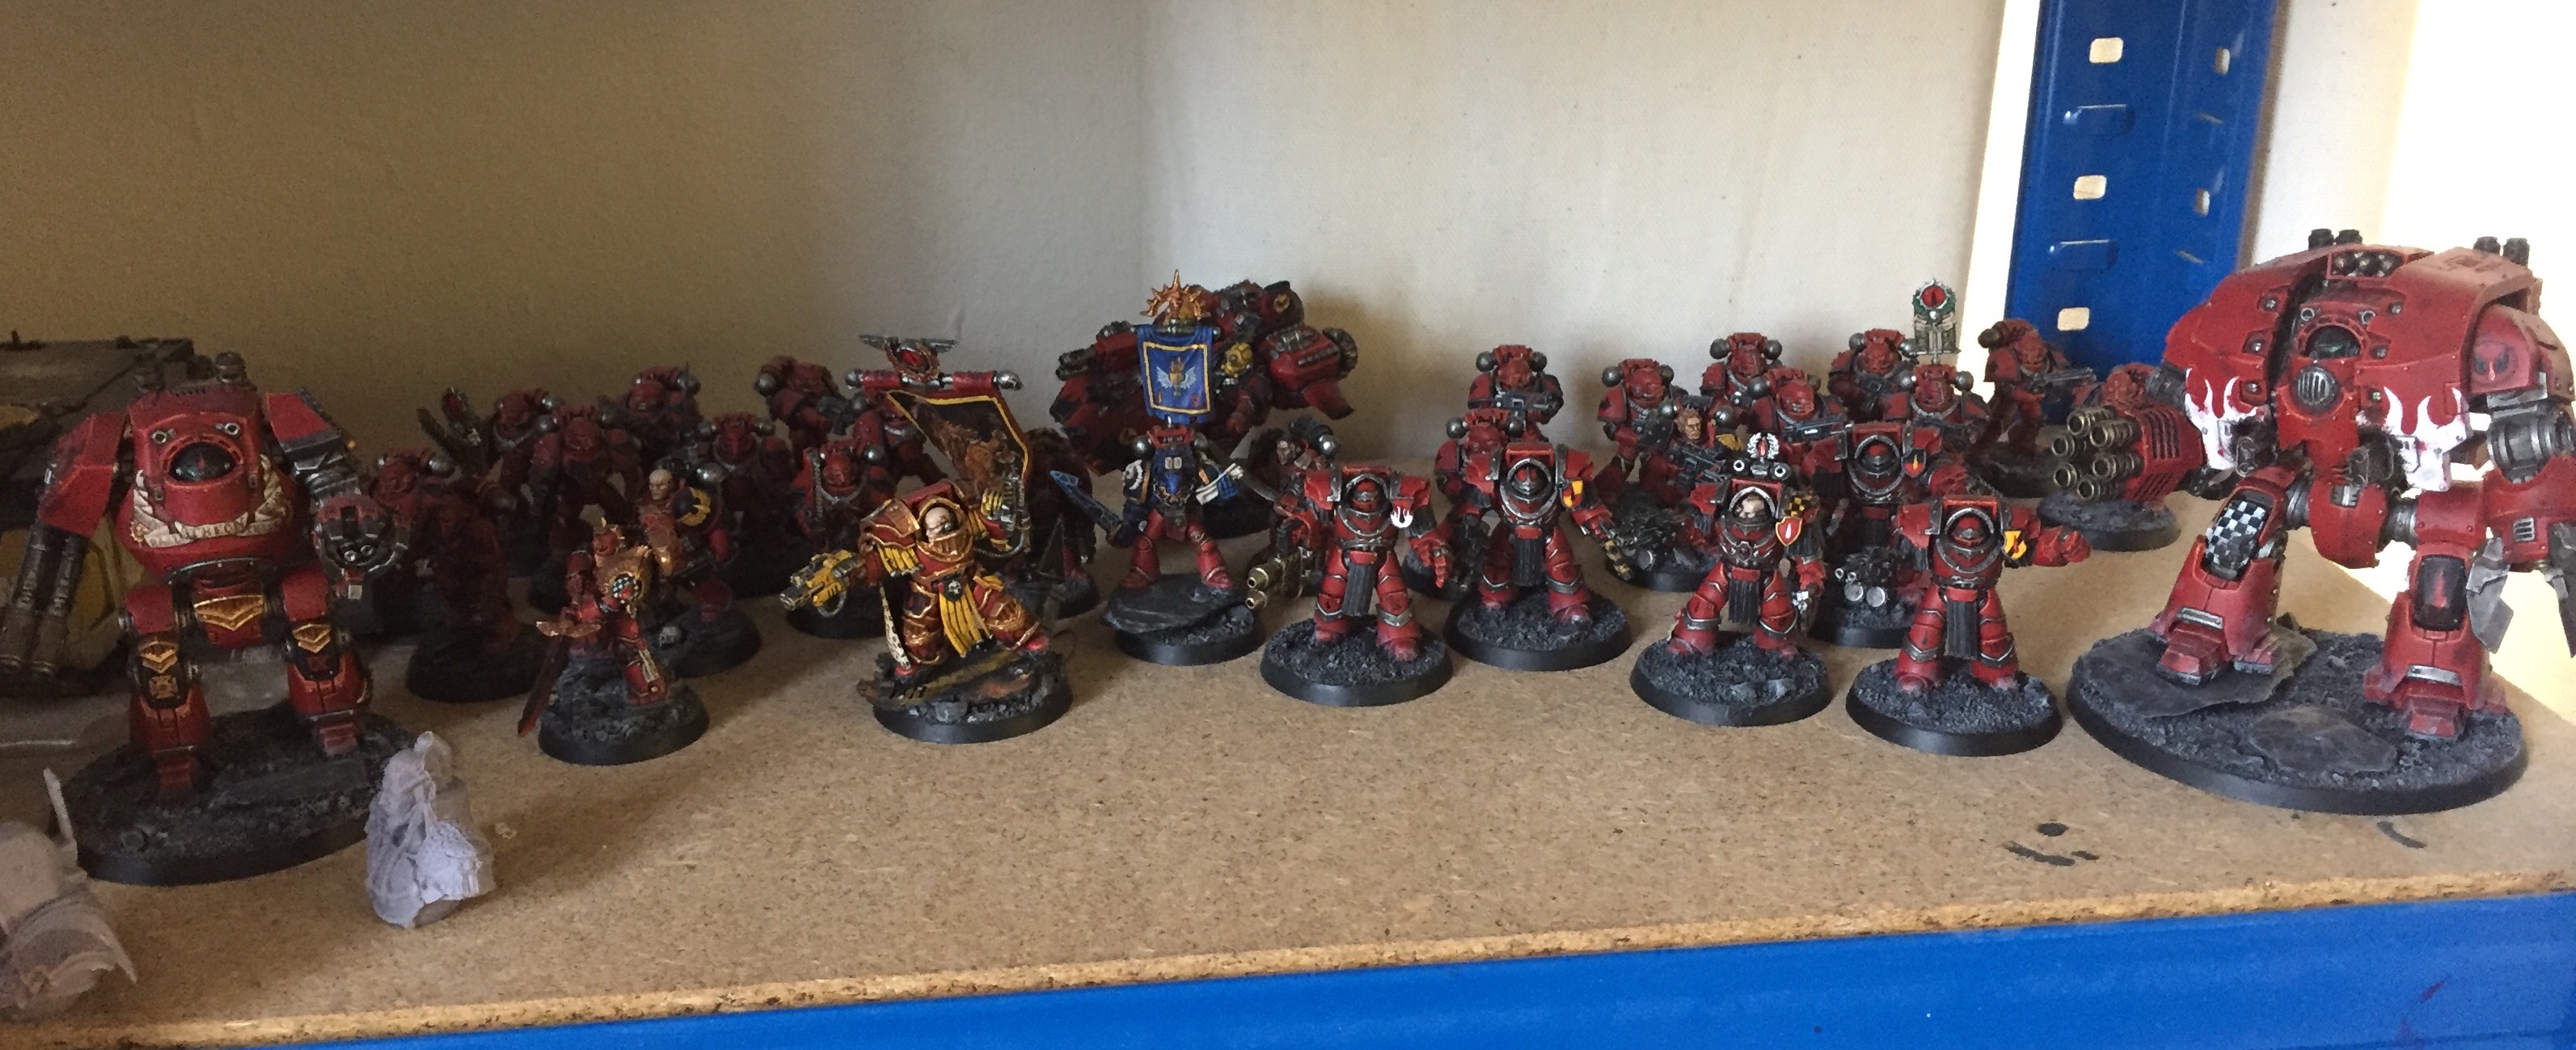
Well, I wasn’t going to not paint some Blood Angels, was I? I had lots of fun working on this small force, but I certainly have plans to expand it. And if you’re interested in how I painted them, I have an article on How To Paint Blood Angels ready for you.

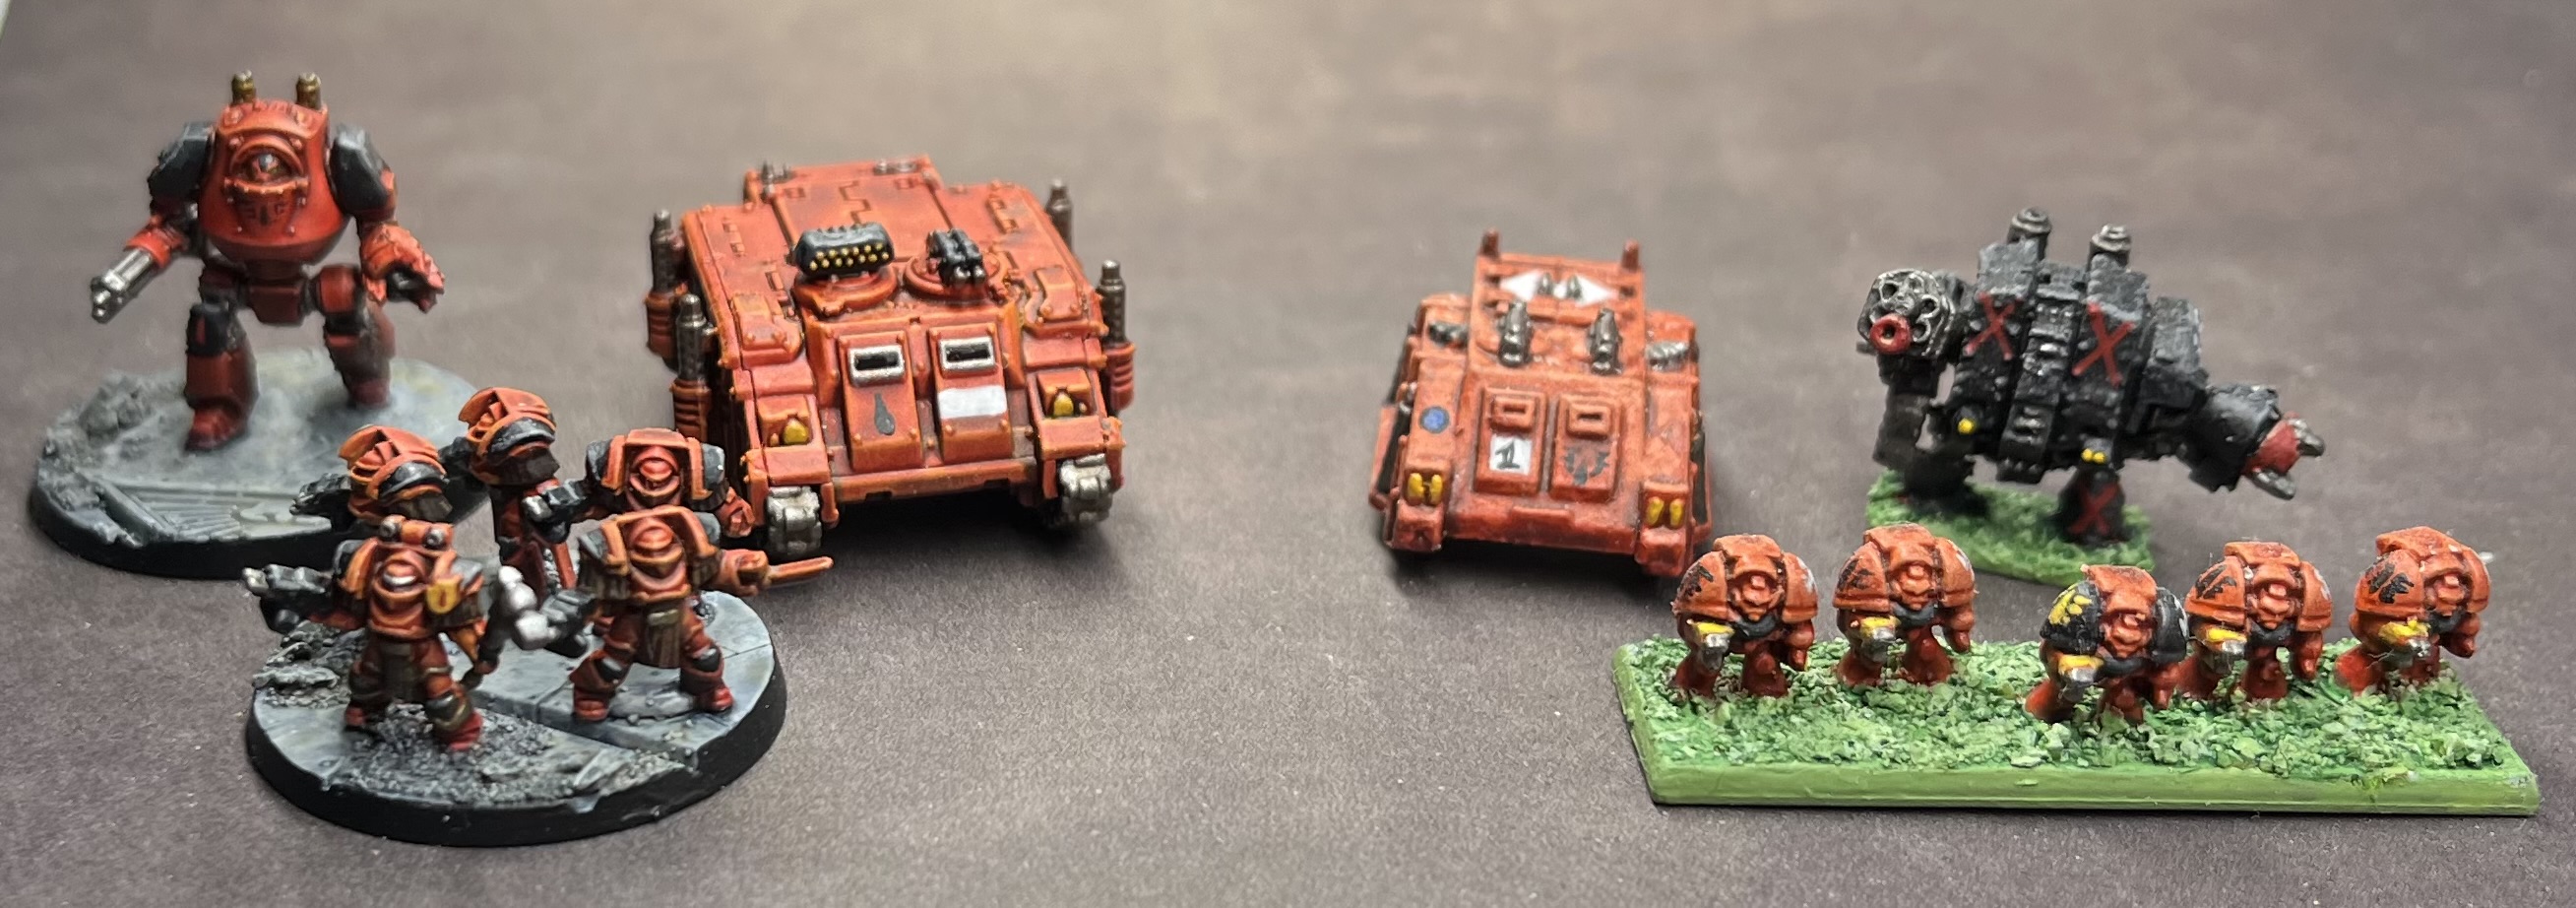
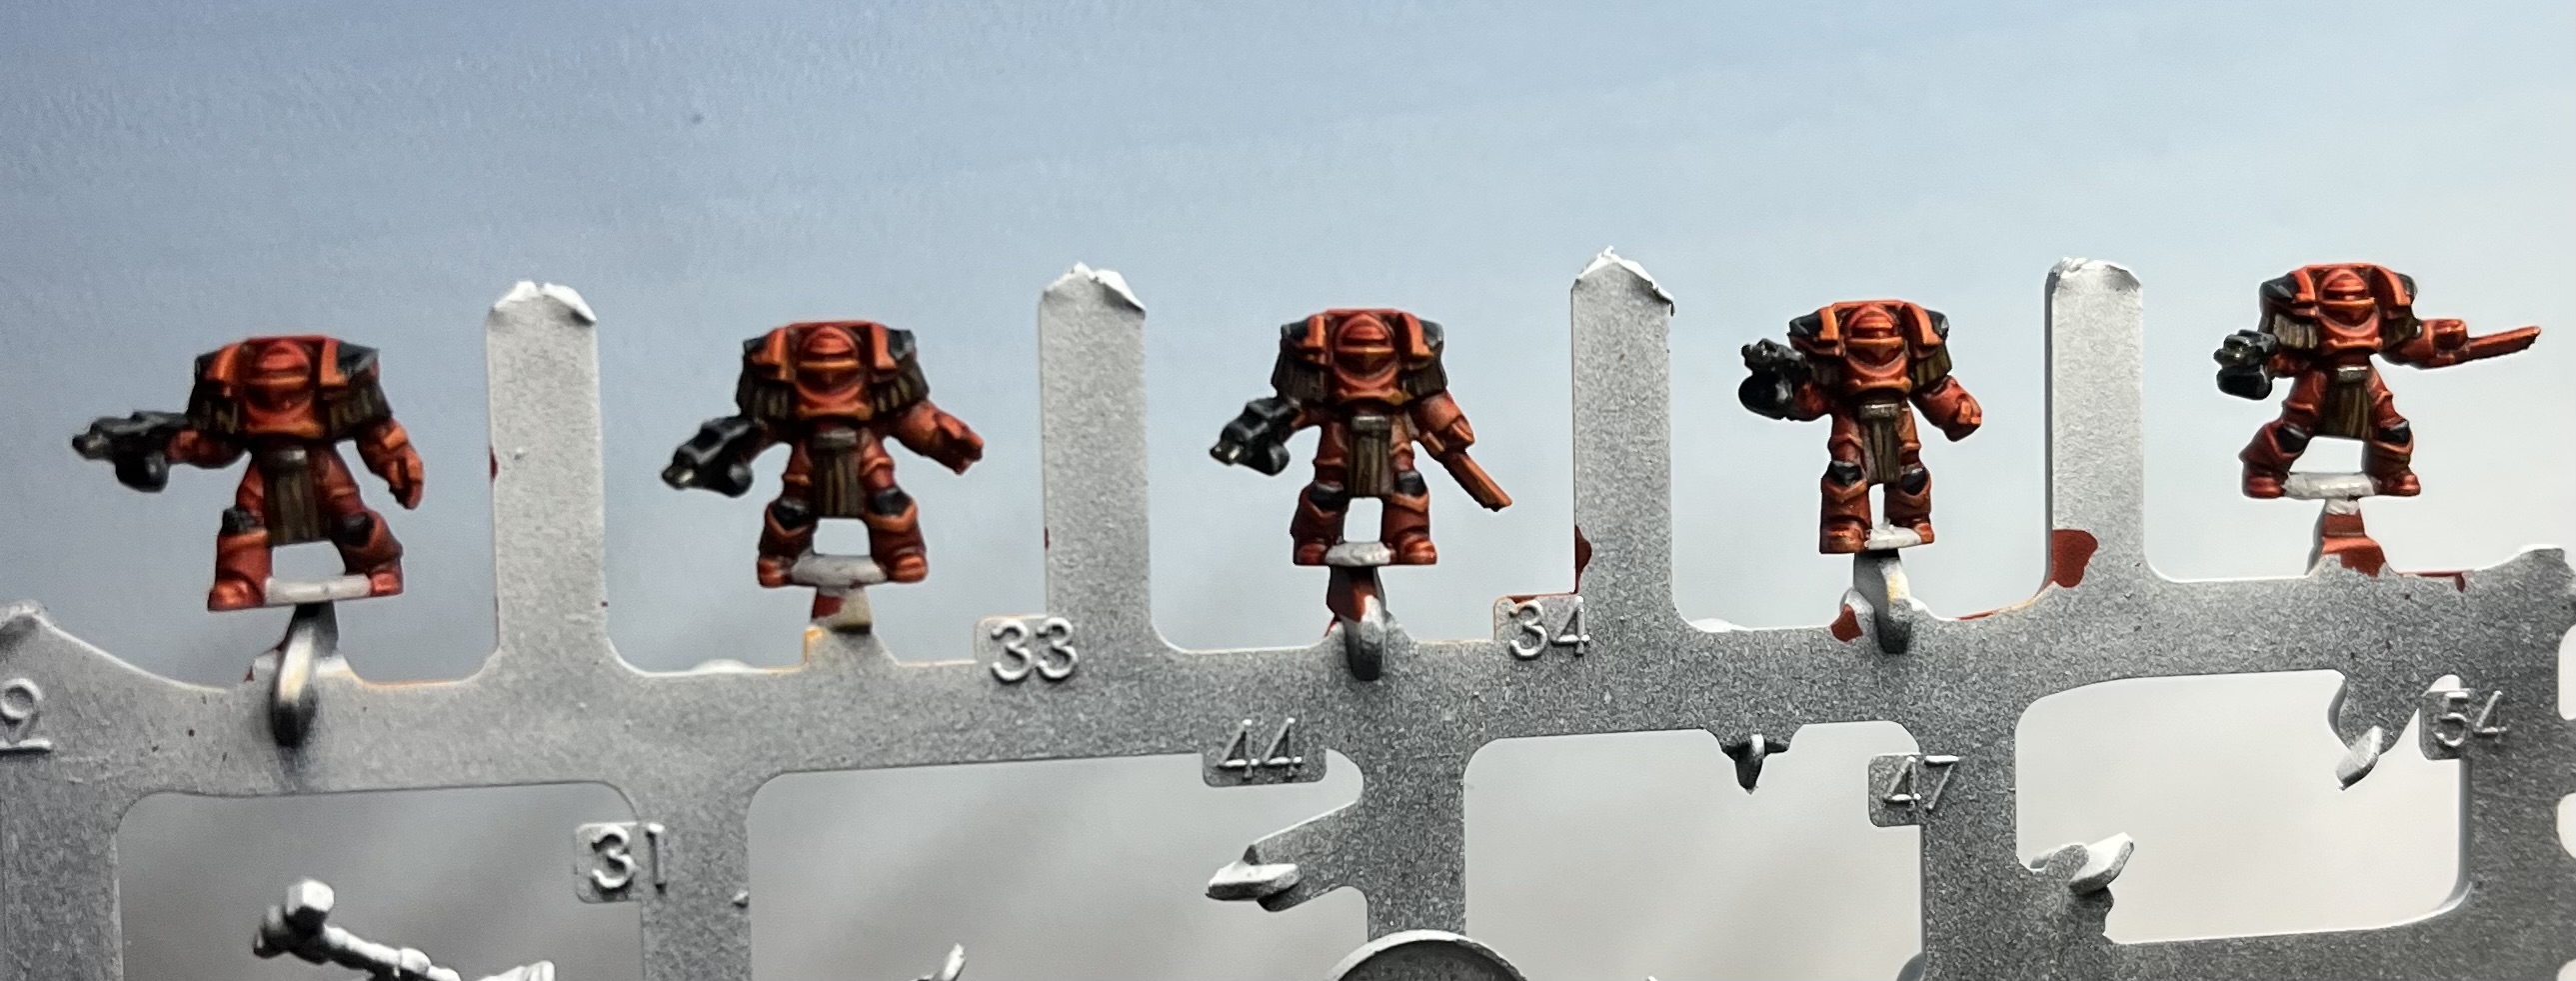
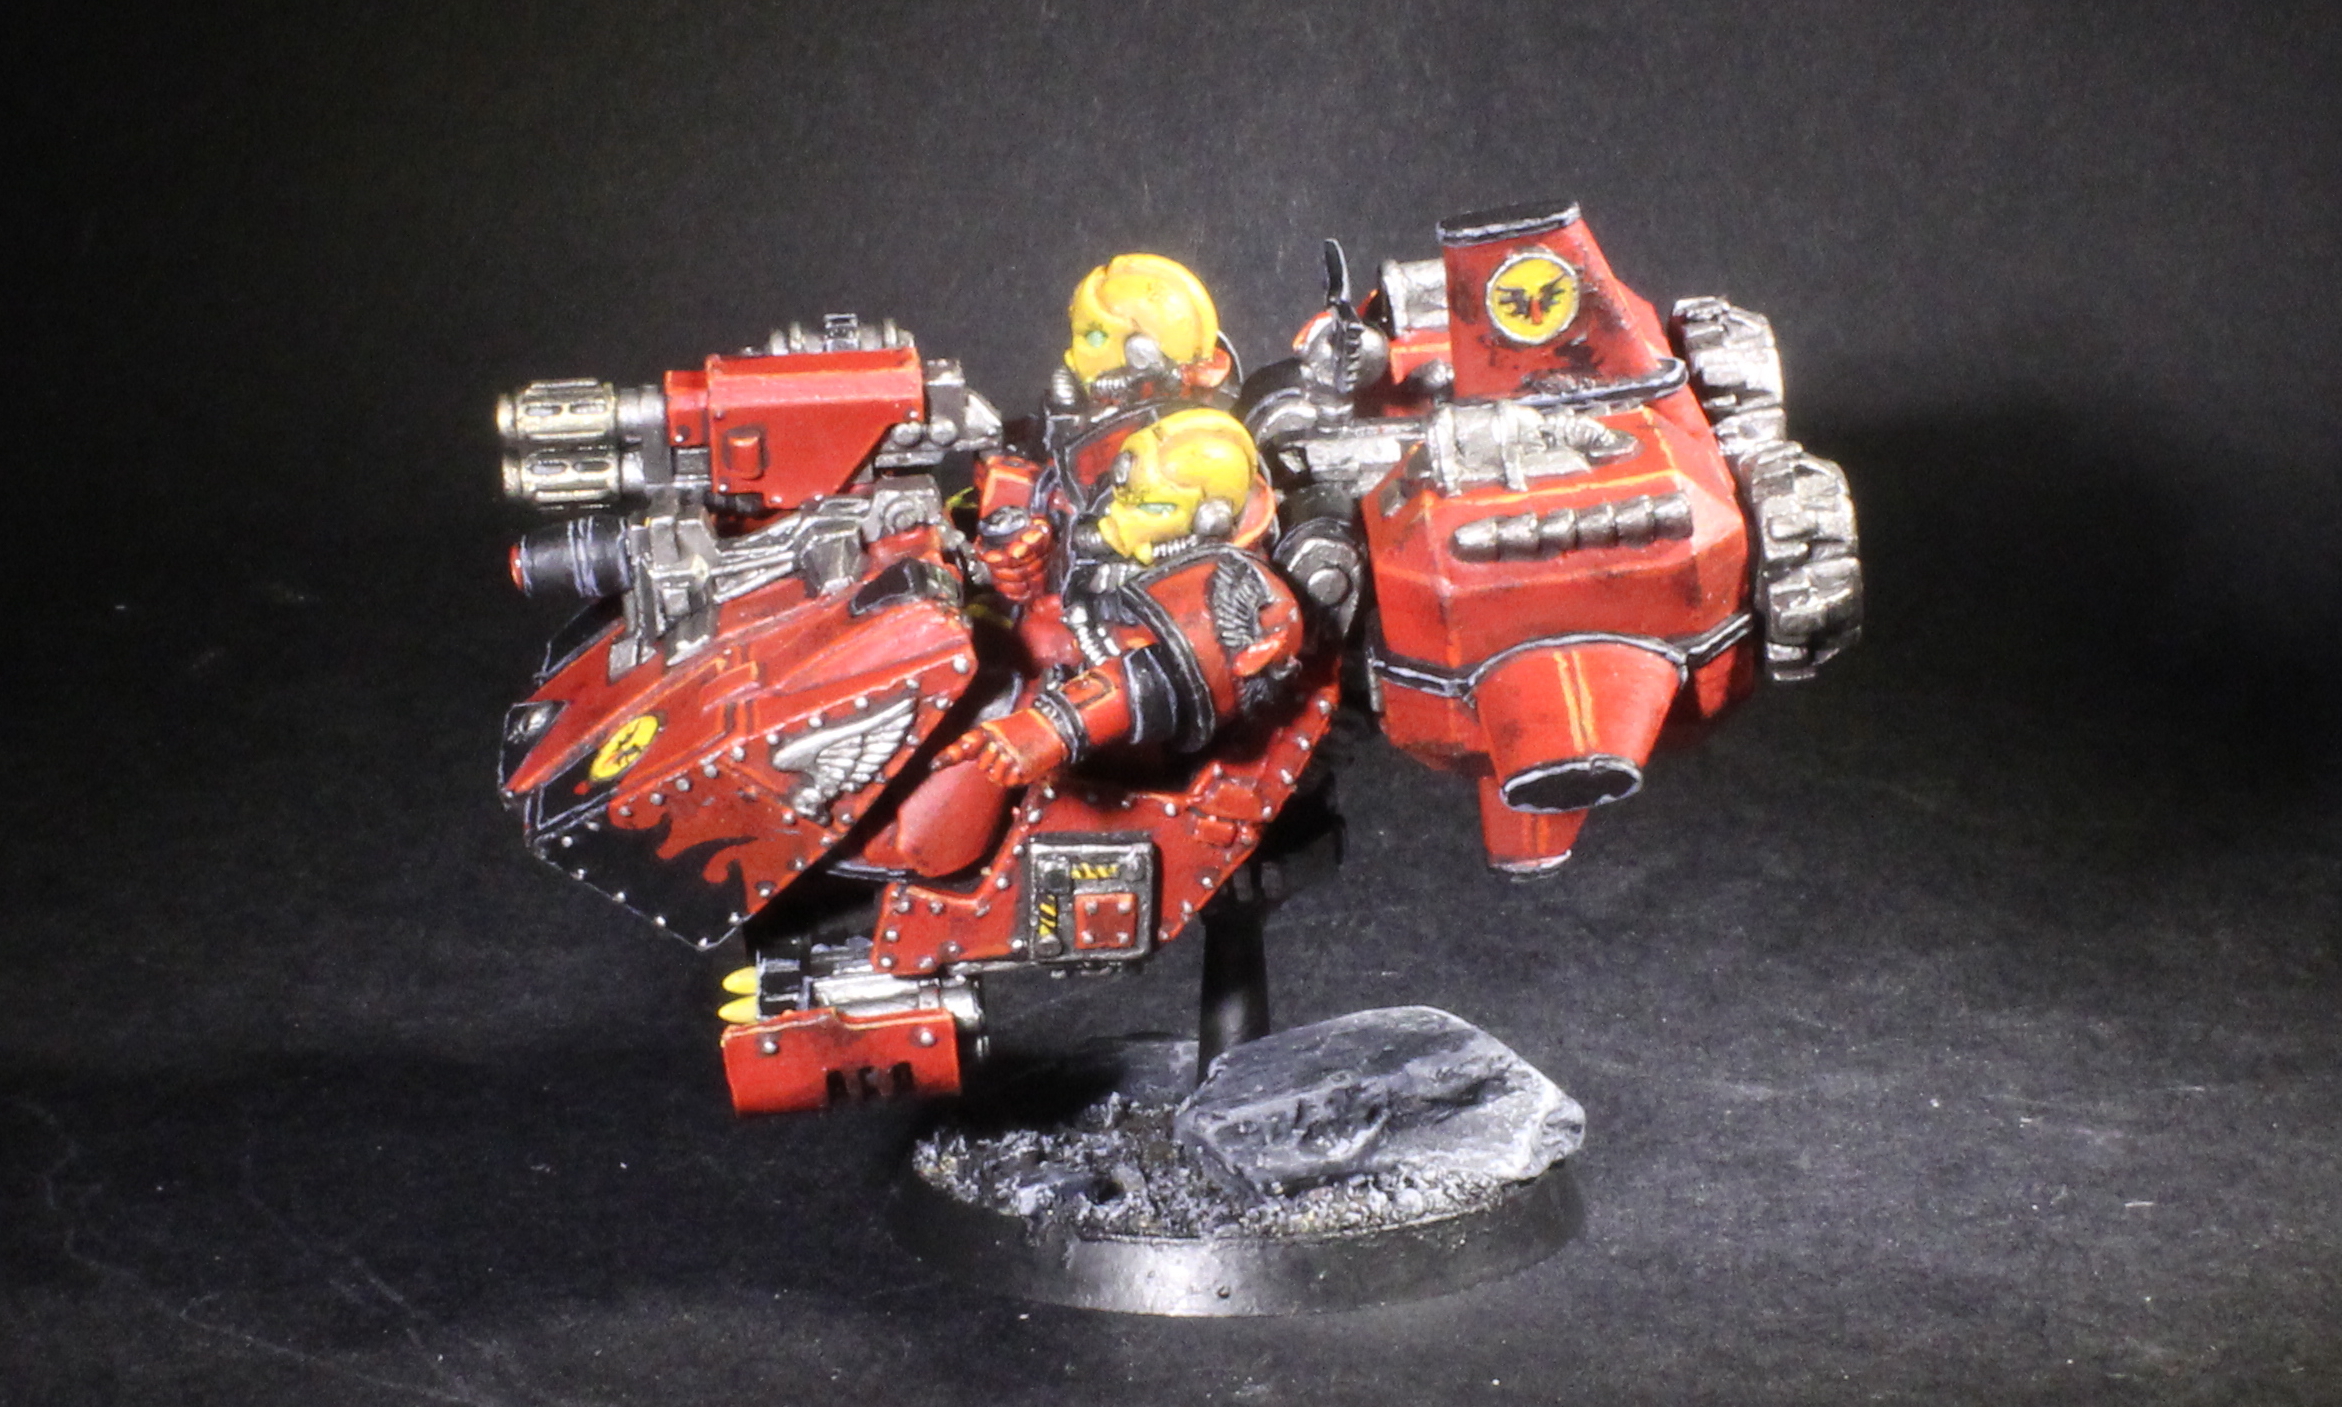
The tiny Contemptors were a highlight for sure. Long time fans of the blog will know that the bigger versions of these are among my favourite miniatures ever, and the tiny ones had me grinning and sawing “Awwwwww…” quite a bit. You need four of them for a full talon and honestly, it was a treat to work on each. Alongside those, a full 20 man tactical squad and 10 terminators rounded out the Infantry element before I started work on the command squad.
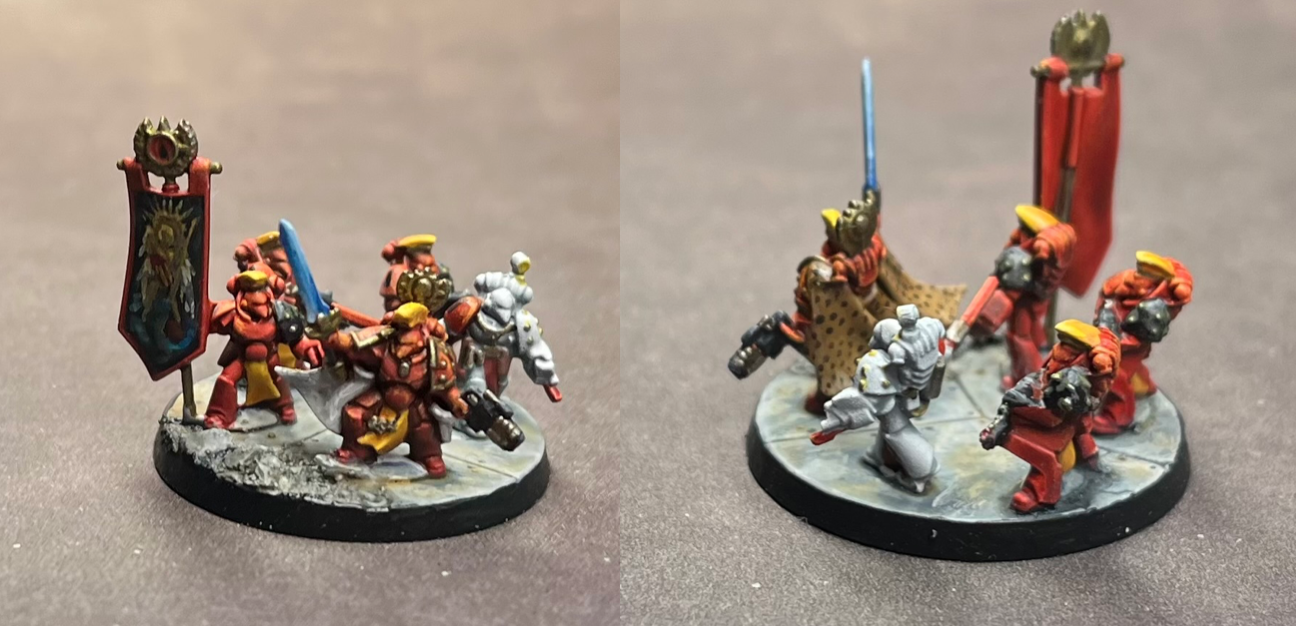
So can you do freehand work on such a small set of models? Damn right you can. And did I give my captain here a leopard skin cloak? You know I did! All of the tiny men were so much fun to paint, and what I really like about this is the sort of instant gratification you get. If I were painting 10 terminators at Heroic Scale, that would take me more than a month, most likely – maybe even two. These guys took me less than an afternoon, and I’m happy with them. That is one of the true joys of Epic scale painting.

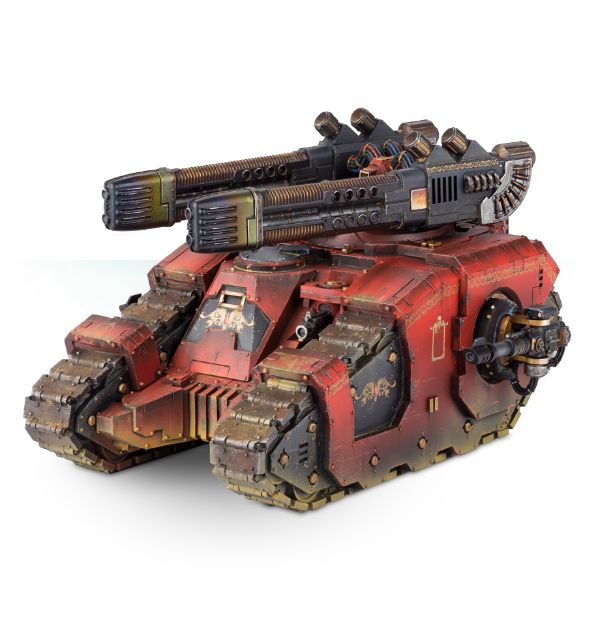
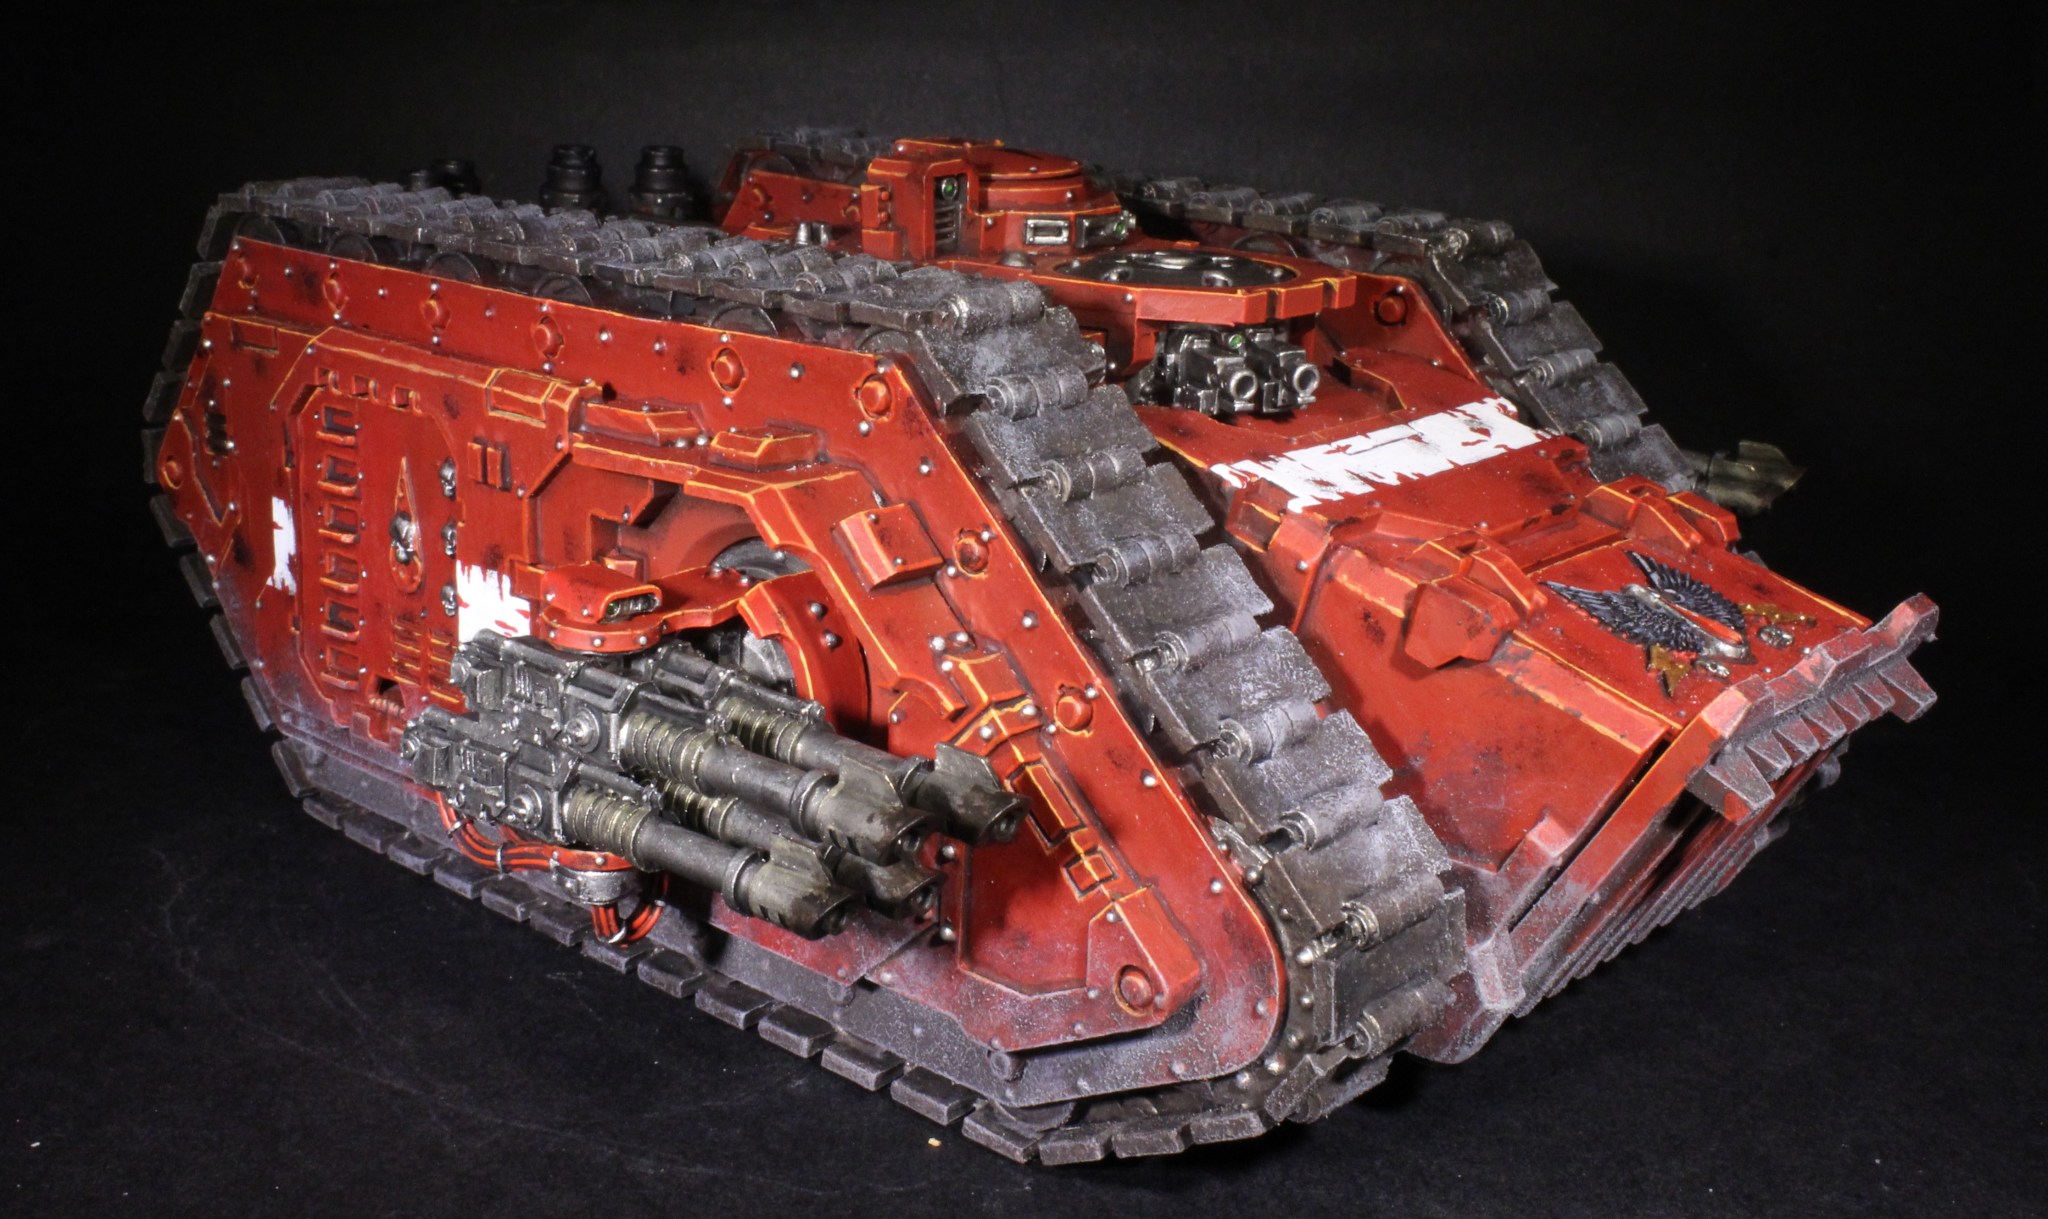
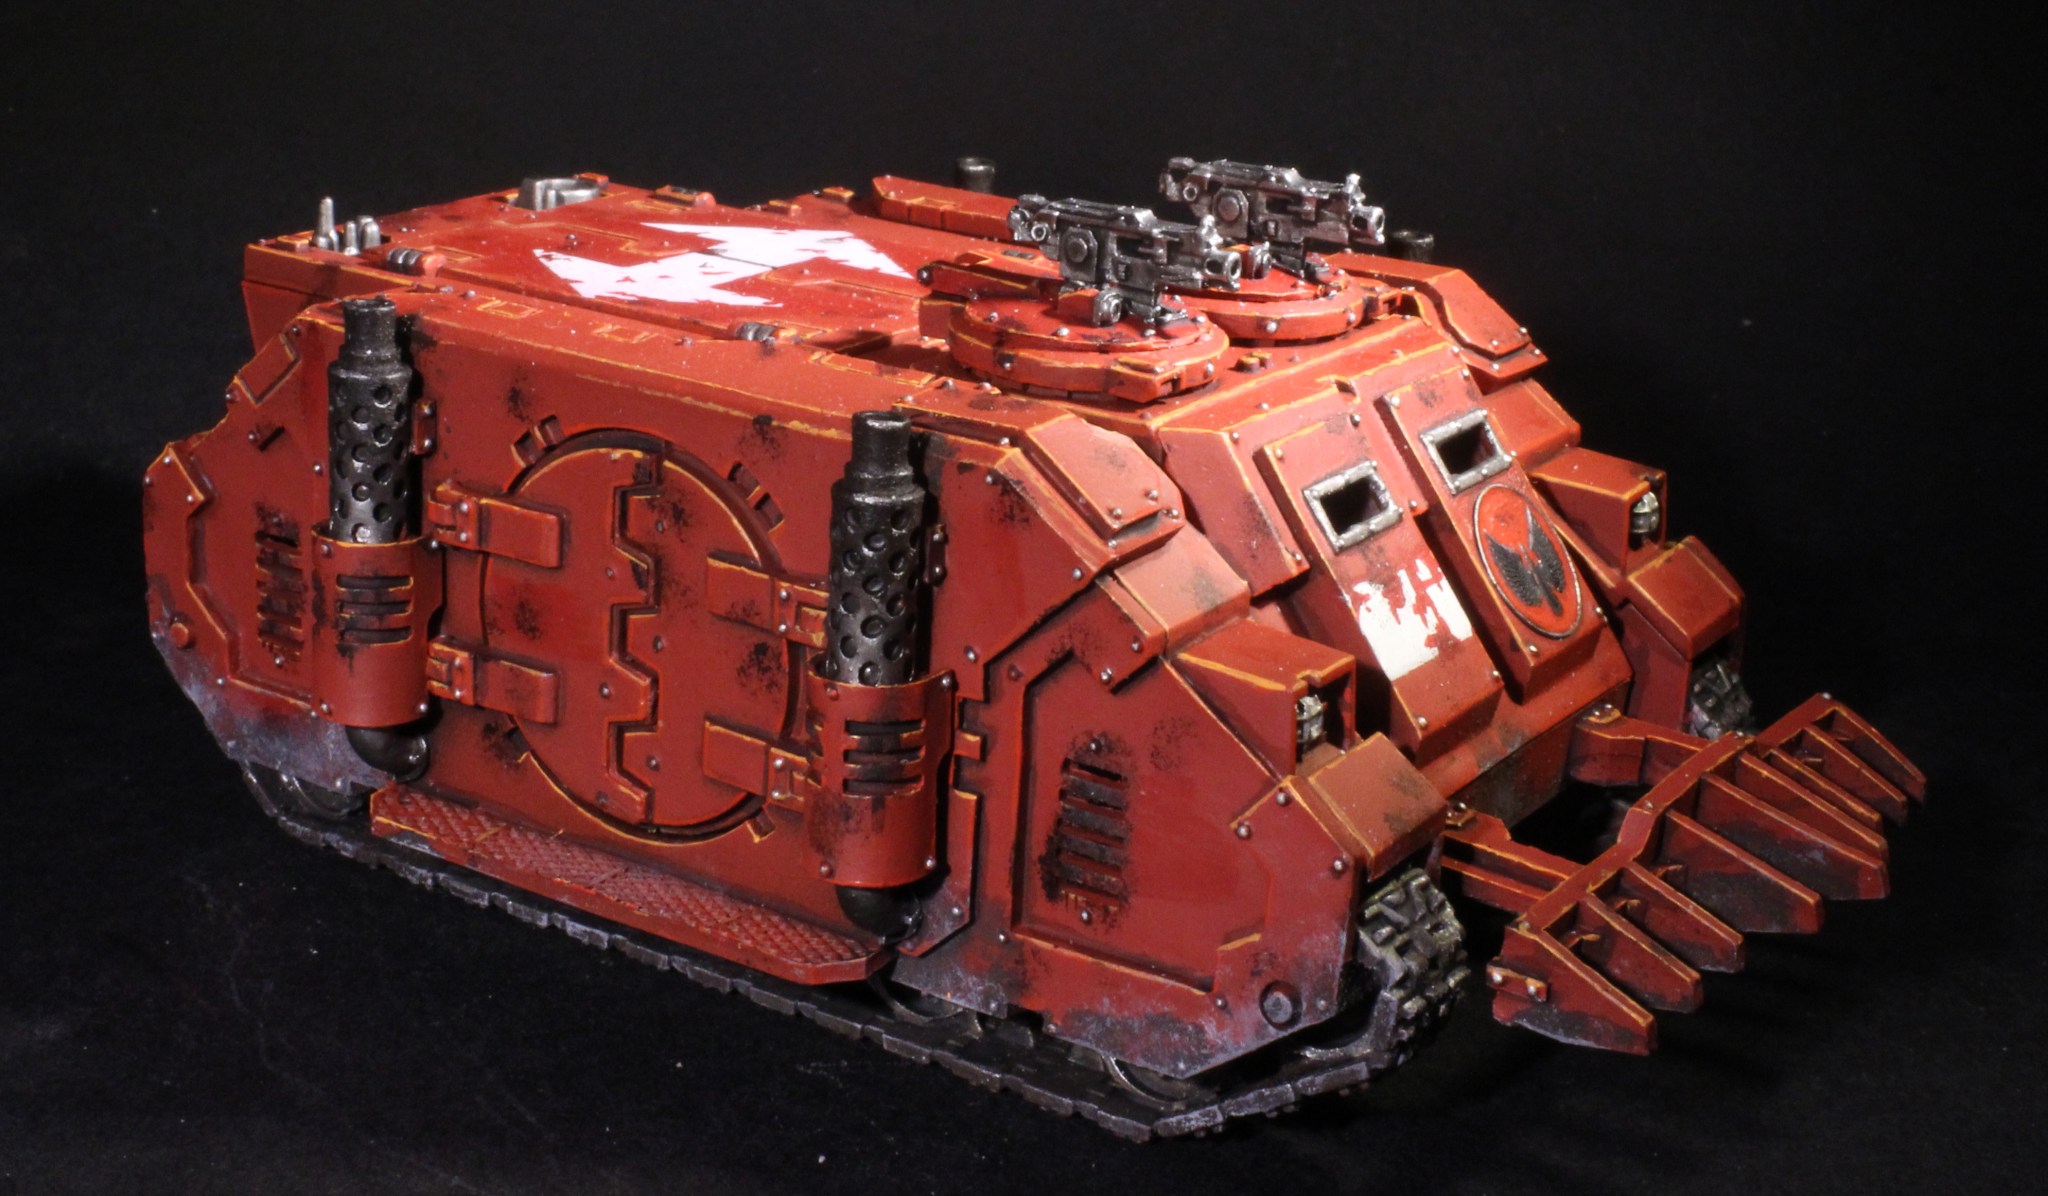
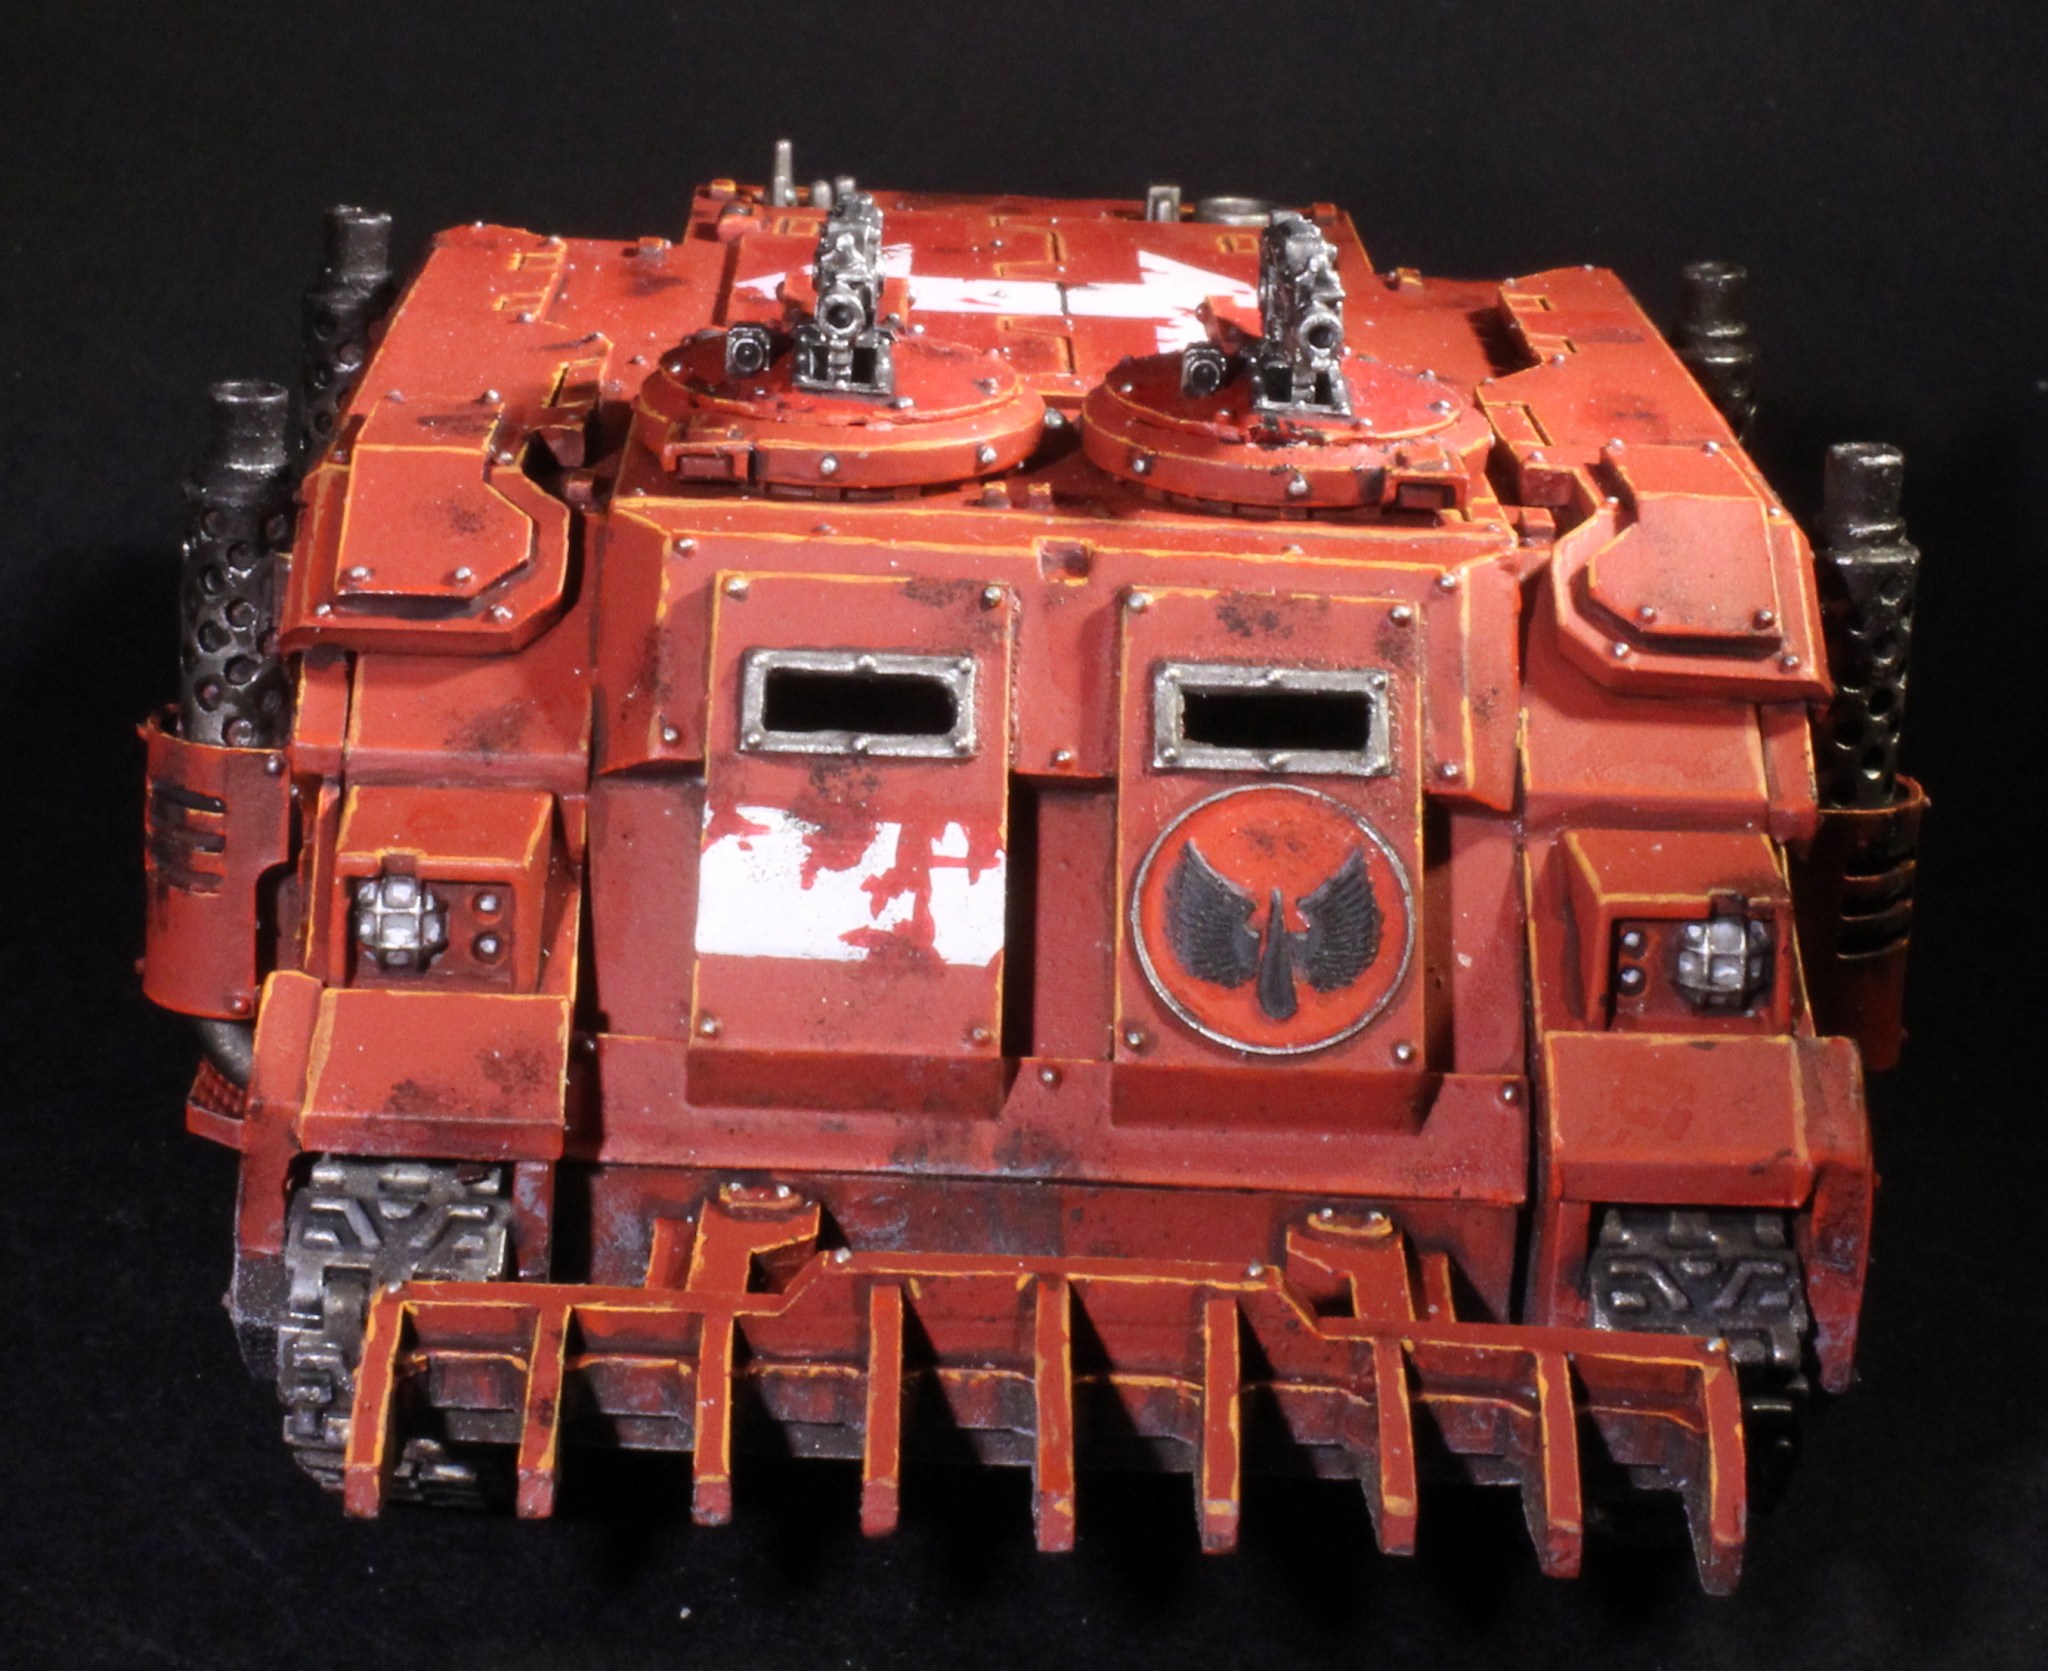
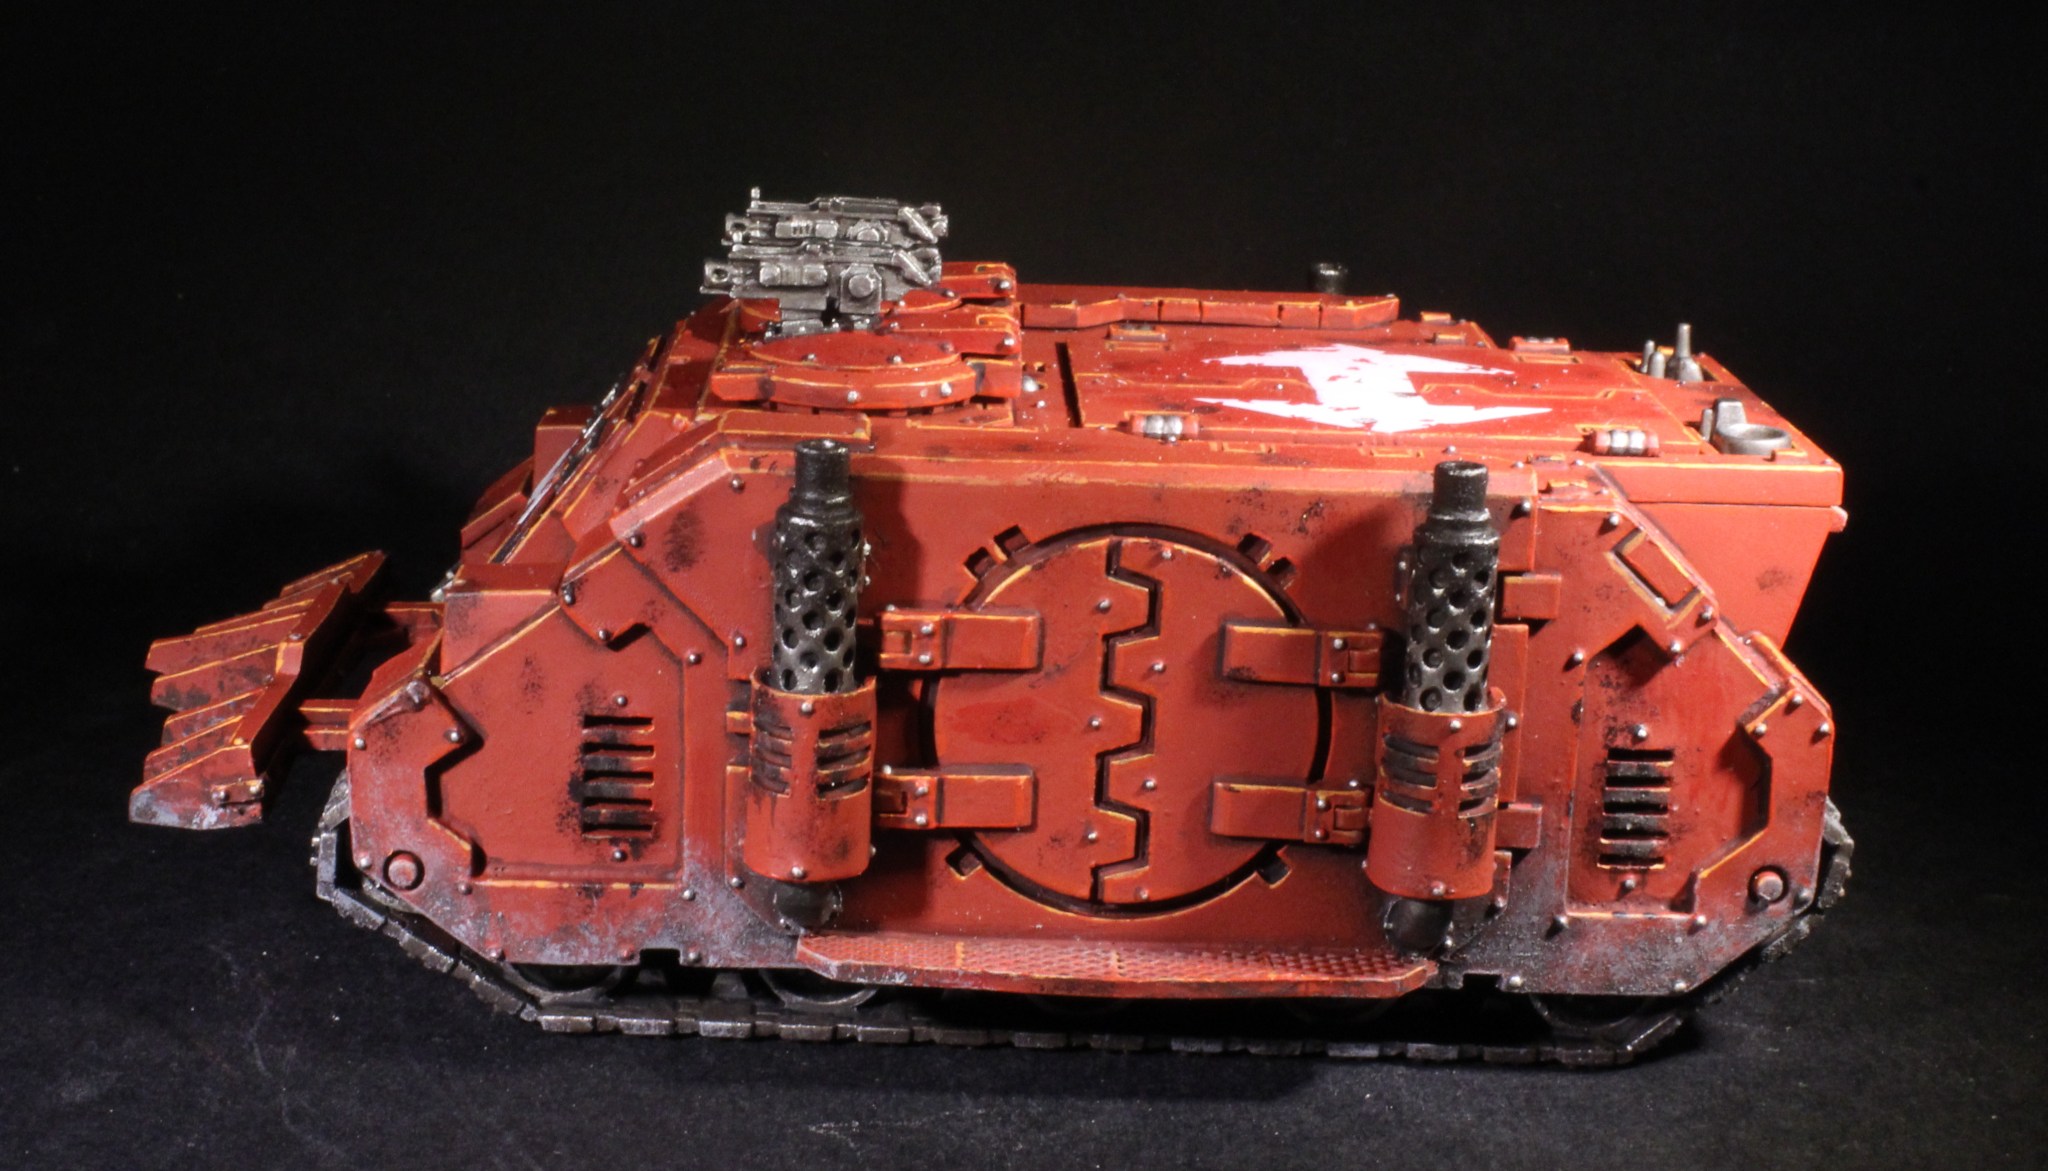
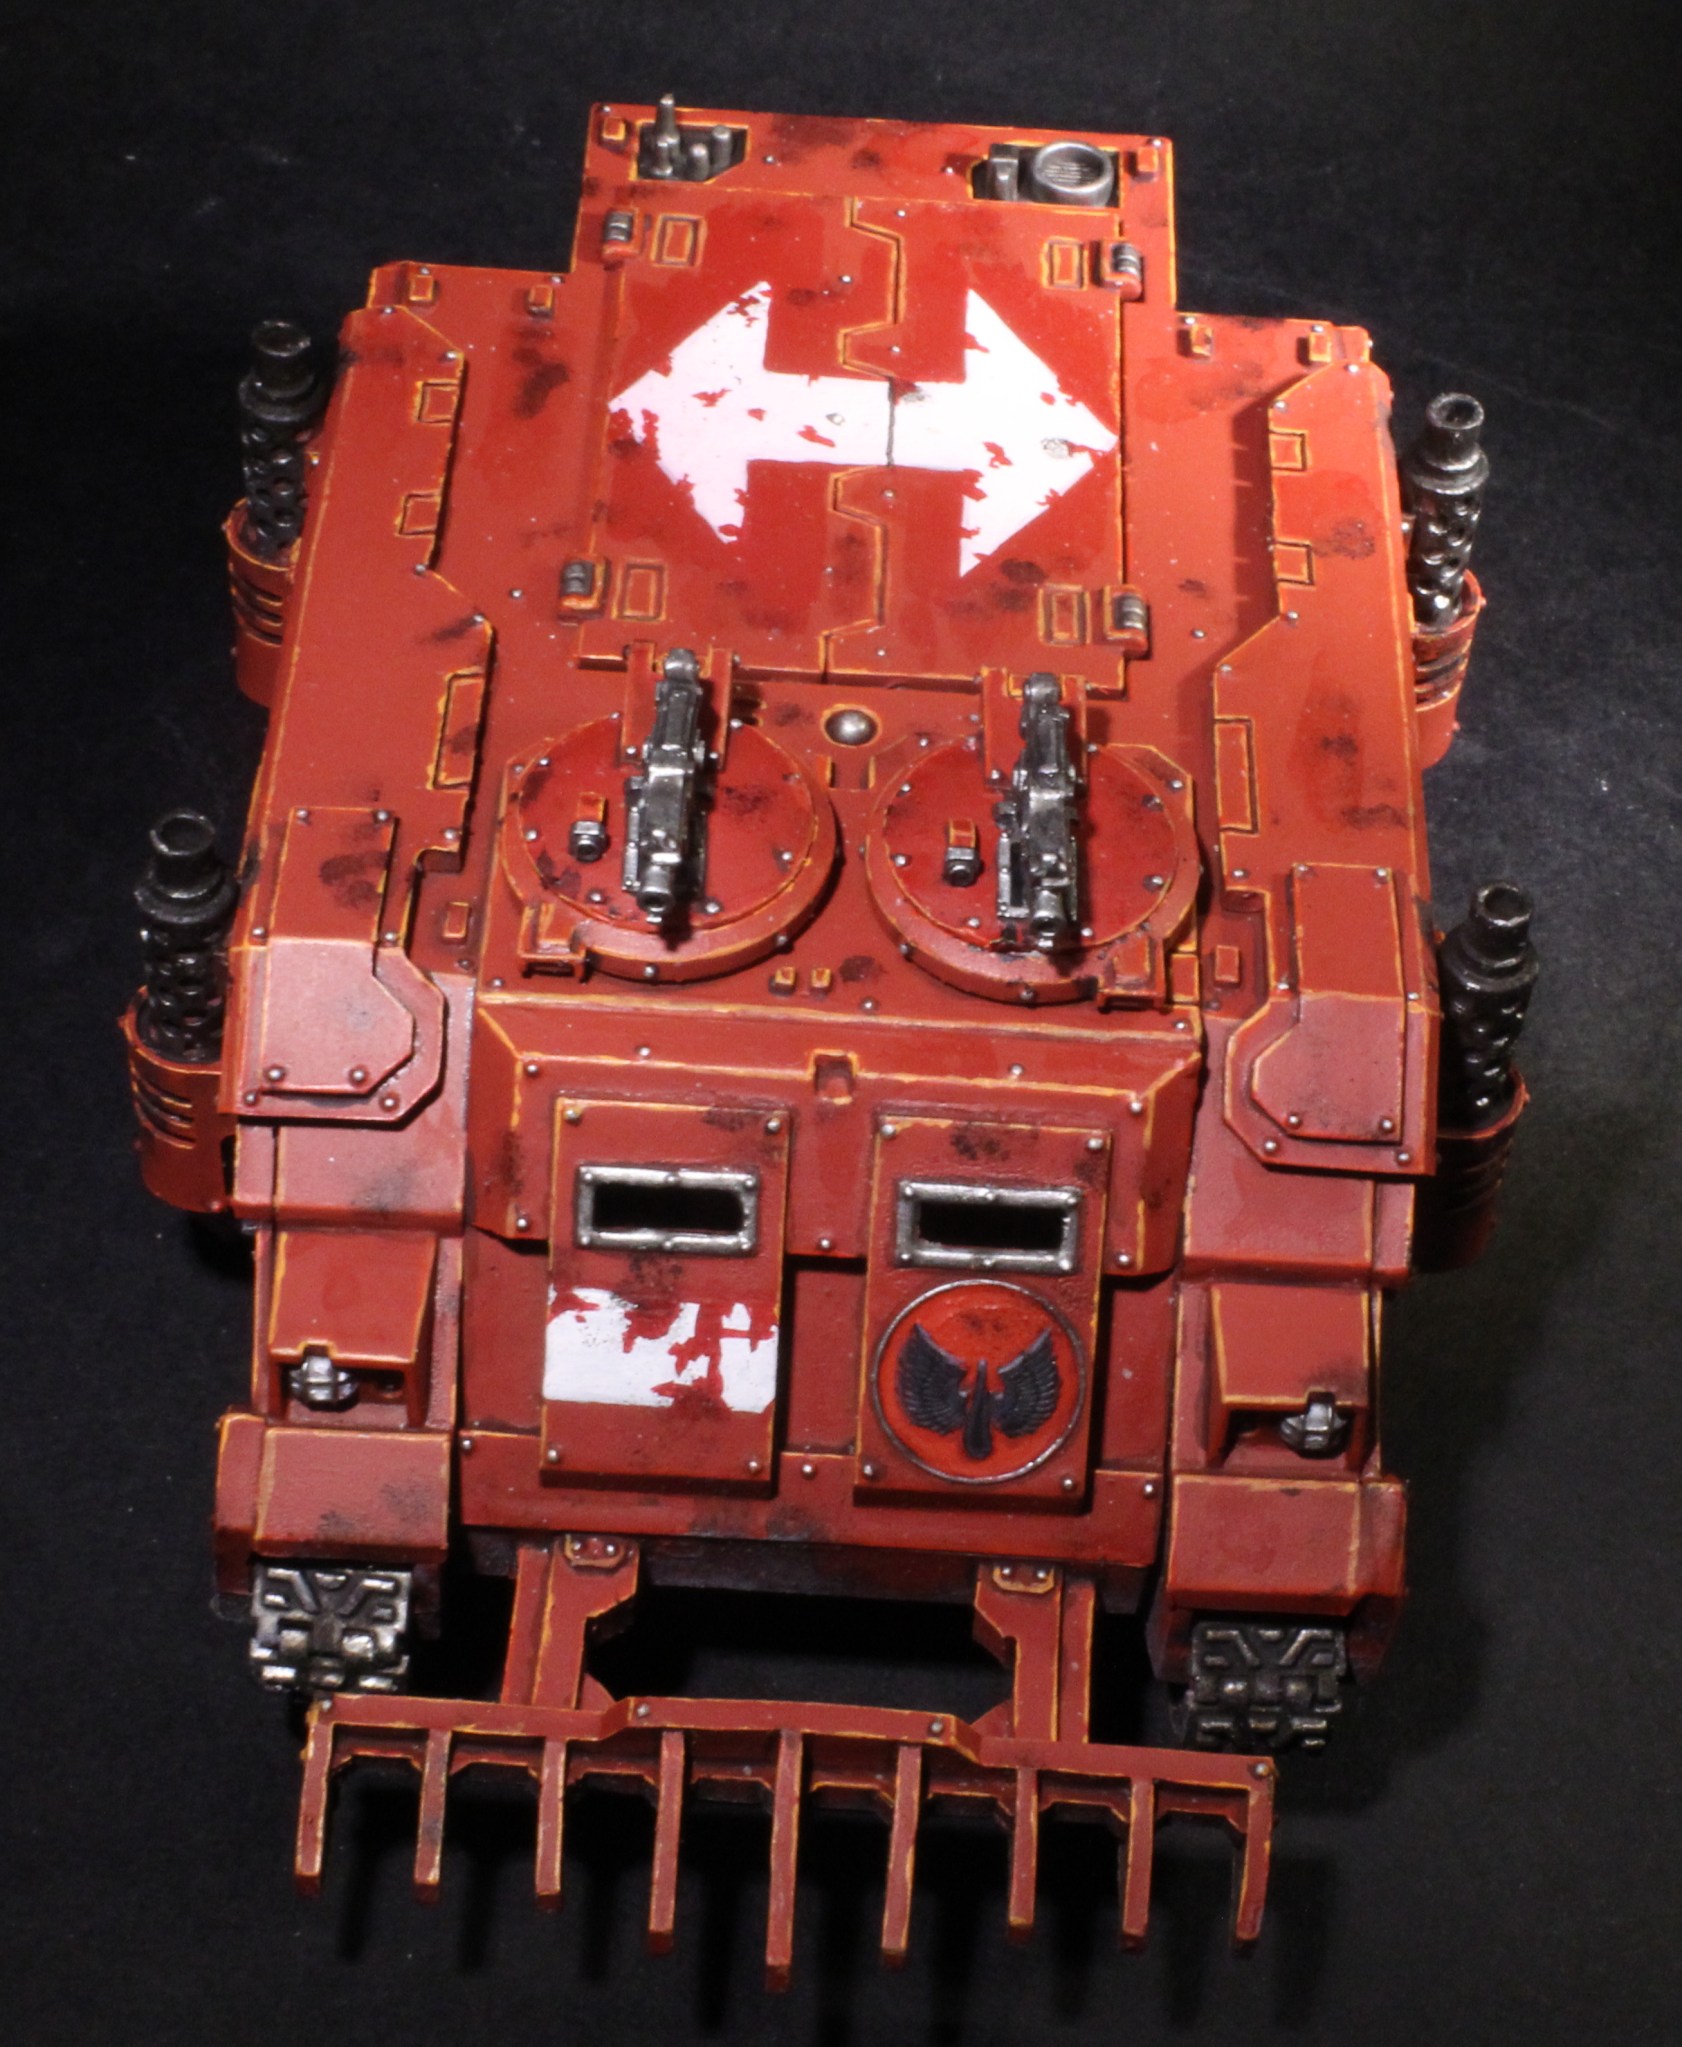
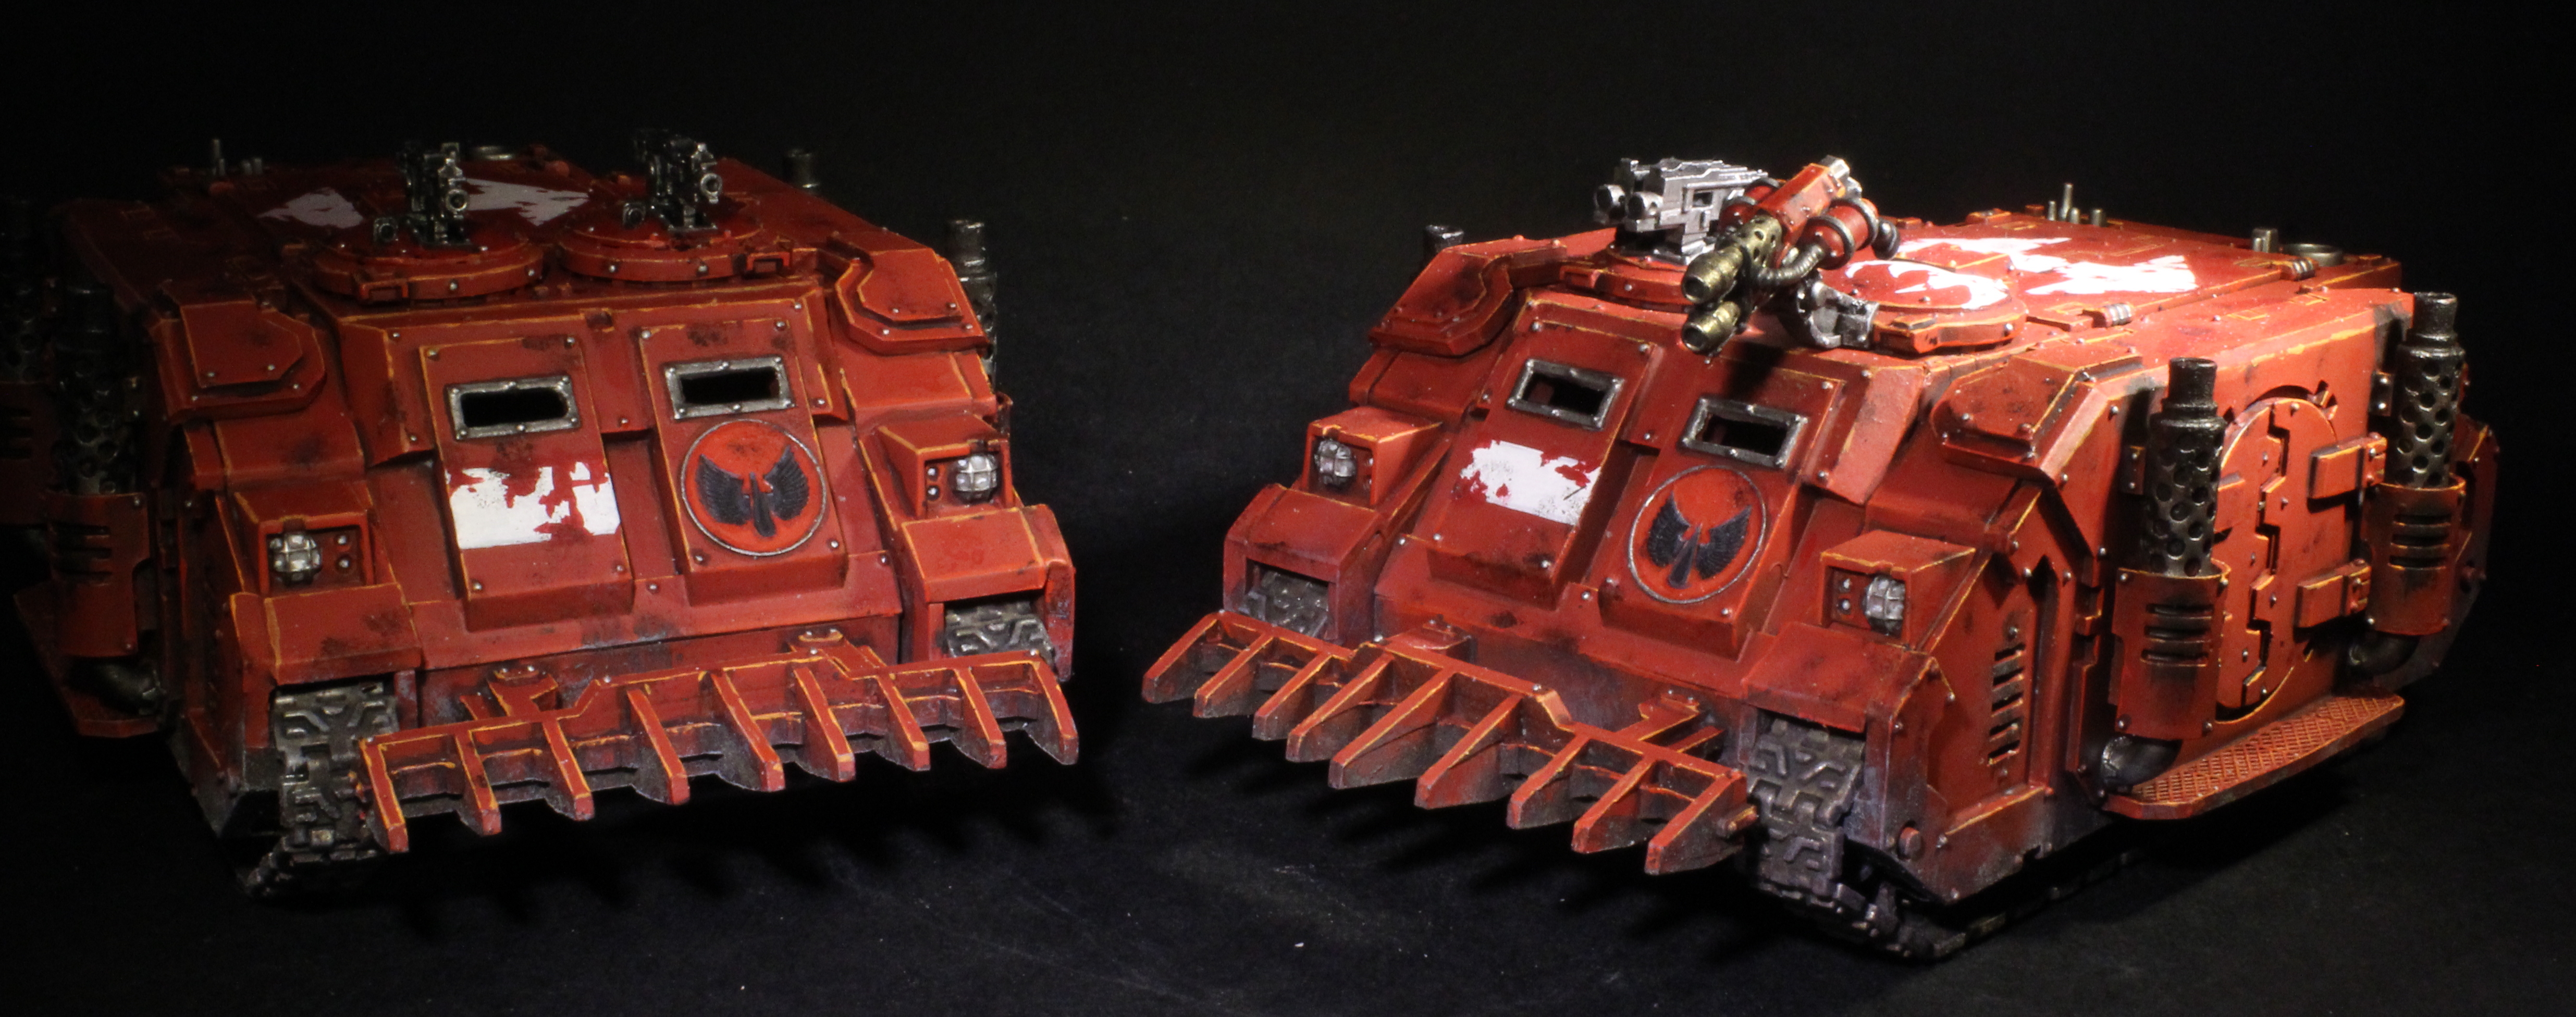
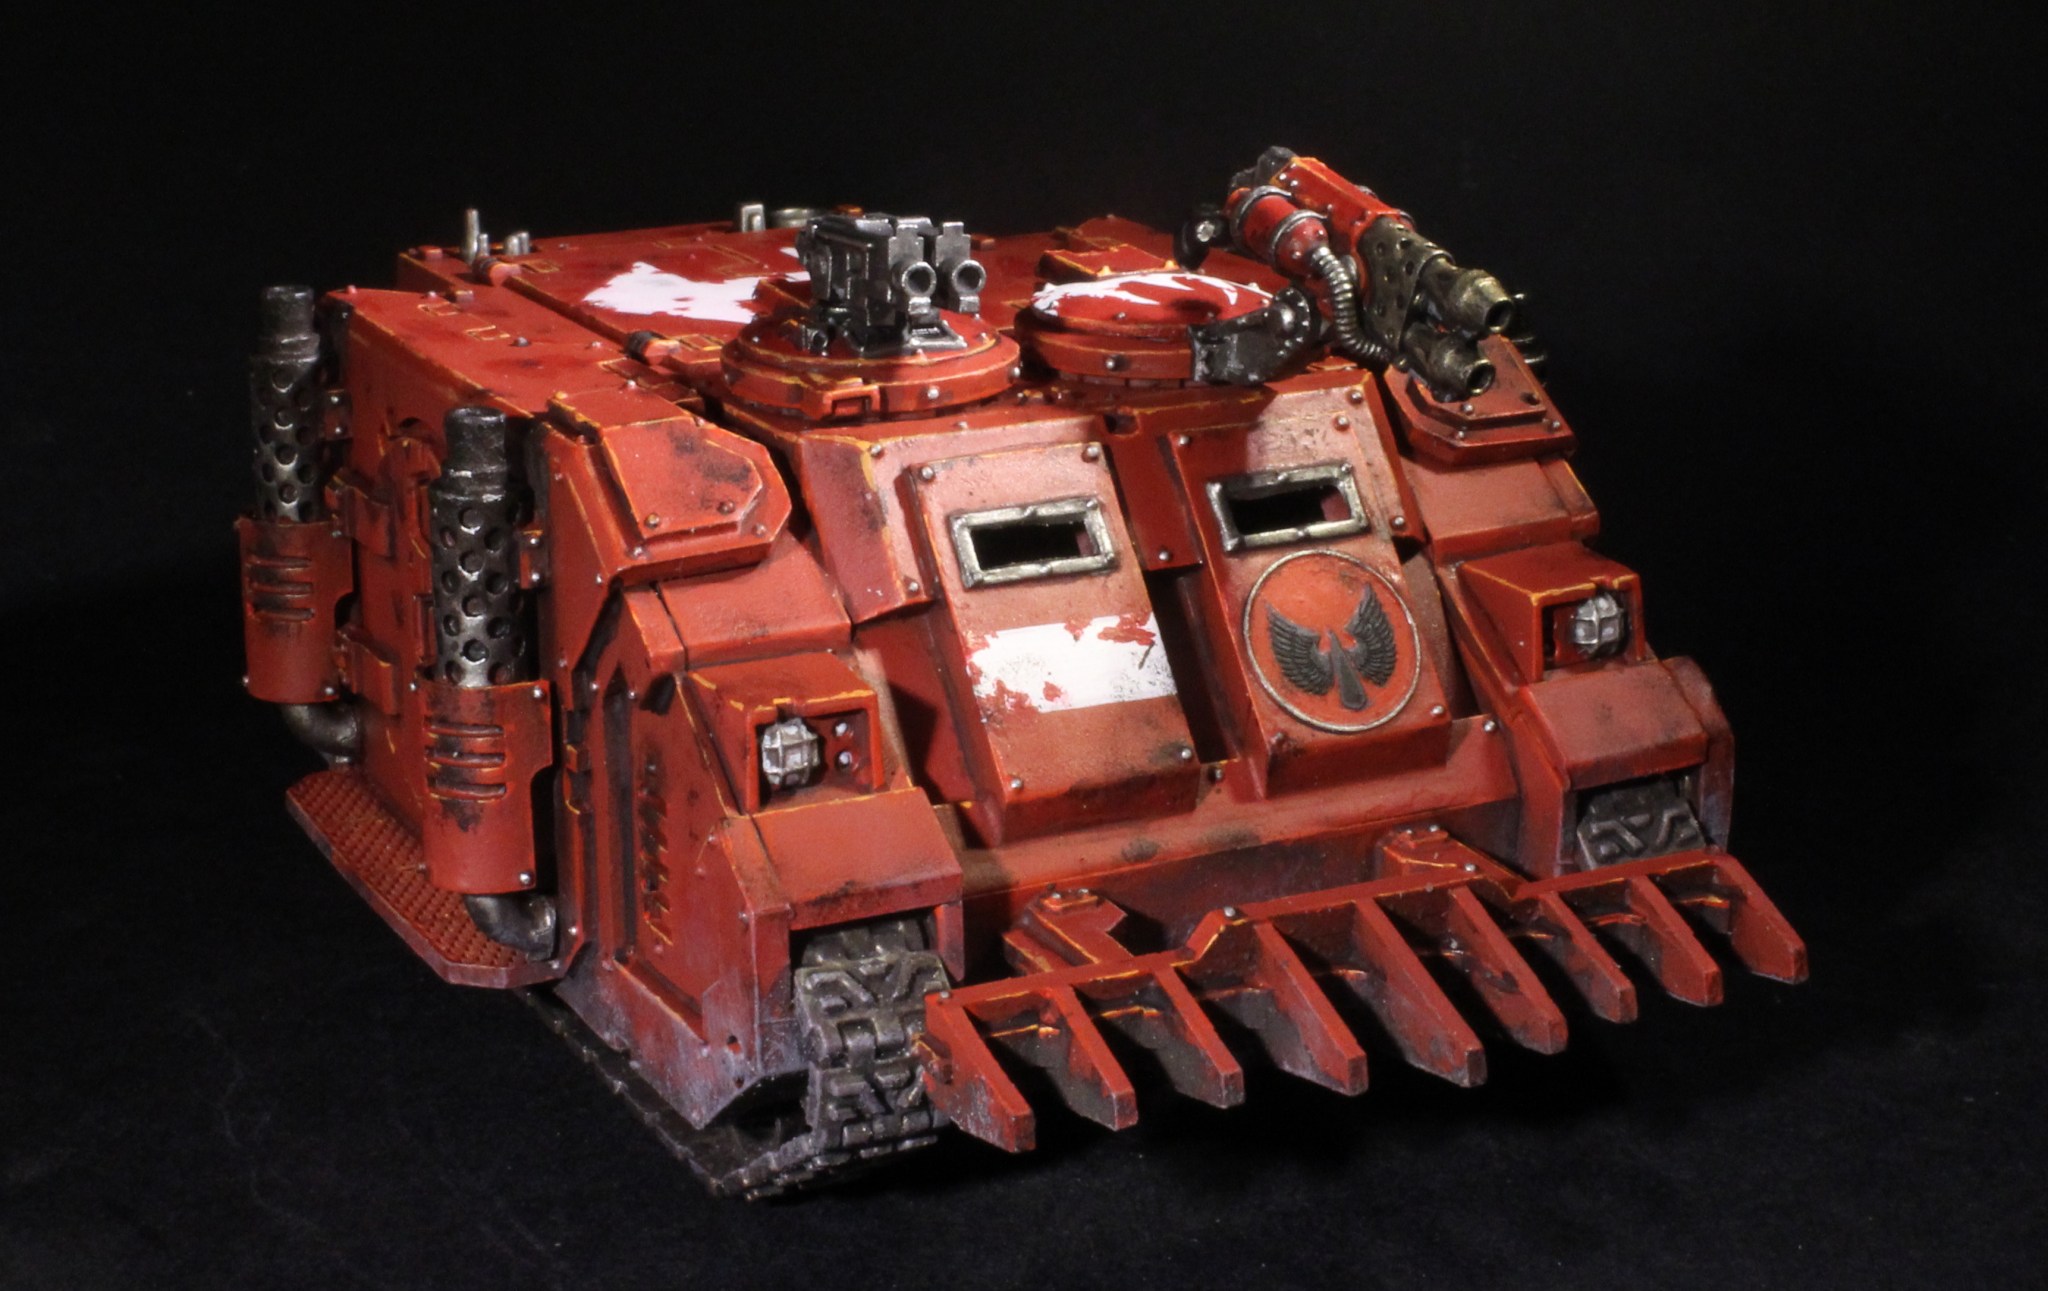
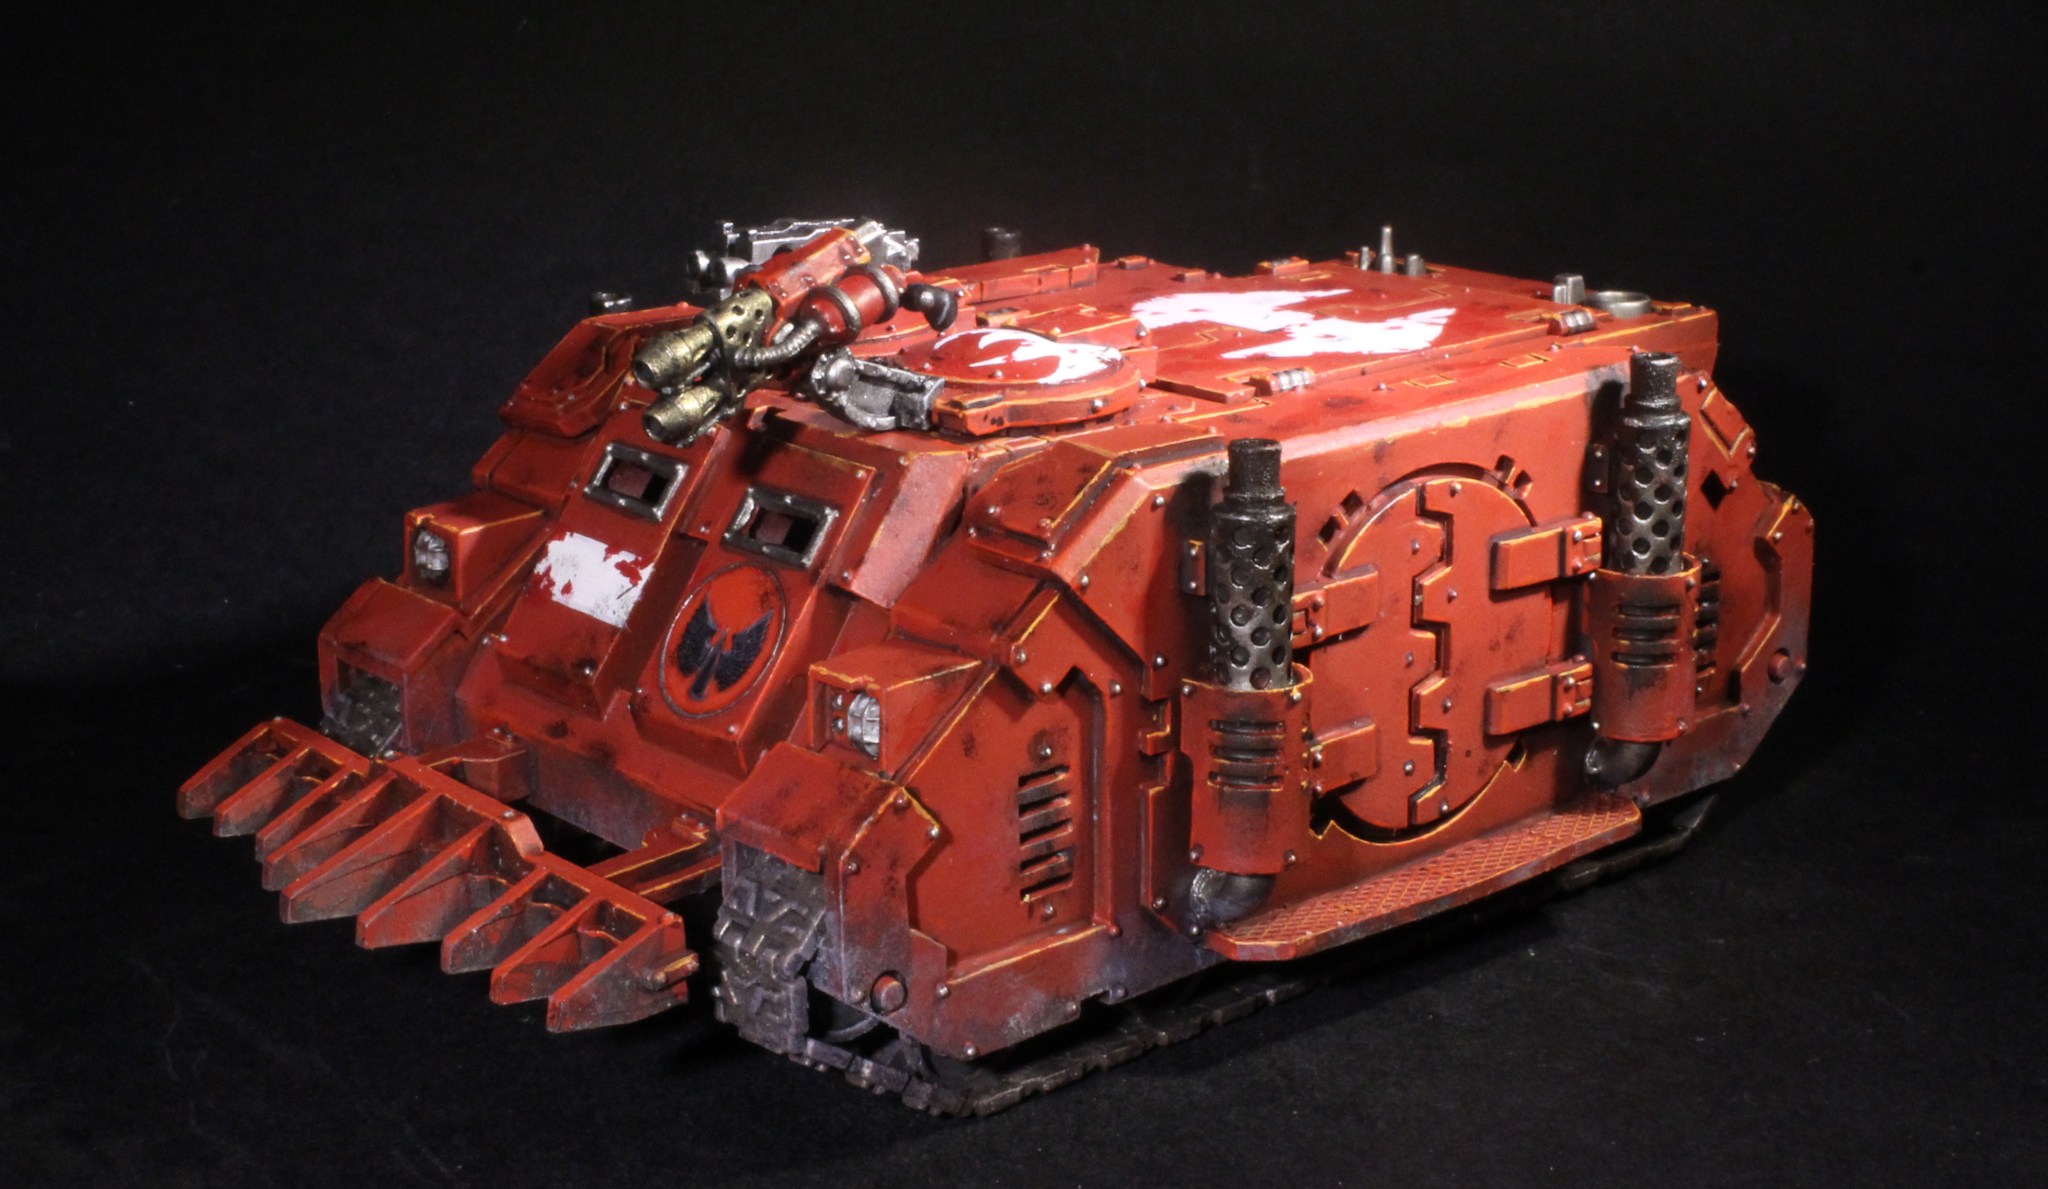
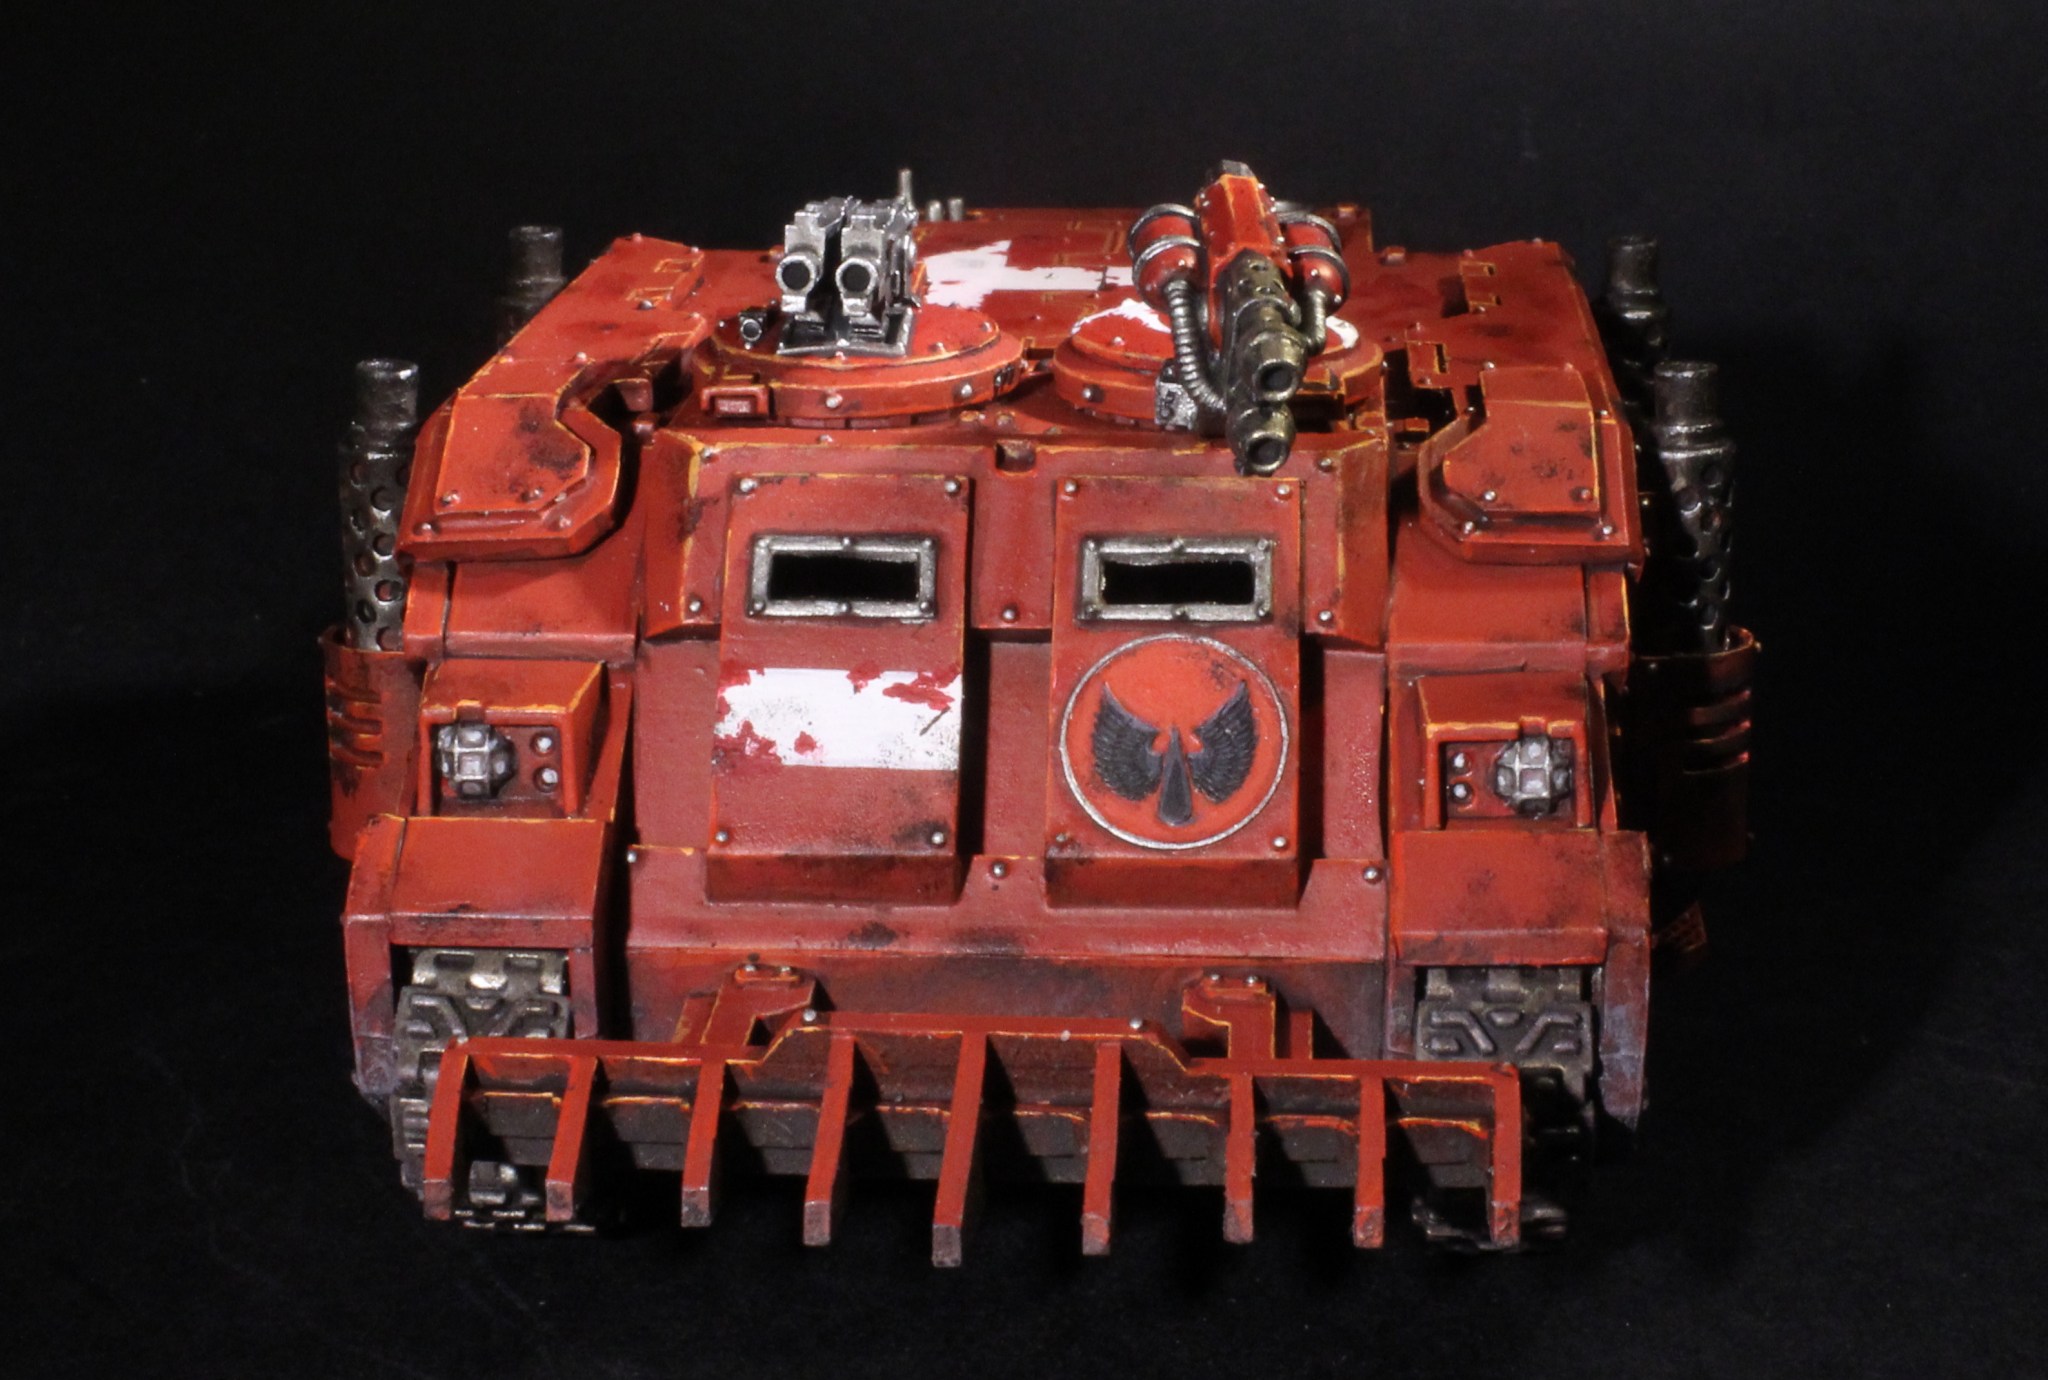
And for a bit of armour, I’ve got a couple of Kratos tanks armed with their plus-size melta guns, and a lone rhino to help the command squad get around. The tanks were so much fun to put together and as fast to paint as the infantry too. They look amazing as well. Am I tempted by a full on Battle of Tallarn build? You better believe it.
What About the Leftovers on the Sprue?

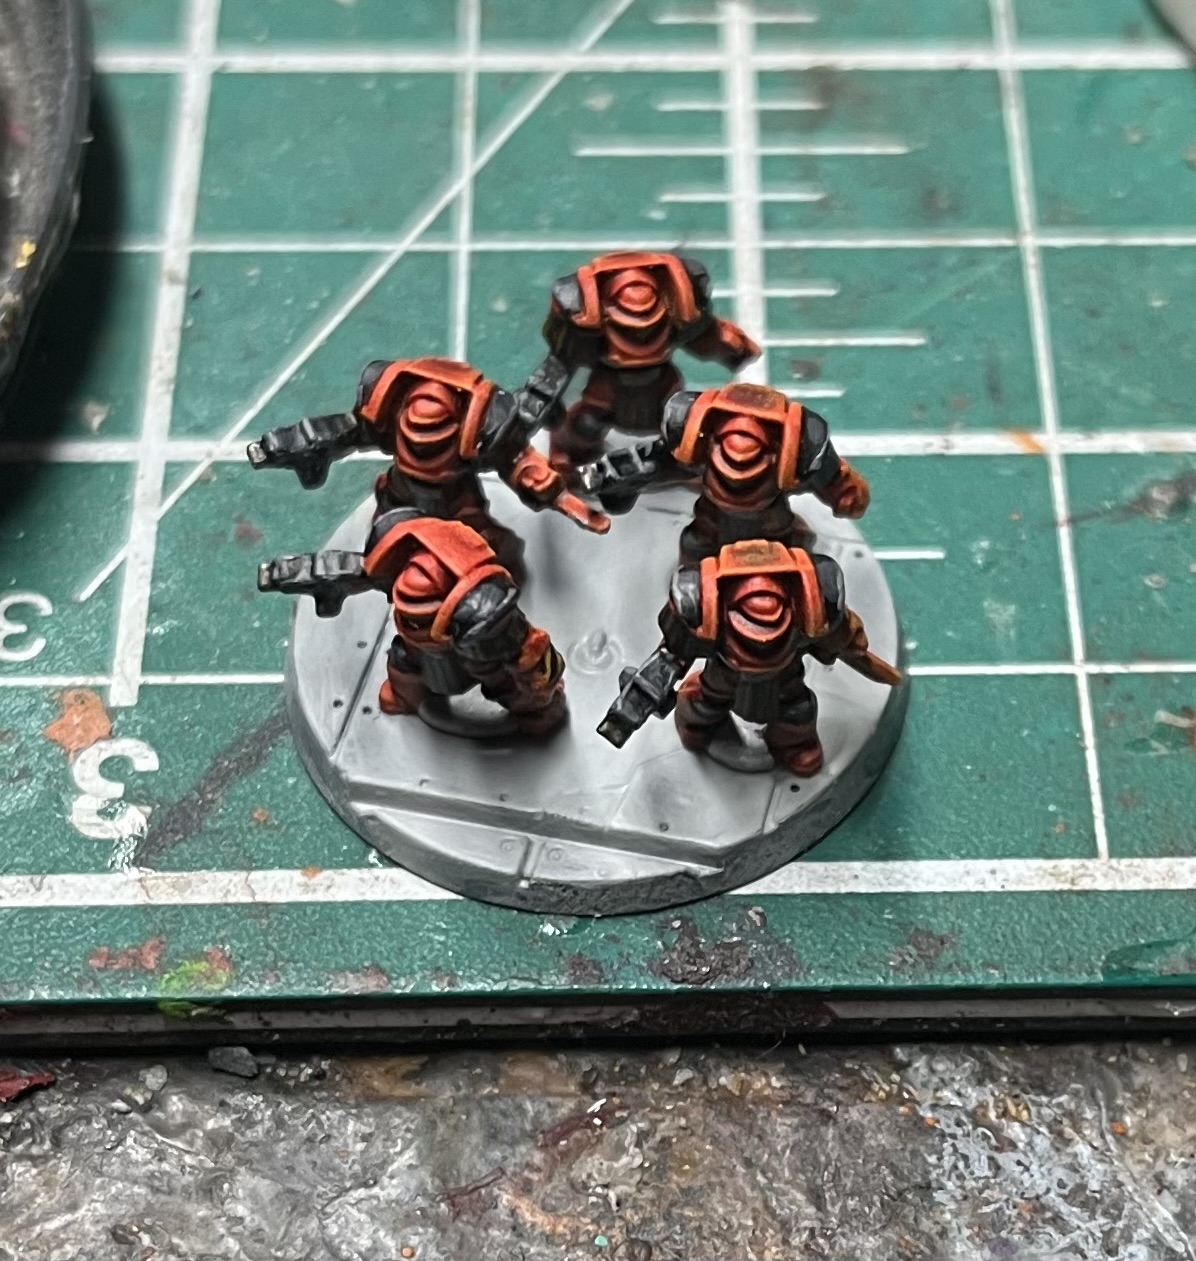
As I was building and painting my Blood Angels, I noticed that I was left with quite a few spares – a nice touch that allows you to do alternative builds. But what to do with the leftovers? I decided to have some fun and put together a little base of Shattered Legions marines. It gave me a chance to paint some different colours, and I might use them as a fun little addition to some narrative games. I painted the base for these a little different – to represent the Dropsite Massacre, but if you liked the bases I did for my Blood Angels, I’ve got a tutorial on how I based my Legions Imperialis miniatures for you to enjoy too.
A Bit of Nostalgia
For many, many years now, I’ve kept hold of my ancient Citadel Combat cards. They’re a fantastic resource of Oldhammer paint schemes and ideas, and the miniatures remind me of my childhood too. When I found out that I’d be getting the new Legions Imperialis Baneblades, I knew exactly how I wanted to paint it up…

It’s such a treat recreating the old with the advantages of the new. I had to make my own little flag (plasticard and paperclips are versatile things), but otherwise, it was pretty easy to map the whole thing over. I updated the painting style a bit, but it’s again mainly just drybrushing and contrast paints with a few minor details picked out here and there. As more bits and pieces come out for this game, I may well do a few more of these.

And speaking of old models, as I have a small but growing force of old-fashioned epic Blood Angels, I thought I could give you a good sense of the scale shift. The older stuff is a lot smaller than the new things, and yet those old bases seem to be a lot more intrusive in size, but that might just be the Goblin Green and flock. It’s interesting to see though, and you can rest assured that the quality of the new stuff is lightyears ahead of the older bits and pieces.
If you want some tips and tricks to painting miniatures at this smaller scale, I’ve got an article on that too.
The Future…
Well, I’ve still got a lot of Blood Angels to paint, but I’ve got a few other things I’d like to try too. I’ve been playing around with some test paint jobs for other legions already, and as mentioned, I’ve got some retro-inspired paint jobs I’d like to try out as new models get released.

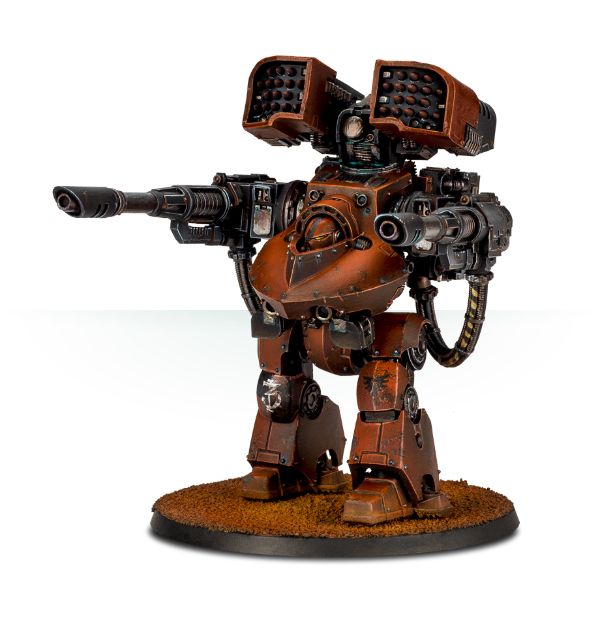
Other than that, well, I have about six Warhound Titans now so I guess I should start thinking about those at some point. And I have no idea what I’ll do with my Solar Auxilia, so I’ll have to have a think there.
What I want to leave you with is that I am having so much fun with these models. The scale is challenging, yet freeing and easy to work with. The game looks like a tactical dream, and I can’t wait to see folks playing some truly massive games with all the planes and titans… This feels like the first really “Fun” with a capital “F” games that have come out for a while, and with the miniatures being so much fun to paint, I can’t wait for more of it. Onwards!


 40kaddict
 4gotowar
 Castigator's Chaos
 convertorum
 darkfuturegaming
 ftgtgaming
 Mind of the Daemon
 taleofpainters
 talkwargaming
 Twisted Brushes
 weemen