
Unless you’ve been living under a rock, you’ll have seen the brand new Death Korps of Krieg miniatures from the upcoming Kill Team release. I was lucky enough to be sent a copy of the new Kill Team box and while a full review will come at some point, it’s important to acknowledge that the miniatures inside got me painting again. The Death Korps have always been a favourite of mine since I first read about them in Warriors of Ultramar many moons ago. I never got round to painting any, but with this box, I was determined to give them a go. What’s more, I wanted to come up with an easy and quick scheme to help you paint yours.
Before we dive in, I just want to say that the miniatures and scenery are worth buying this box for alone. Even if the game’s a lot of fun, the minis are fantastic. You get loads of options with the Death Korps and my bits box has swelled with spares after this, but the level of detail is exceptional. I would caution you that they could be very fiddly, but they don’t need to be – you get needle thin bayonets and a tiny rack of medals, but you don’t need to include those if you don’t want to. Can’t wait to see what can be done with the orks!
On to the tutorial. Like I said, this is meant to be quick and simple scheme but we want them to look decent too. And there is that odd thing about the Death Korps that they draw us to paint them like they’ve been transplanted from the early 20th century and placed in the 41st Millennium. My advice is to just lean into that because it’s pretty hard to do otherwise – why fight it, but maybe use the good guys as your source of inspiration.
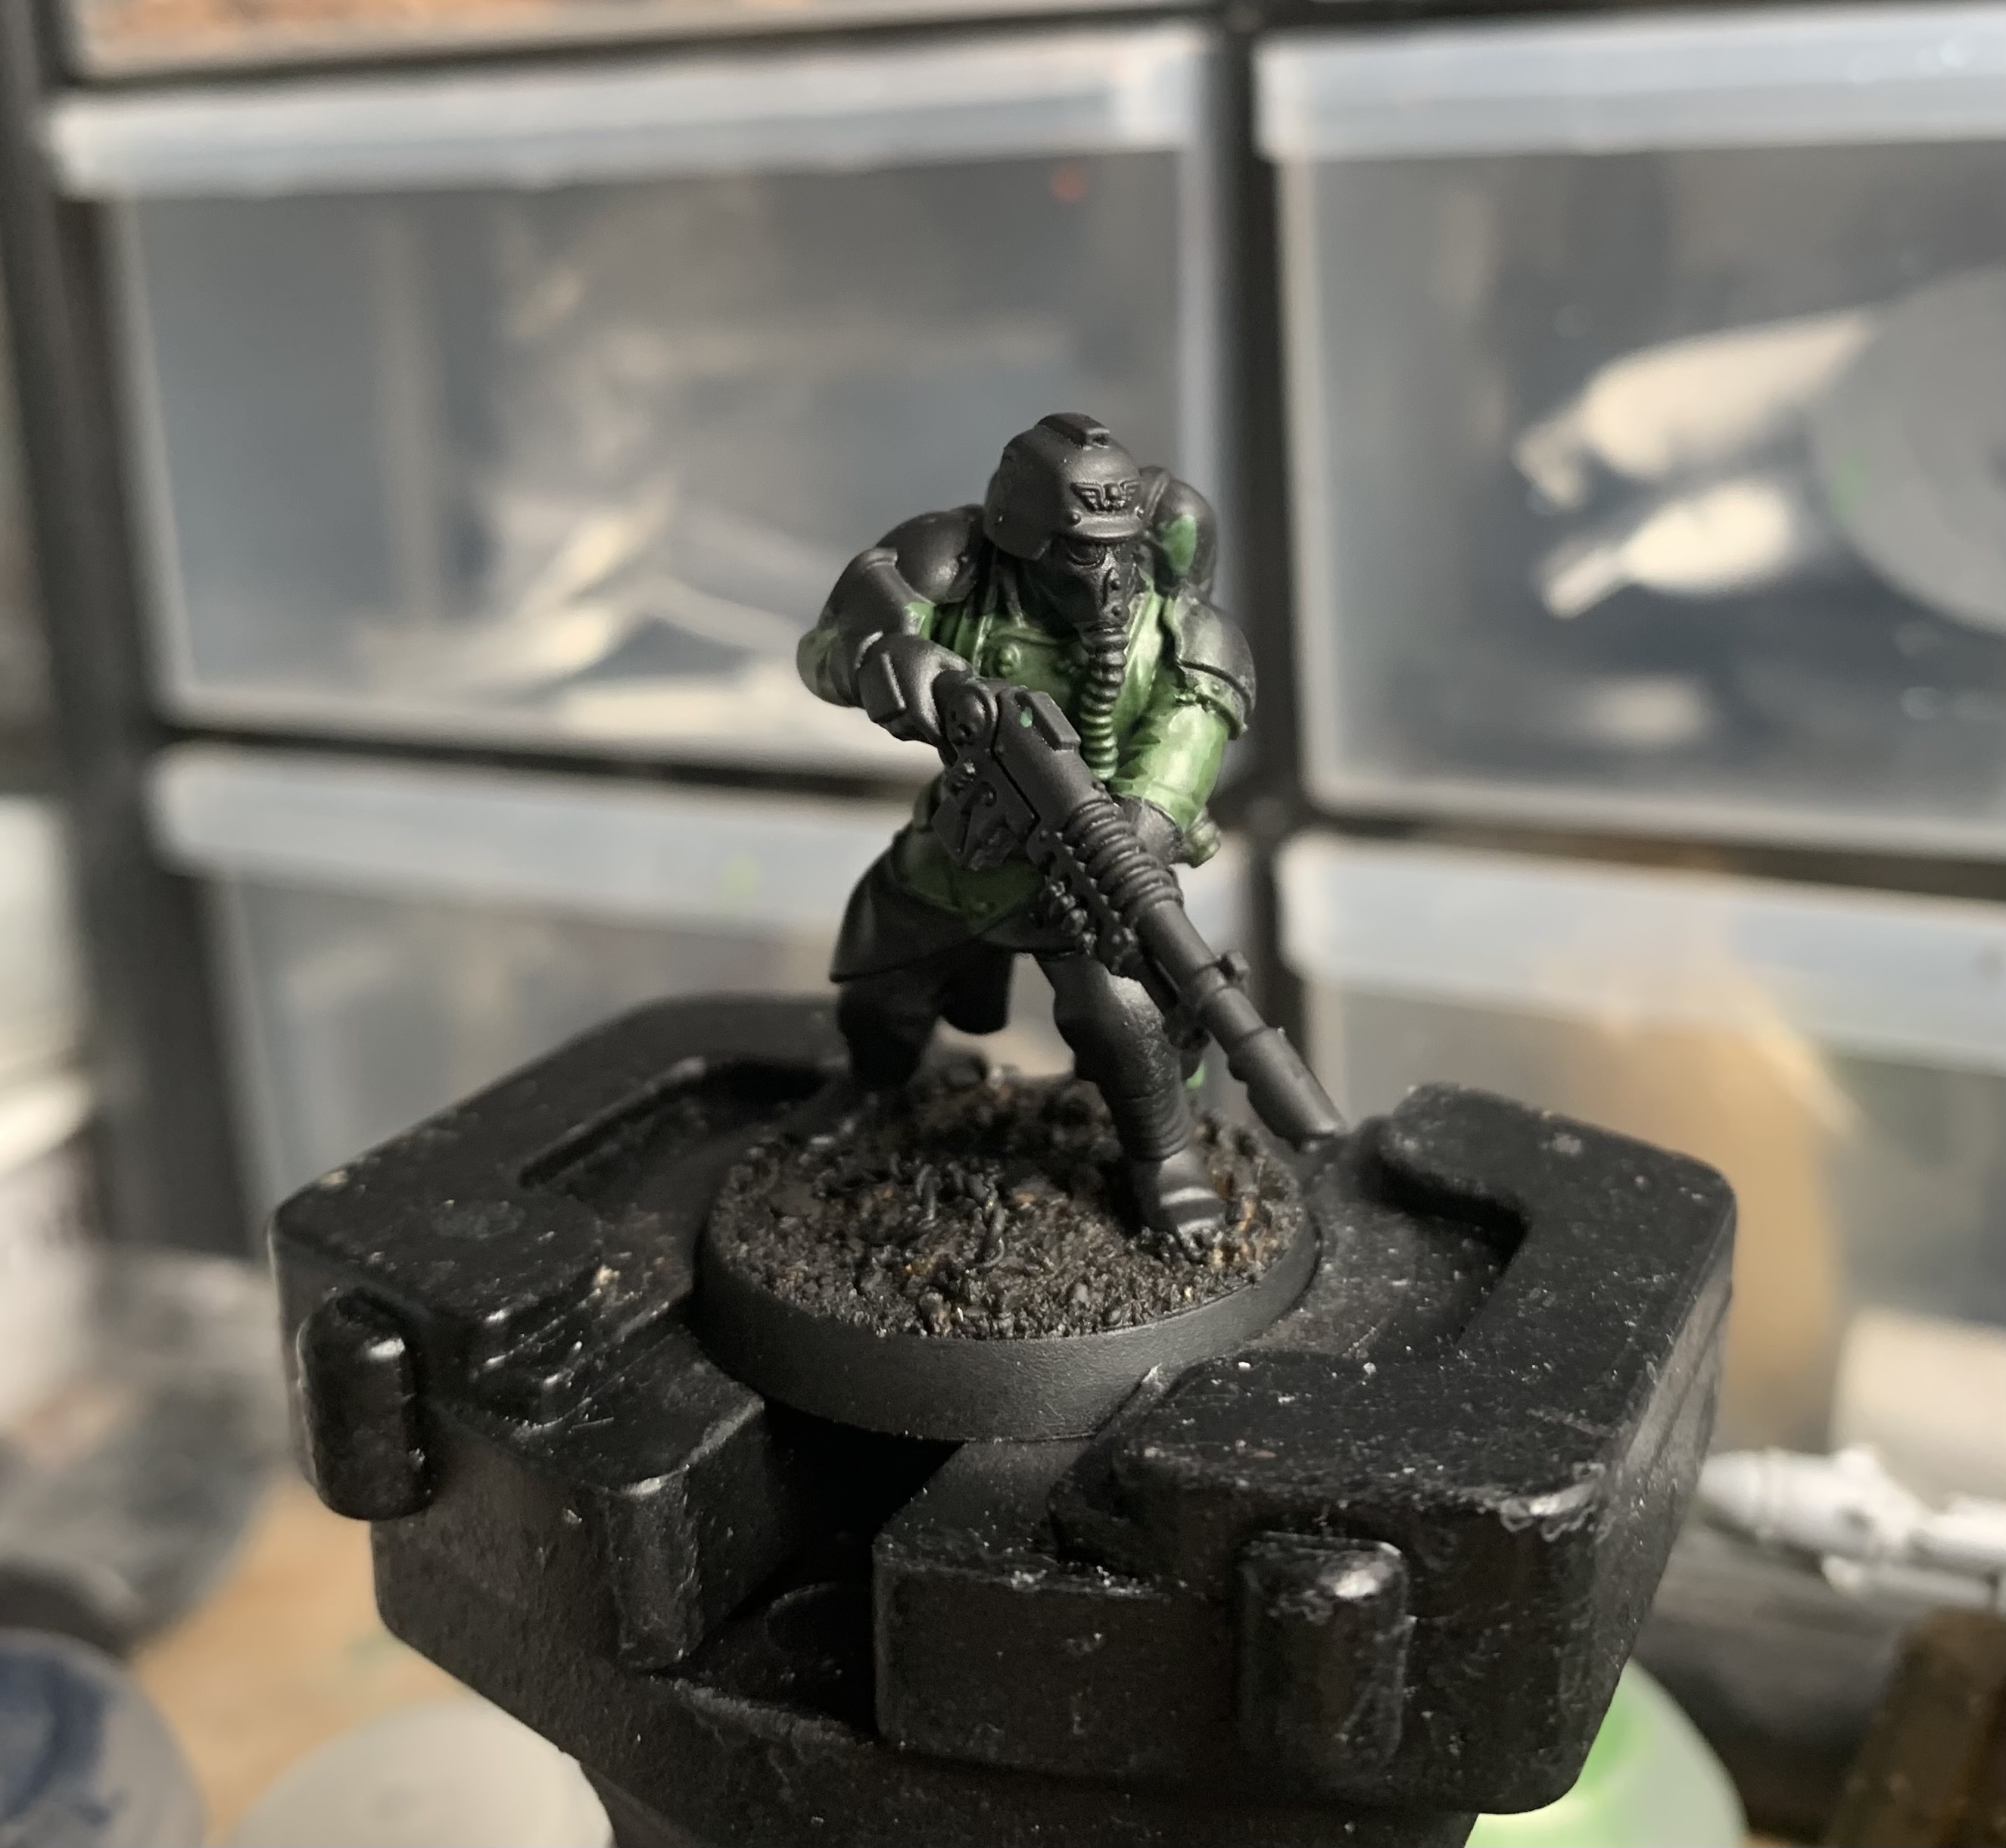
Green Coat
We’re starting with the green coat here. When trying to do something quickly and simply, working from larger areas to smaller areas helps a lot, and this is quite fun because you don’t need to worry too much about staying within the lines. I didn’t. But I did use a couple of thin coats of Waaagh! Flesh to get a solid green base all over the coat. I then used Militarum Green contrast paint to cover the whole thing. Once that was dry, I took very, very thin (like super watery) Straken Green to highlight the higher areas. And that’s that done. Pretty simple so far, right?

Green Trousers
Super easy this, but you do have to be neater with this step. Just paint the trousers. A couple of thin coats of Straken green were applied, then covered with Athonian Camoshade. Once that shade paint was dry, I touched up the higher areas with Straken Green and then used a blend of Straken Green with a little Flash Gitz Yellow in it to hit the very highest areas with a spot highlight. Why use yellow instead of white to lighten the green? It just looks a bit more military-y to me and white in green invariable ends up looking like a type of toothpaste.
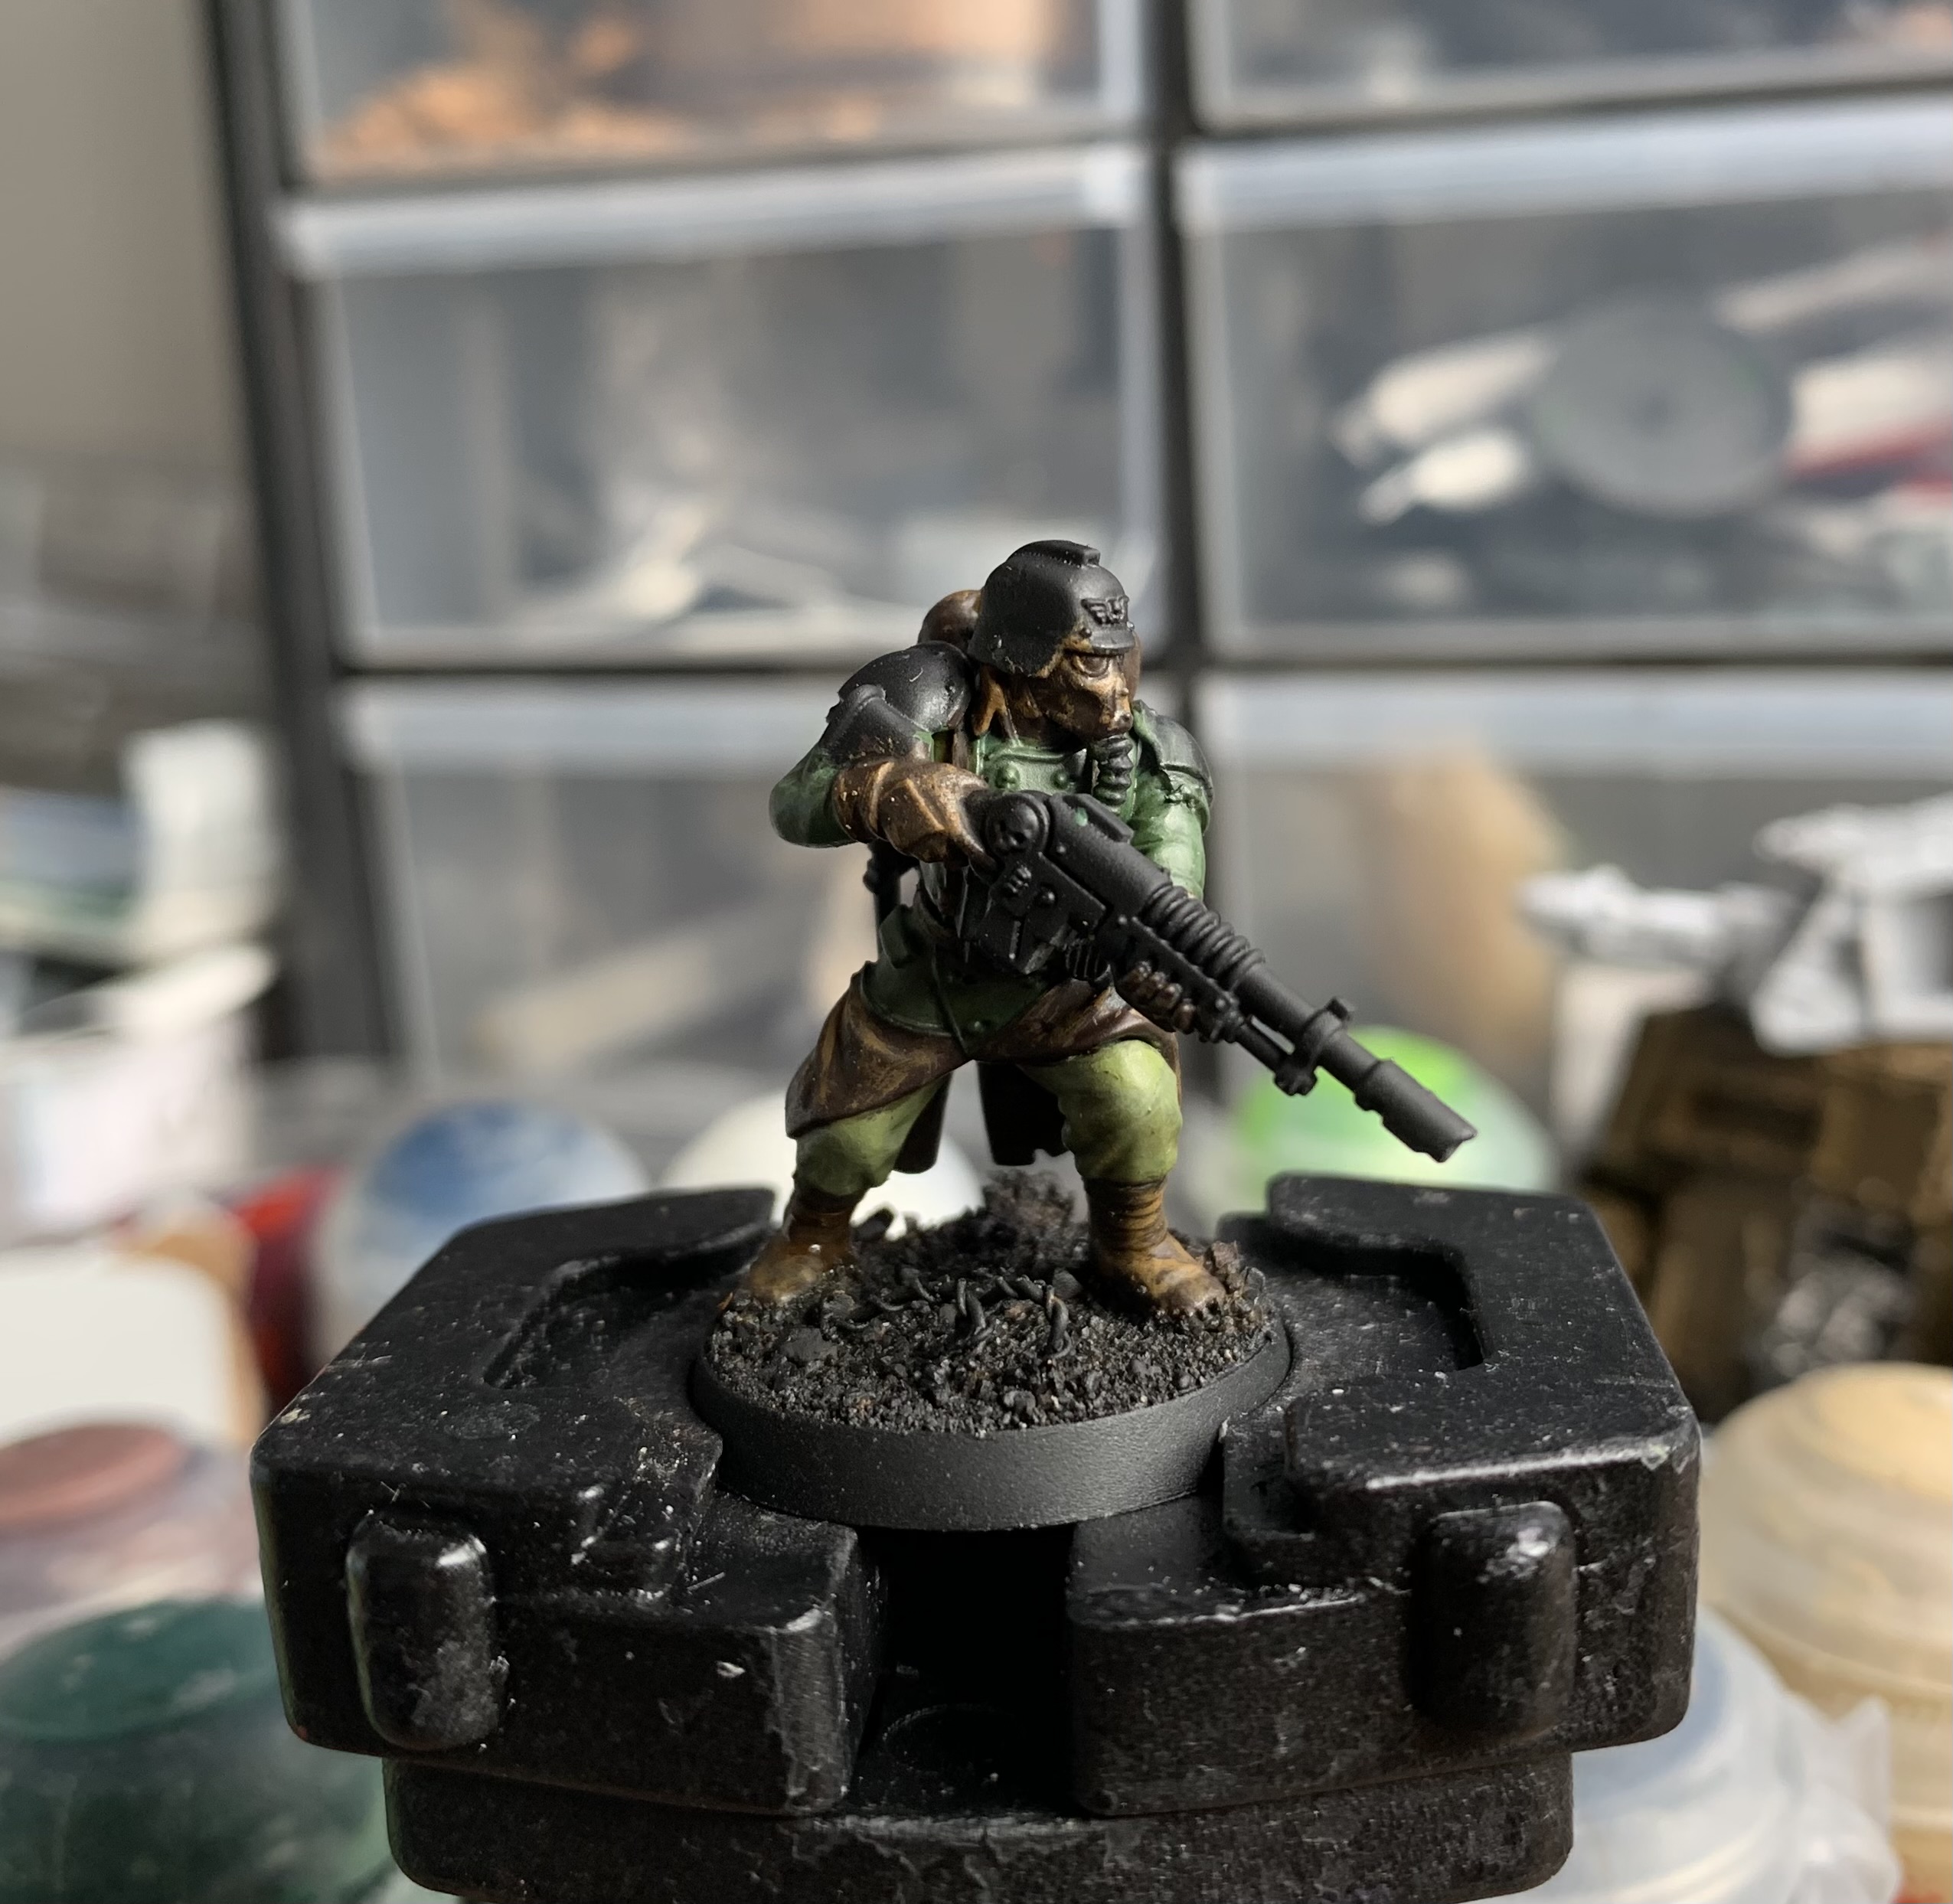
The Leathers
Next up, the leather areas. There’s a lot of them, with pouches, coat flaps, boots, belts… so be sure to hit them all. Base with a couple of thin coats of Rhinox Hide, then drybrush lightly with XV88 before covering them with an undiluted wash of Seraphim Sepia. And you’re done.
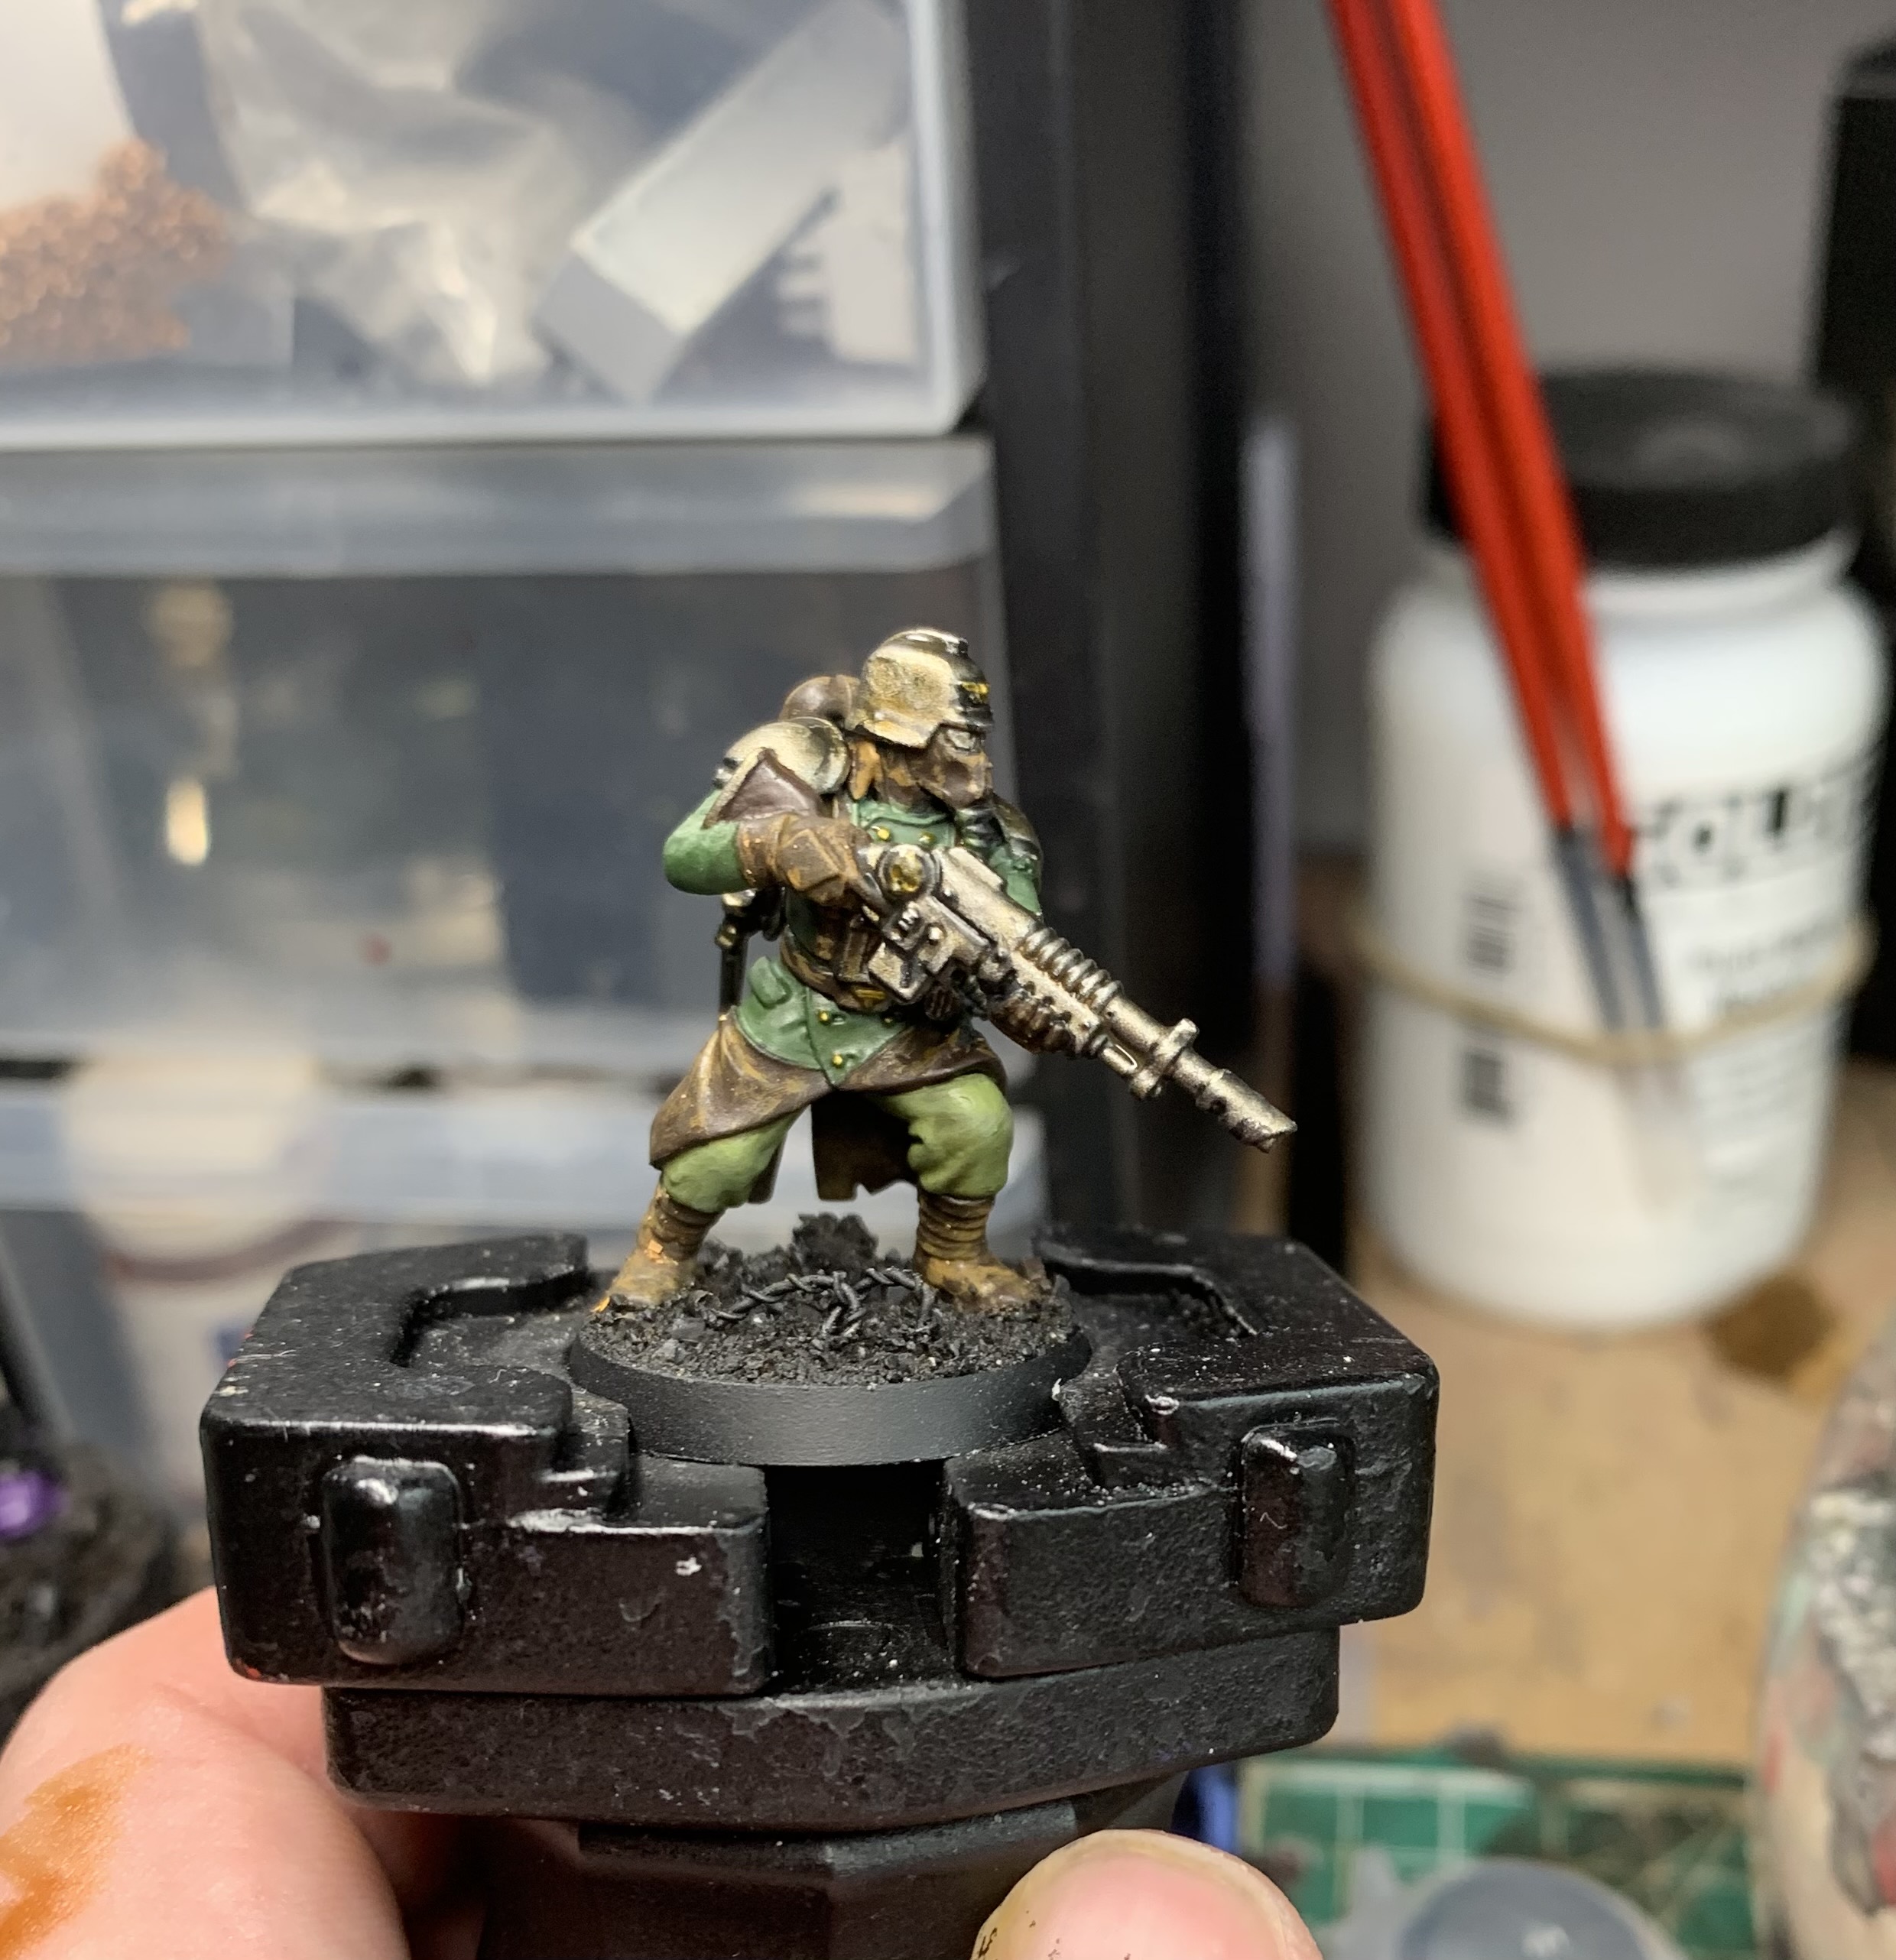
The Metals
Ok, this isn’t super quick and simple but once you get into the swing of things, it gets a lot easier. Base coat everything with Leadbelcher. Then you’re going to want to do a sort of TMM thing here but in a kind of quick and slightly sloppy way. Rather than explain that, I’m just going to link to this video from Ben Komets and Painting Buddha that shows you far better than I how to do it but you do not need to be anywhere near as neat as a Slayer Sword winner. The paints I used to help me were Iron Warriors, an Iron Warriors/Abaddon Black 50/50 mix, and then an Abaddon Black pinwash followed by a highlight of Ironbreaker.
Next, I covered most areas with a 50/50 mix of Skeleton Horde and Contrast Medium to make it look grimy. But a few areas (buttons, aquilas, etc) I used some Nazdreg Yellow straight out of the pot. And that’s all the metallics.

Finishing Up
Yep, we’re nearly done. There’s a few little bits to do and then the basing. Paint the gas mask tube black and give it some grey highlights. Paint the eye lenses black and then cover them in Ardcoat. The wooden stock on the gun is Rhinox Hide with streaks of some other browns and beiges (your choice) covered in a thin coat of Agrax Earthshade. And that’s it for the finer details.
For the base, I used a basecoat of Dawnstone, with a few larger rocks picked out in Eshen Grey before washing it all with some Athonian Camoshade. When this was dry, I highlighted with Dawnstone and then Administratum Grey. The barbed wire was painted with Iron Warriors, then areas were covered with Typhus Corrosion before dabbing those still wet areas with Fire Dragon Bright. Ironbreaker was used to highlight the barbs.
Quick and Easy
What do you reckon? It genuinely didn’t take me long to do this, and if you’re batch painting the 10 of them in this box, this could be a very quick way to get them all done. Hopefully, at least one of these quick and easy techniques can be of some use to you.
The metallic step is a wee bit faffy but once you get into the swing of things, it really goes by fast. I’ve already started the batch painting process and as I’m usually incapable of painting 10 of anything, and I don’t want to just give up on them straight away, it must be decent enough, right?
I hope that is in some way useful and as mentioned I look forward to writing a larger review of this in the future. As ever, stay excellent. Onwards.
 40kaddict
 4gotowar
 Castigator's Chaos
 convertorum
 darkfuturegaming
 ftgtgaming
 Mind of the Daemon
 taleofpainters
 talkwargaming
 Twisted Brushes
 weemen