
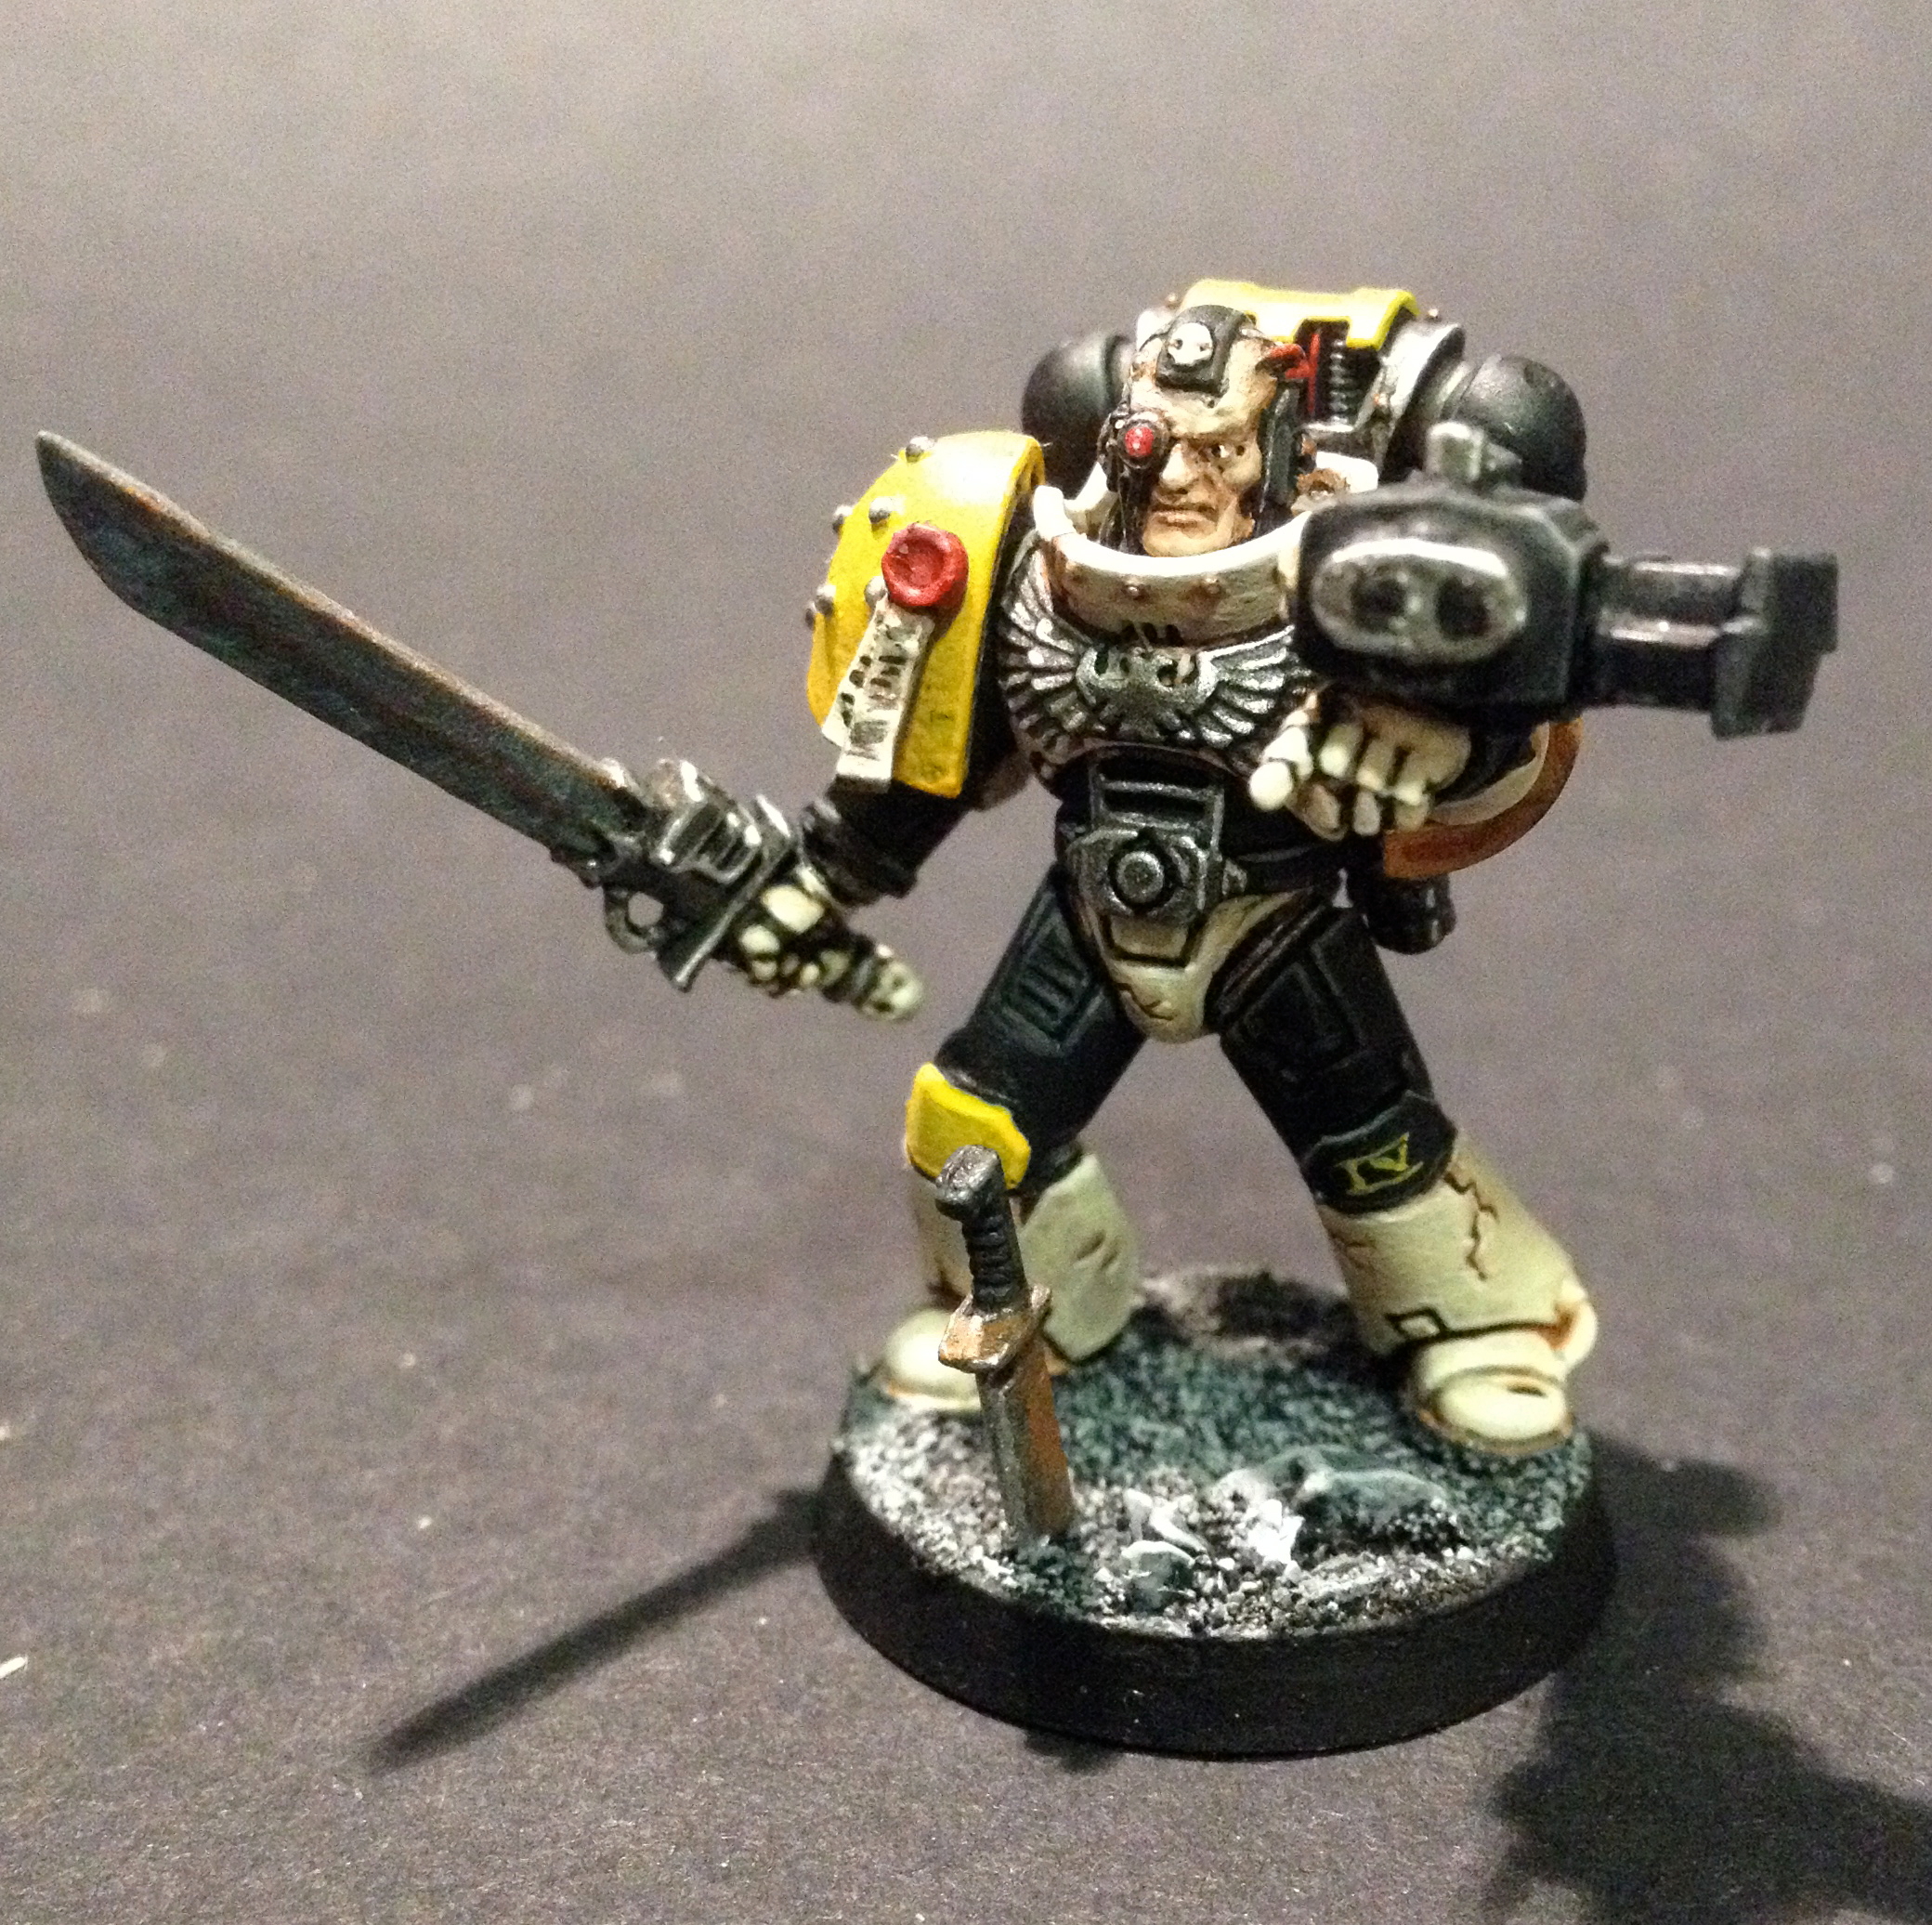
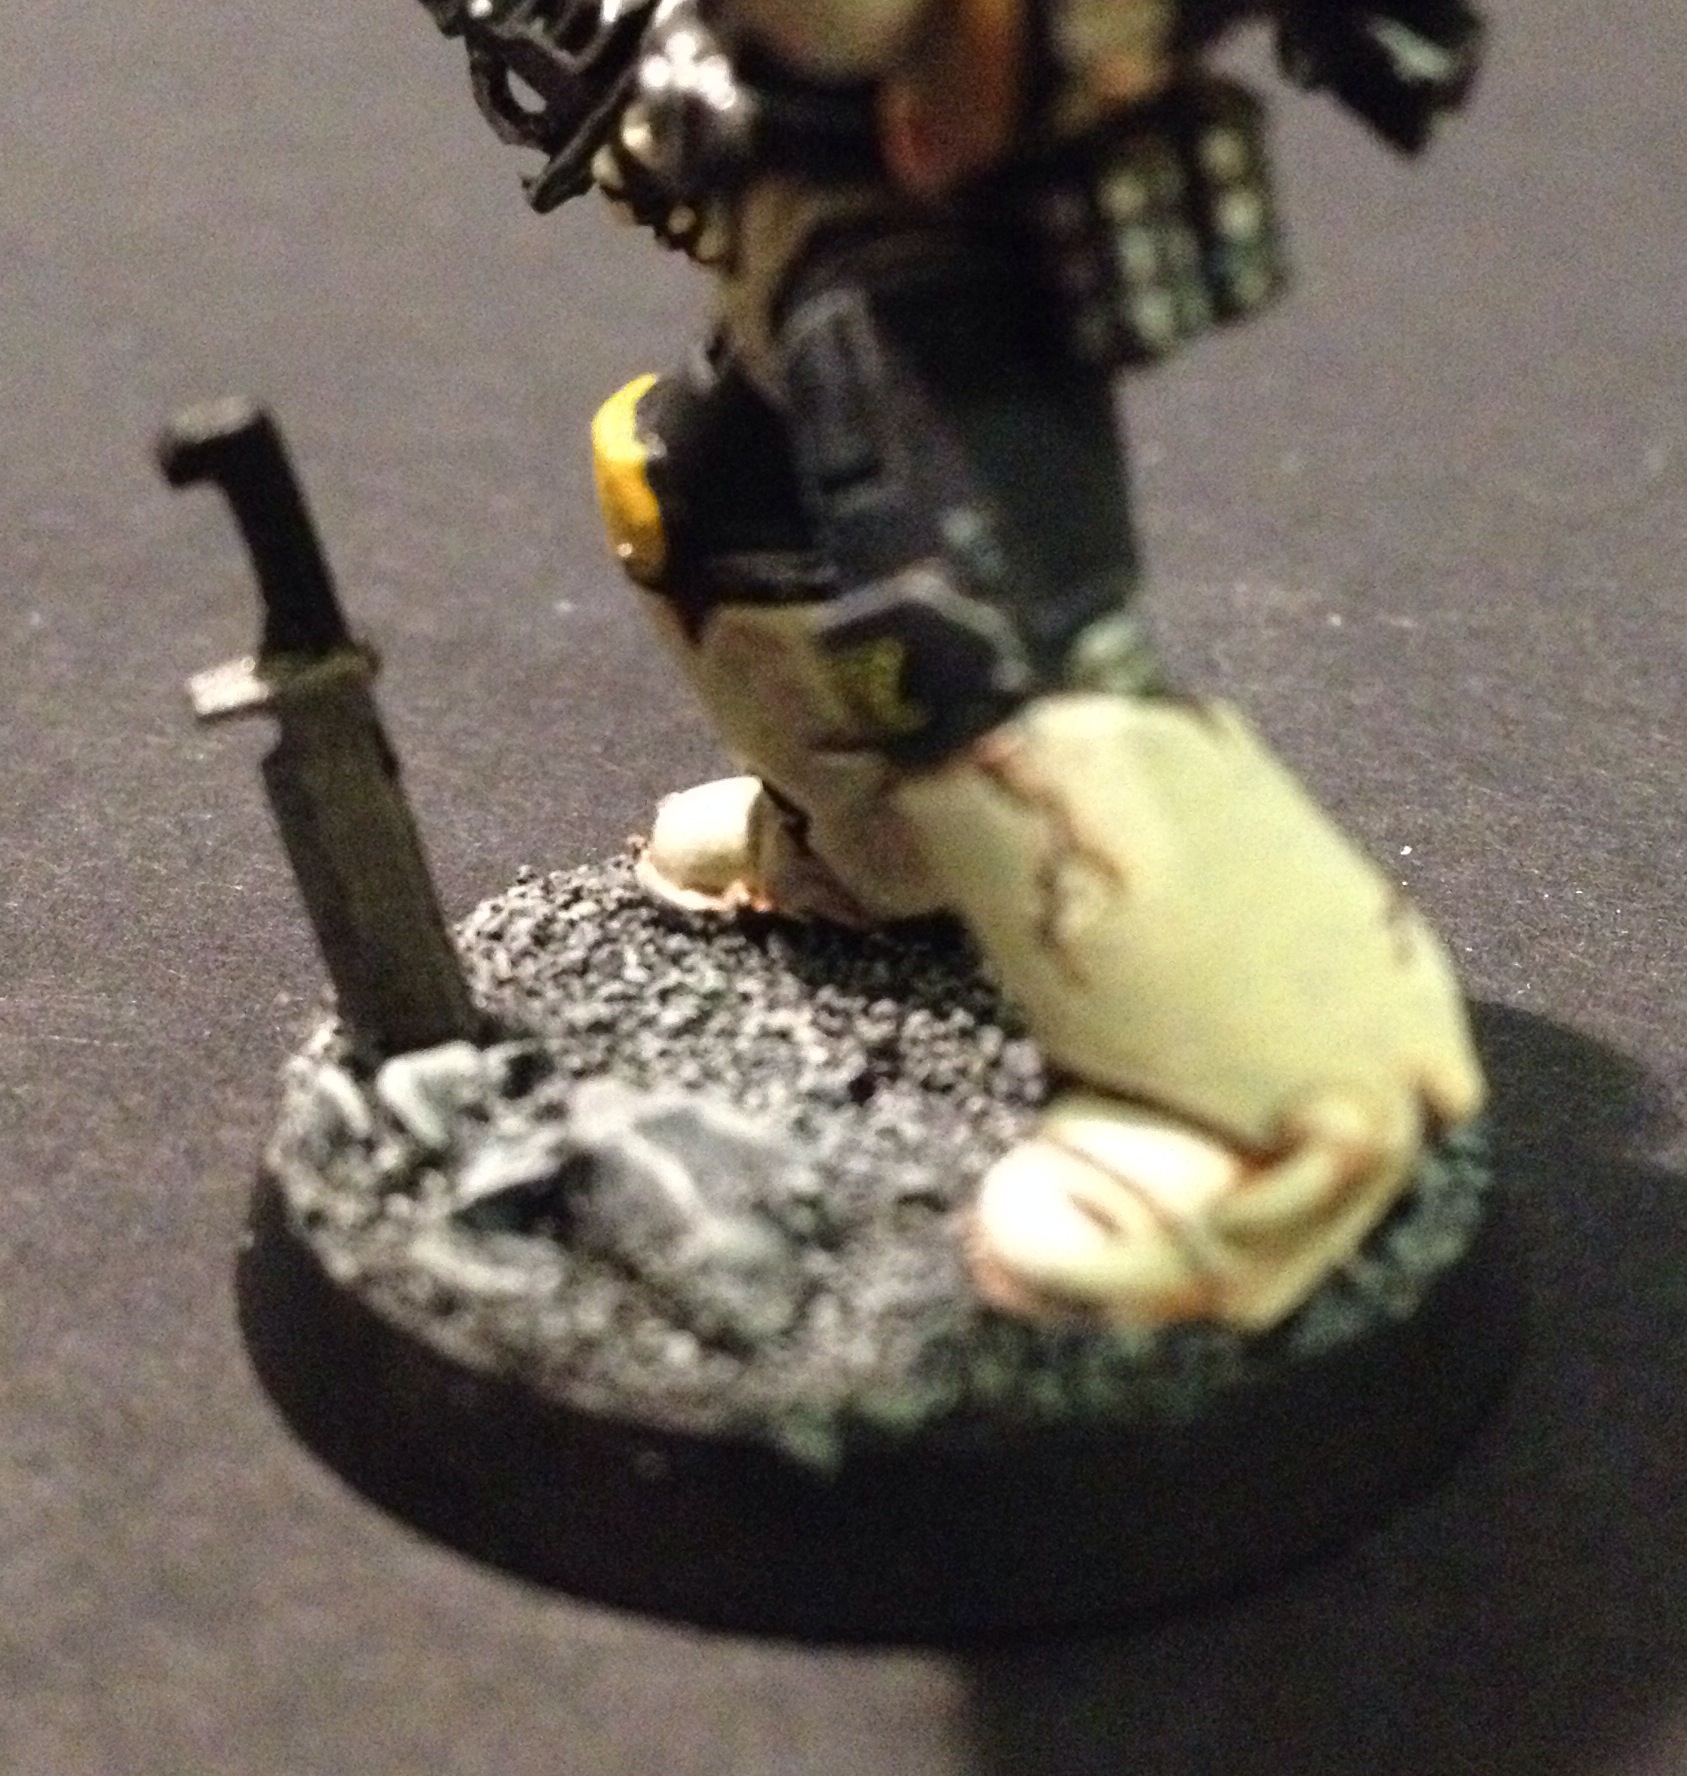
This is the 2nd of my posts relating the the most basic of basing techniques, and today, we’re looking at urban-themed bases. I’m going to take you through exactly how I created the above base and, as well as the base, I’ll also take you through the process to make the rusty knife that features in the image above. This isn’t by any means an advanced basing technique, but I hope it helps to rid the hobby of bare bases and give you some ideas for your own minis.
Also, I apologise for the image quality – when I get a good camera, I will reshoot what I can!
Step 1: Undercoat Black
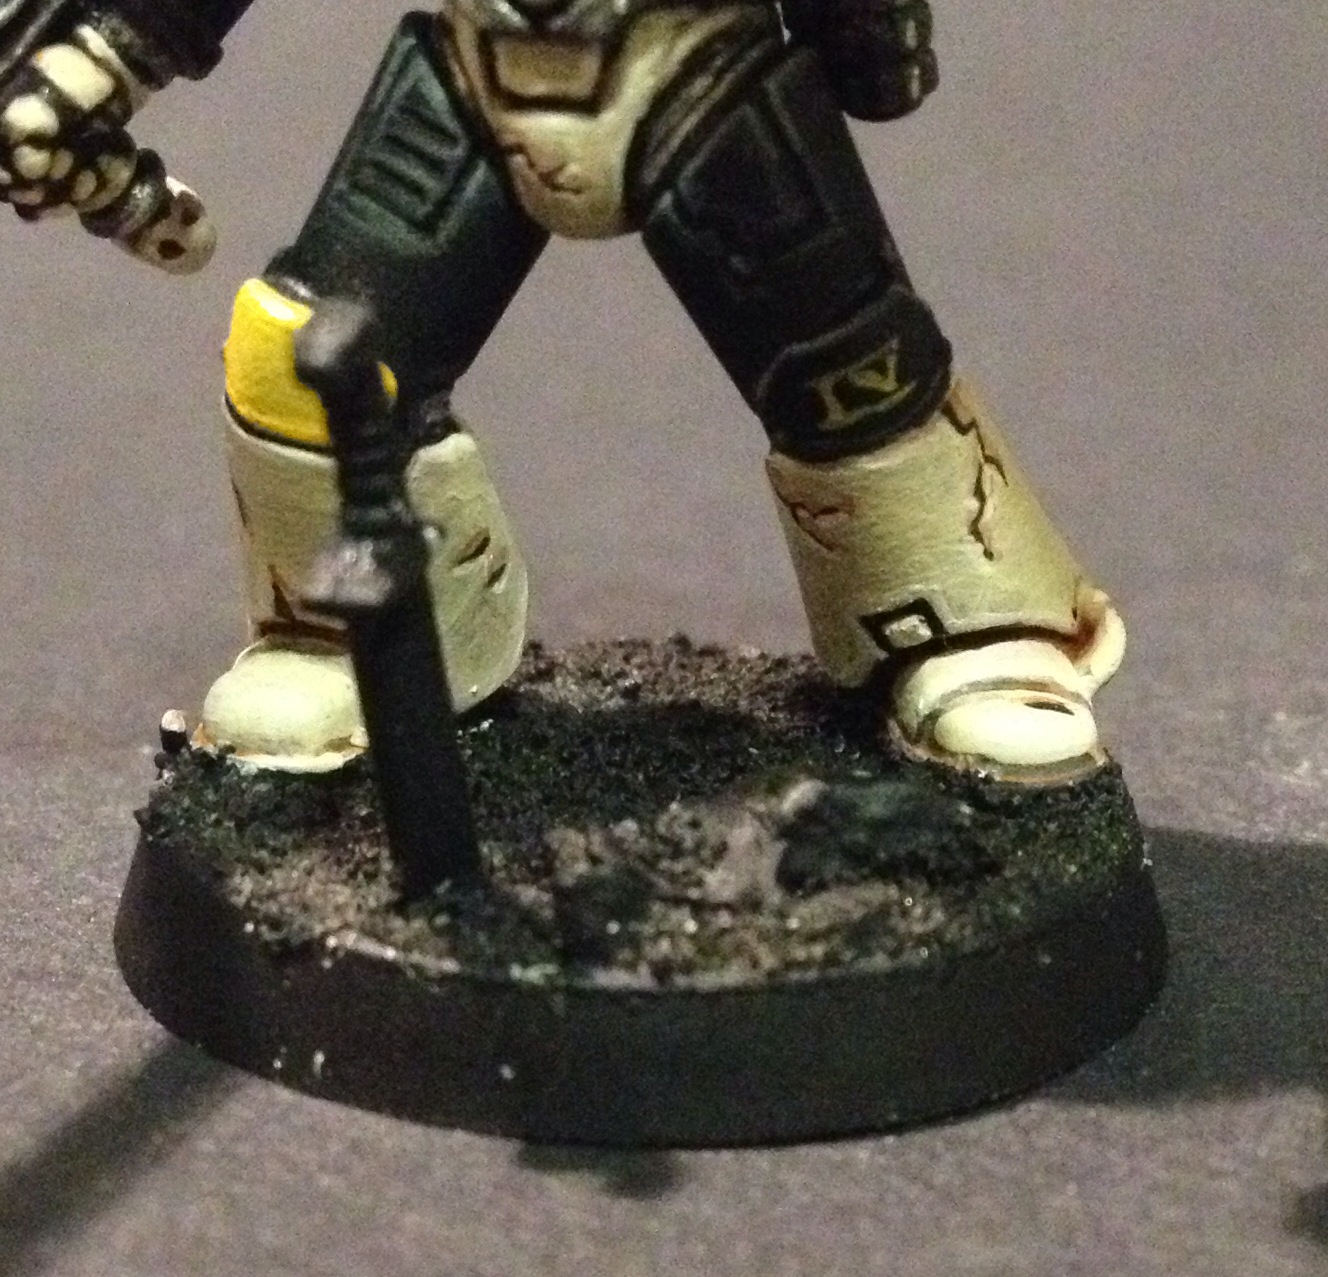
Either add sand to your base before you undercoat (that’s what I do – glue the feet/legs to the base, add sand and rocks, then spray with Chaos Black), or gently, using an old brush, add some chaos black so that it covers all the sand/rocks. Also, I snipped the tip off a knife and superglued it to the base point(less) down before undercoating.
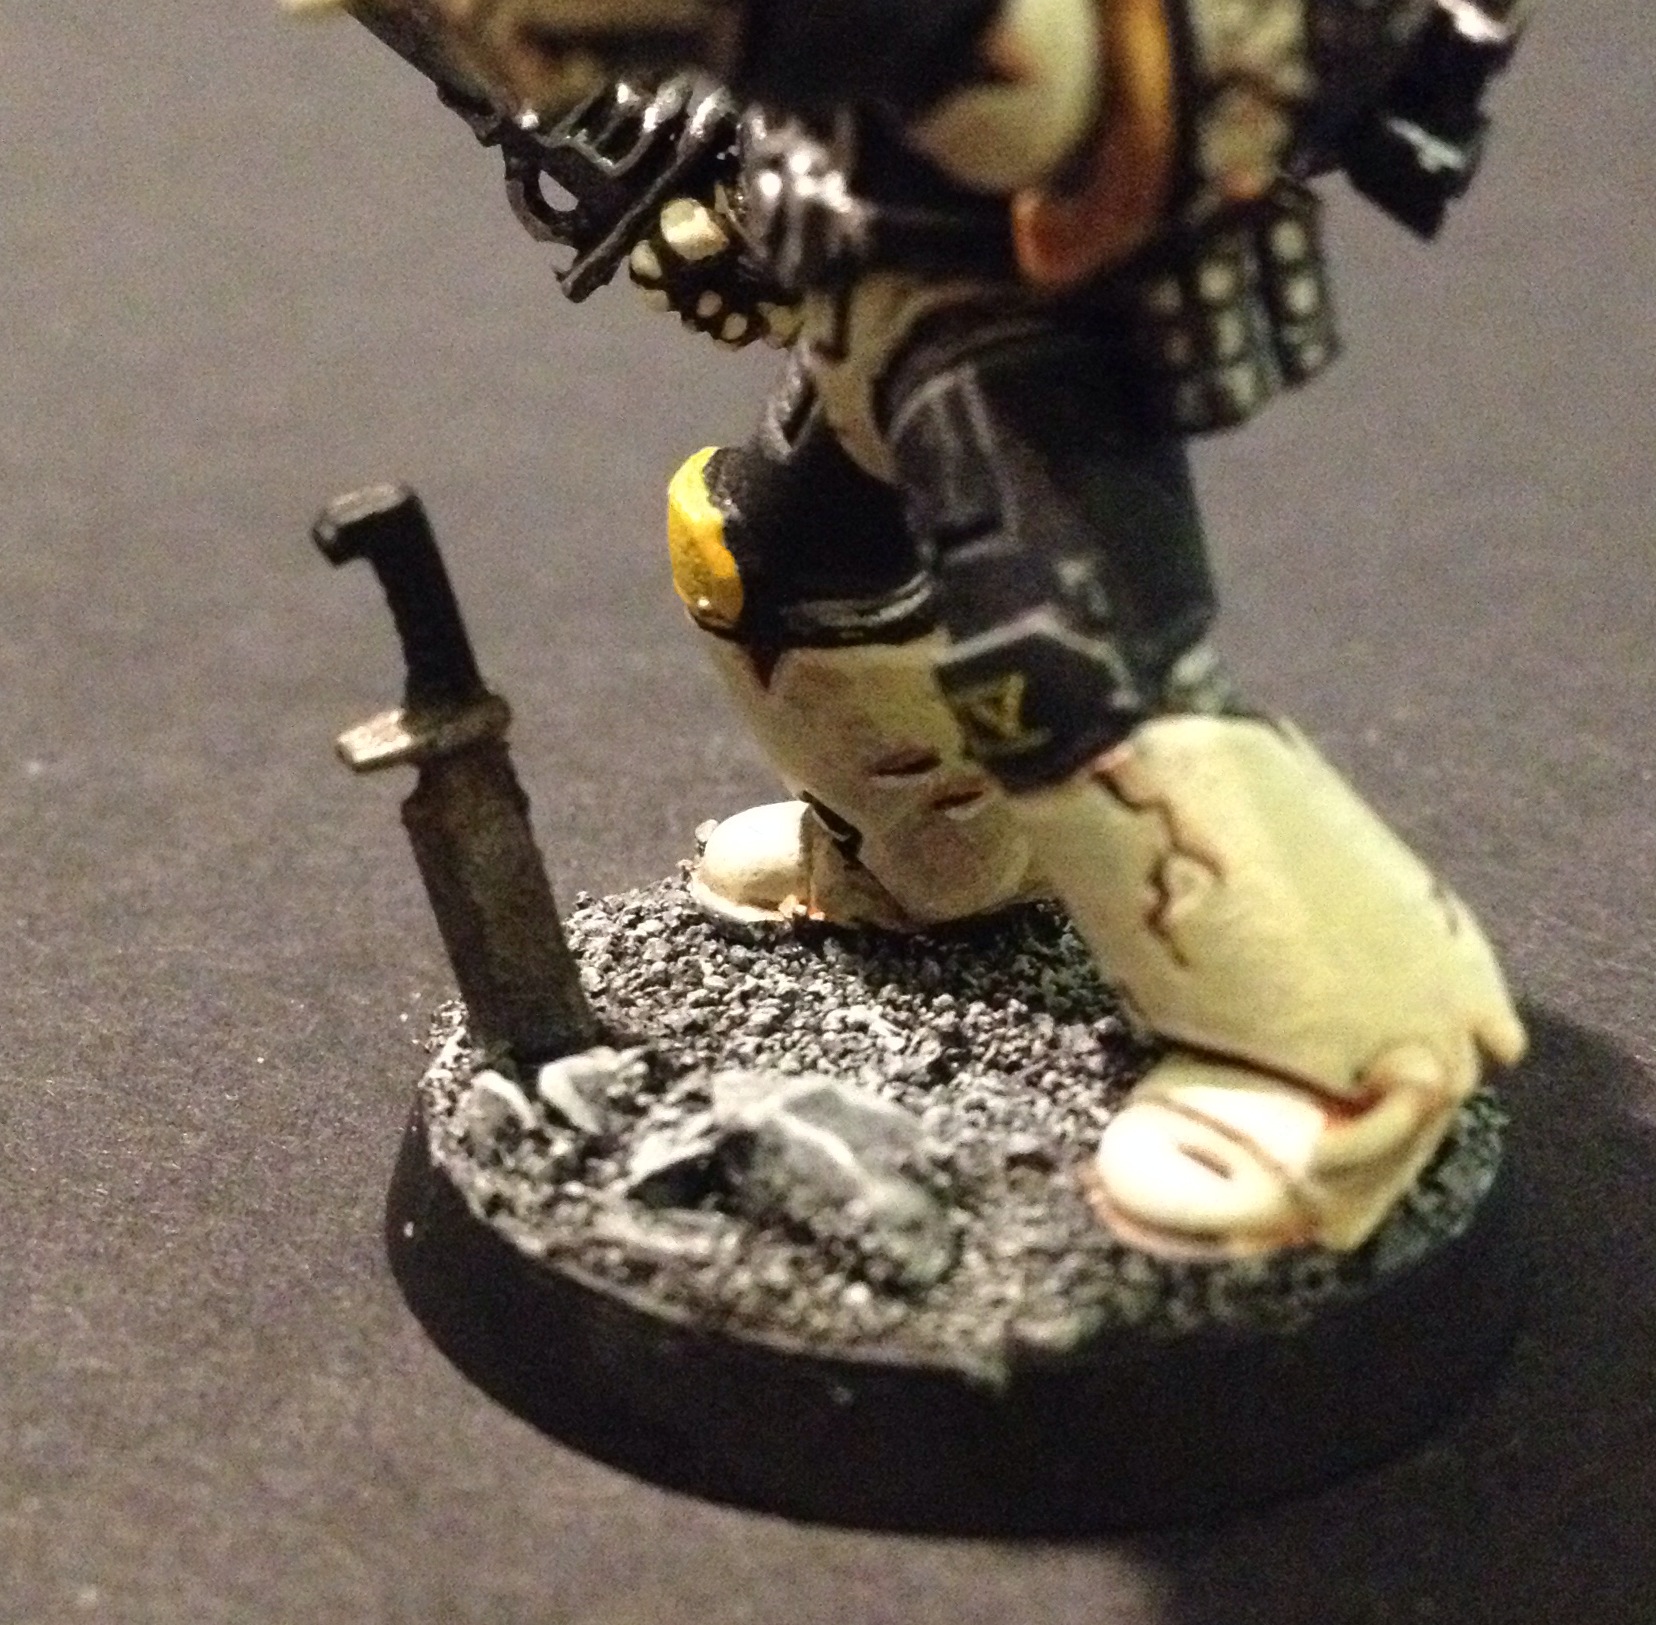
Step 2: Dry Brush Grey
Using an old brush, dry brush the whole base with a medium grey shade. I used Citadel’s Dawnstone.
Step 3: Dry Brush/Highlight Lighter Grey
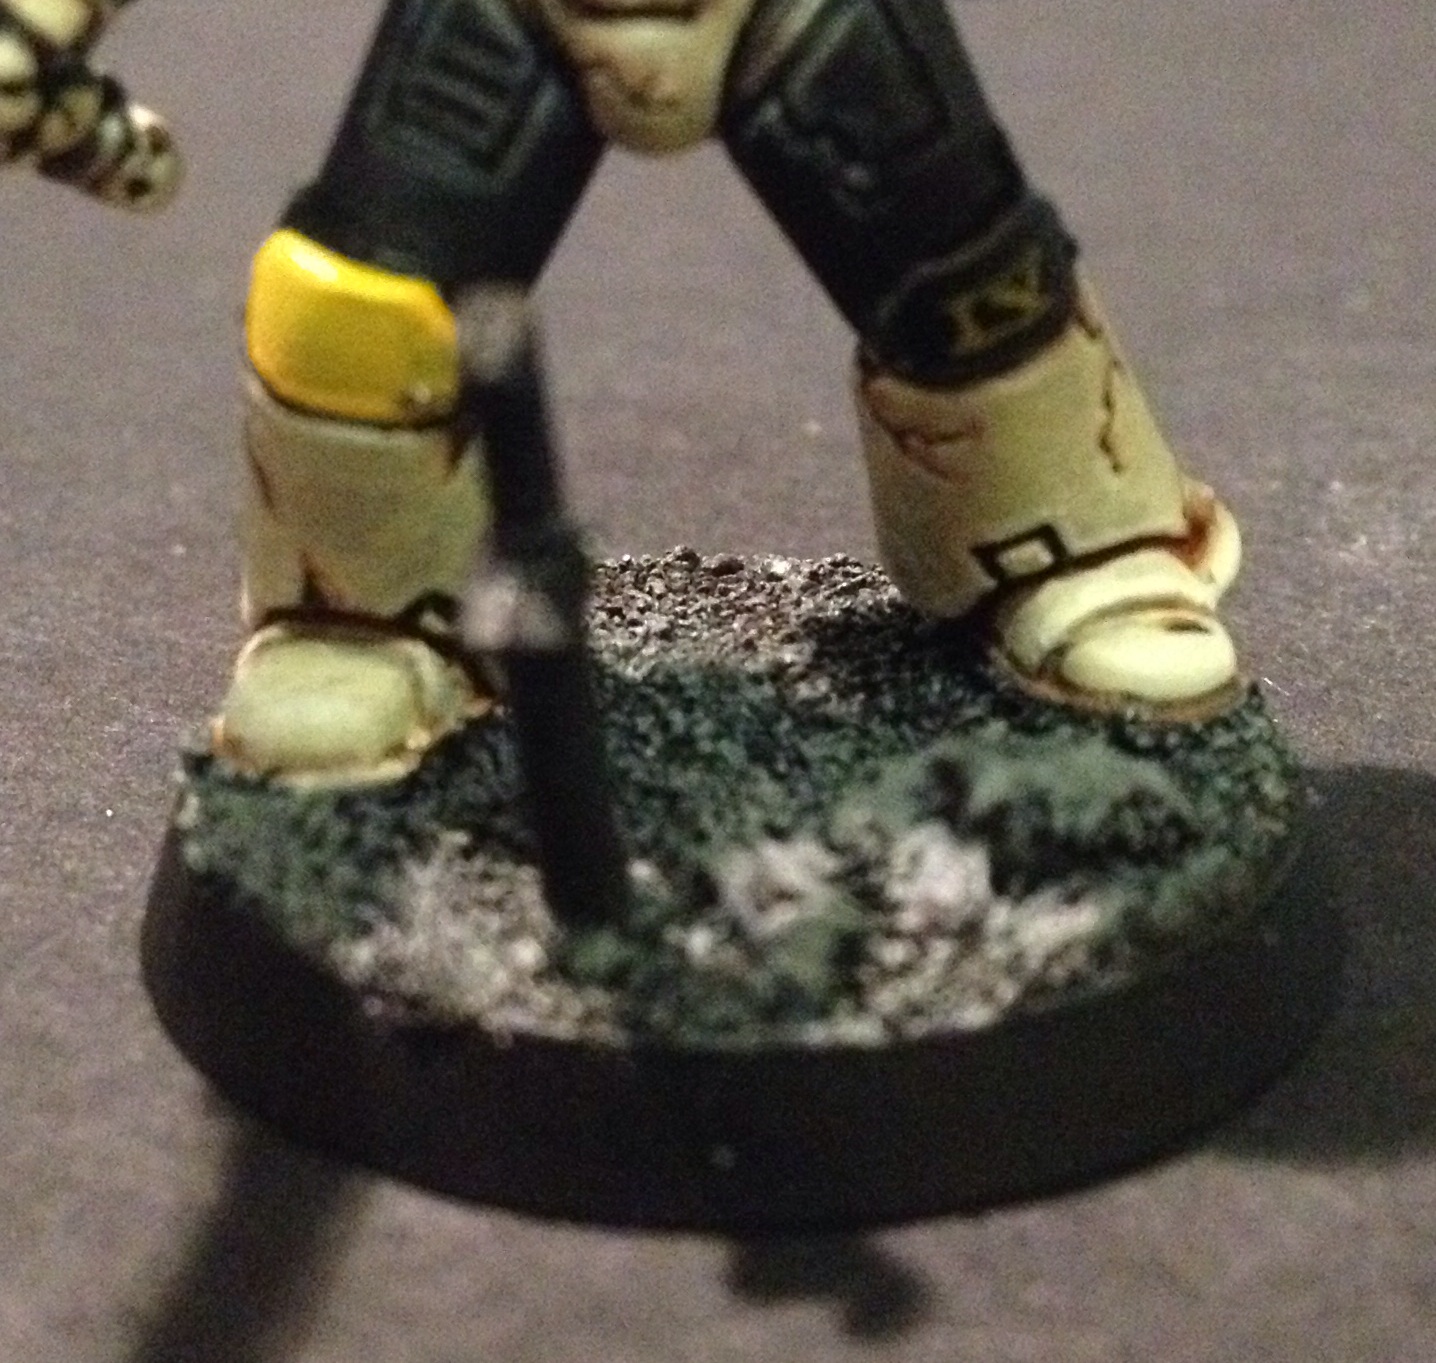
Next, take a lighter grey and dry brush again, but this time, use less, maybe leaving a few areas with almost nothing. Also, if you have rocks on the base, edge highlight these with the same shade. I used Citadel’s Administratum Grey.
Now, for the most part, that’s it! It’s really simple and looks really good. It’s very little effort and is a billion times better than a bare base. If all you were looking for were the colours I use for my bases, that’s it. Below this is just about the knife, so let’s dive in…
Knife Stage 1: Blade/Guard in Silver
Painting the guard and blade, I used Citadel’s Leadbelcher.
Knife Stage 2: Rust Part 1.
This was fun. I love the new technical paints from Citadel, and Typhus Corrosion is great for giving something a grimy look. Spread it all over (best with brushstrokes going down) and it works great with the paint used in the next stage…
Knife Stage 3: Rust Part 2.
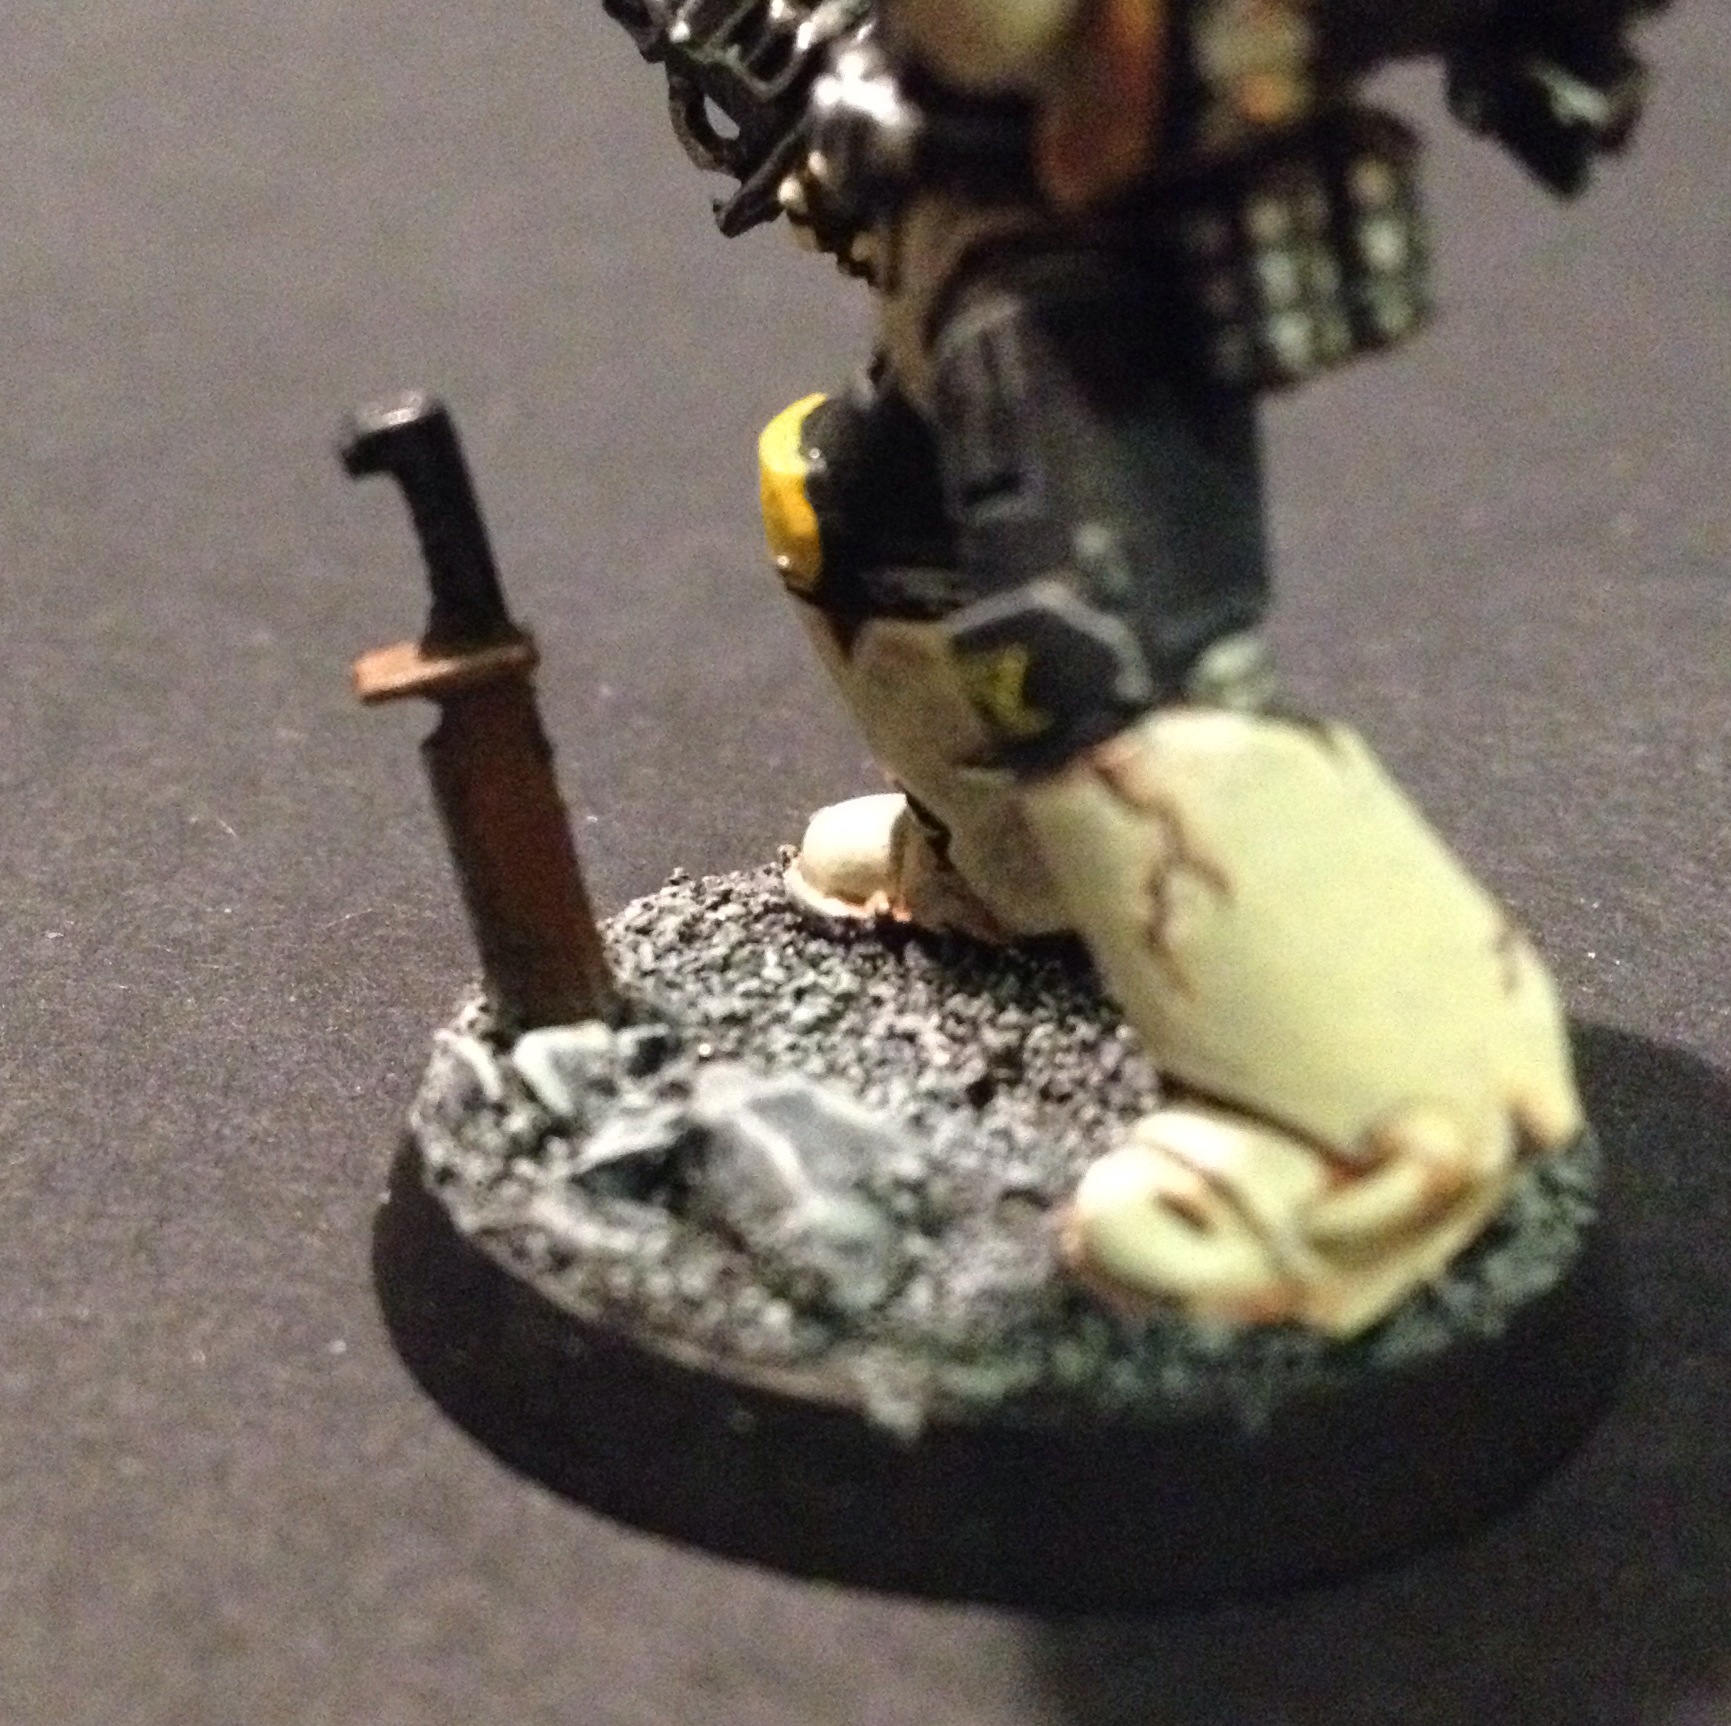
This is Ryza Rust, another of Citadel’s new technical paints. When using it, you need almost none of it on your brush. A tiny bit will do because you don’t want your rust to be fluorescent orange – a bit of subtlety is required. Go over most of the knife with this, with it slightly more orange closer to the base, and on top of the guard (google ‘rust’ and look at how it forms).
Knife Stage 4: Highlights

A slight highlight on the blade edge, and around the edge of the guard using Runefang Steel brings a lot of depth to the knife. With a tiny bit of grey highlighting on the handle (I used Mechanicum Standard Grey) and you’re done!
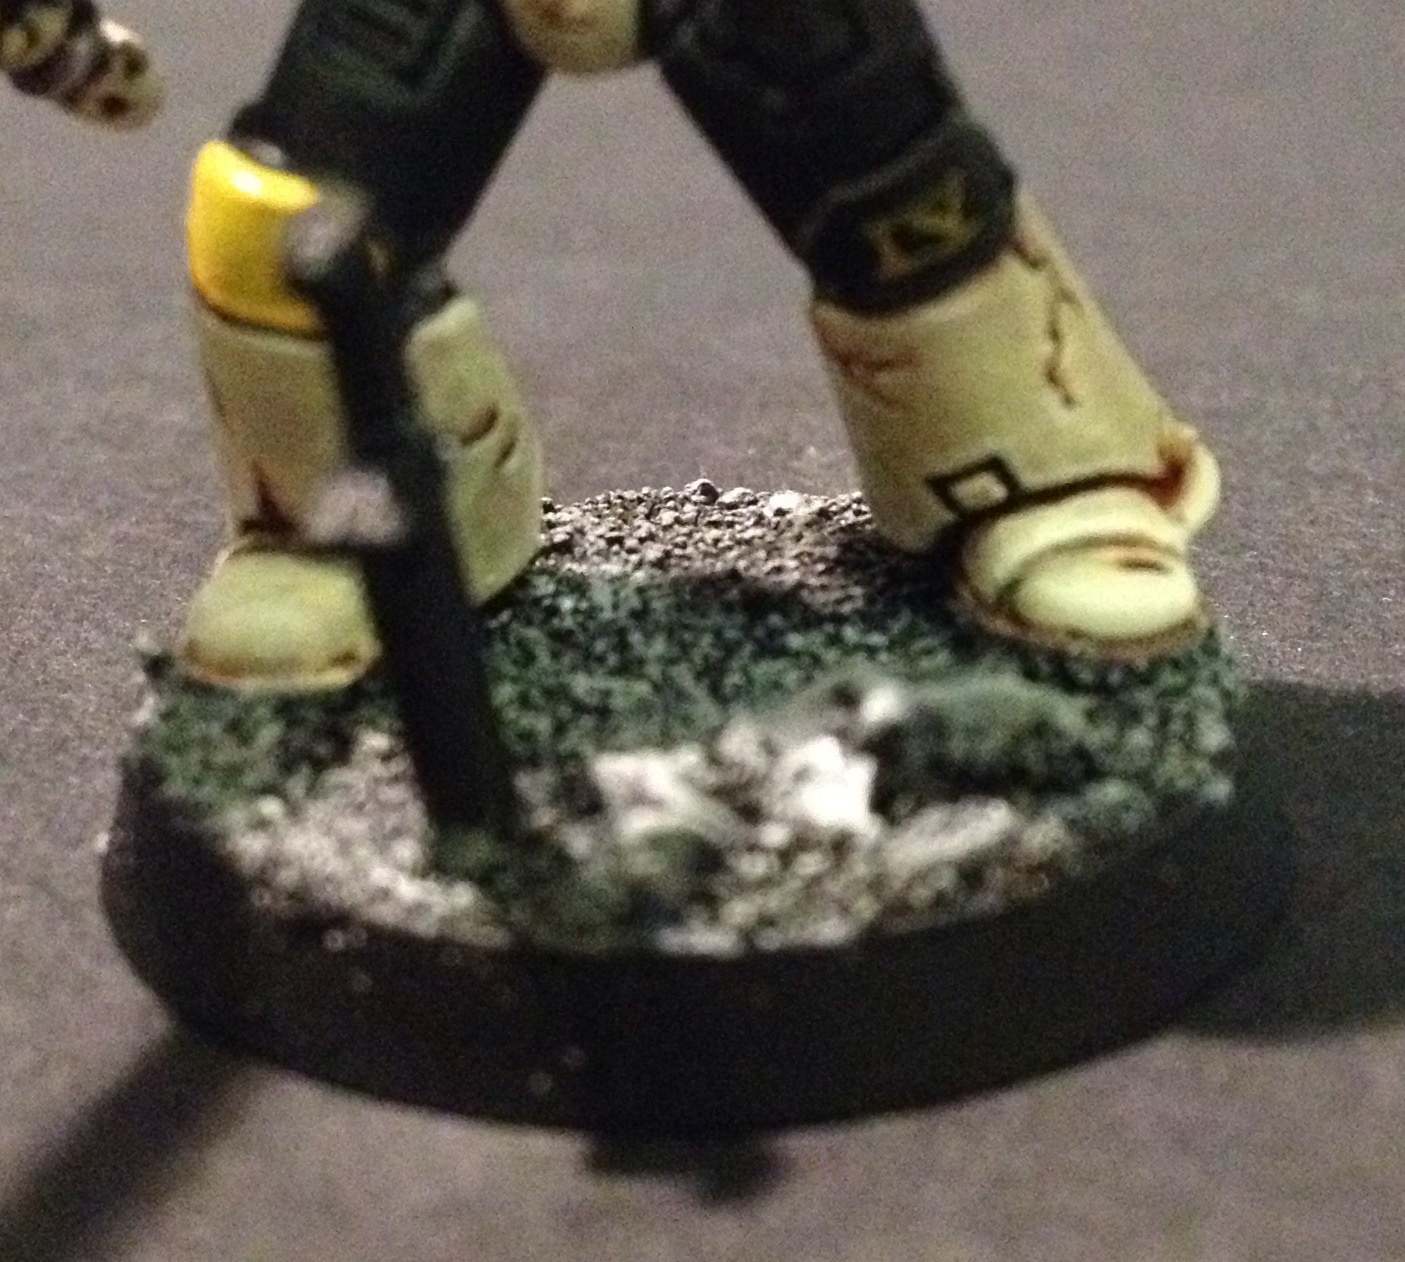
Both the sand and the rocks came from Games Workshop’s Citadel Basing range which can be found right here. Actually, I’d like to really recommend the Citadel Warhammer 40,000 Basing Kit – lots of rocks, some brass and some nice bits of resin too.
As I mentioned, when I can afford to invest in a better camera, I’ll retake what shots I can but this is basically it. Quick, easy and effective. I hope you enjoyed the tutorial – pop a comment below if you’ve got any questions or comments!
 40kaddict
 4gotowar
 Castigator's Chaos
 convertorum
 darkfuturegaming
 ftgtgaming
 Mind of the Daemon
 taleofpainters
 talkwargaming
 Twisted Brushes
 weemen