

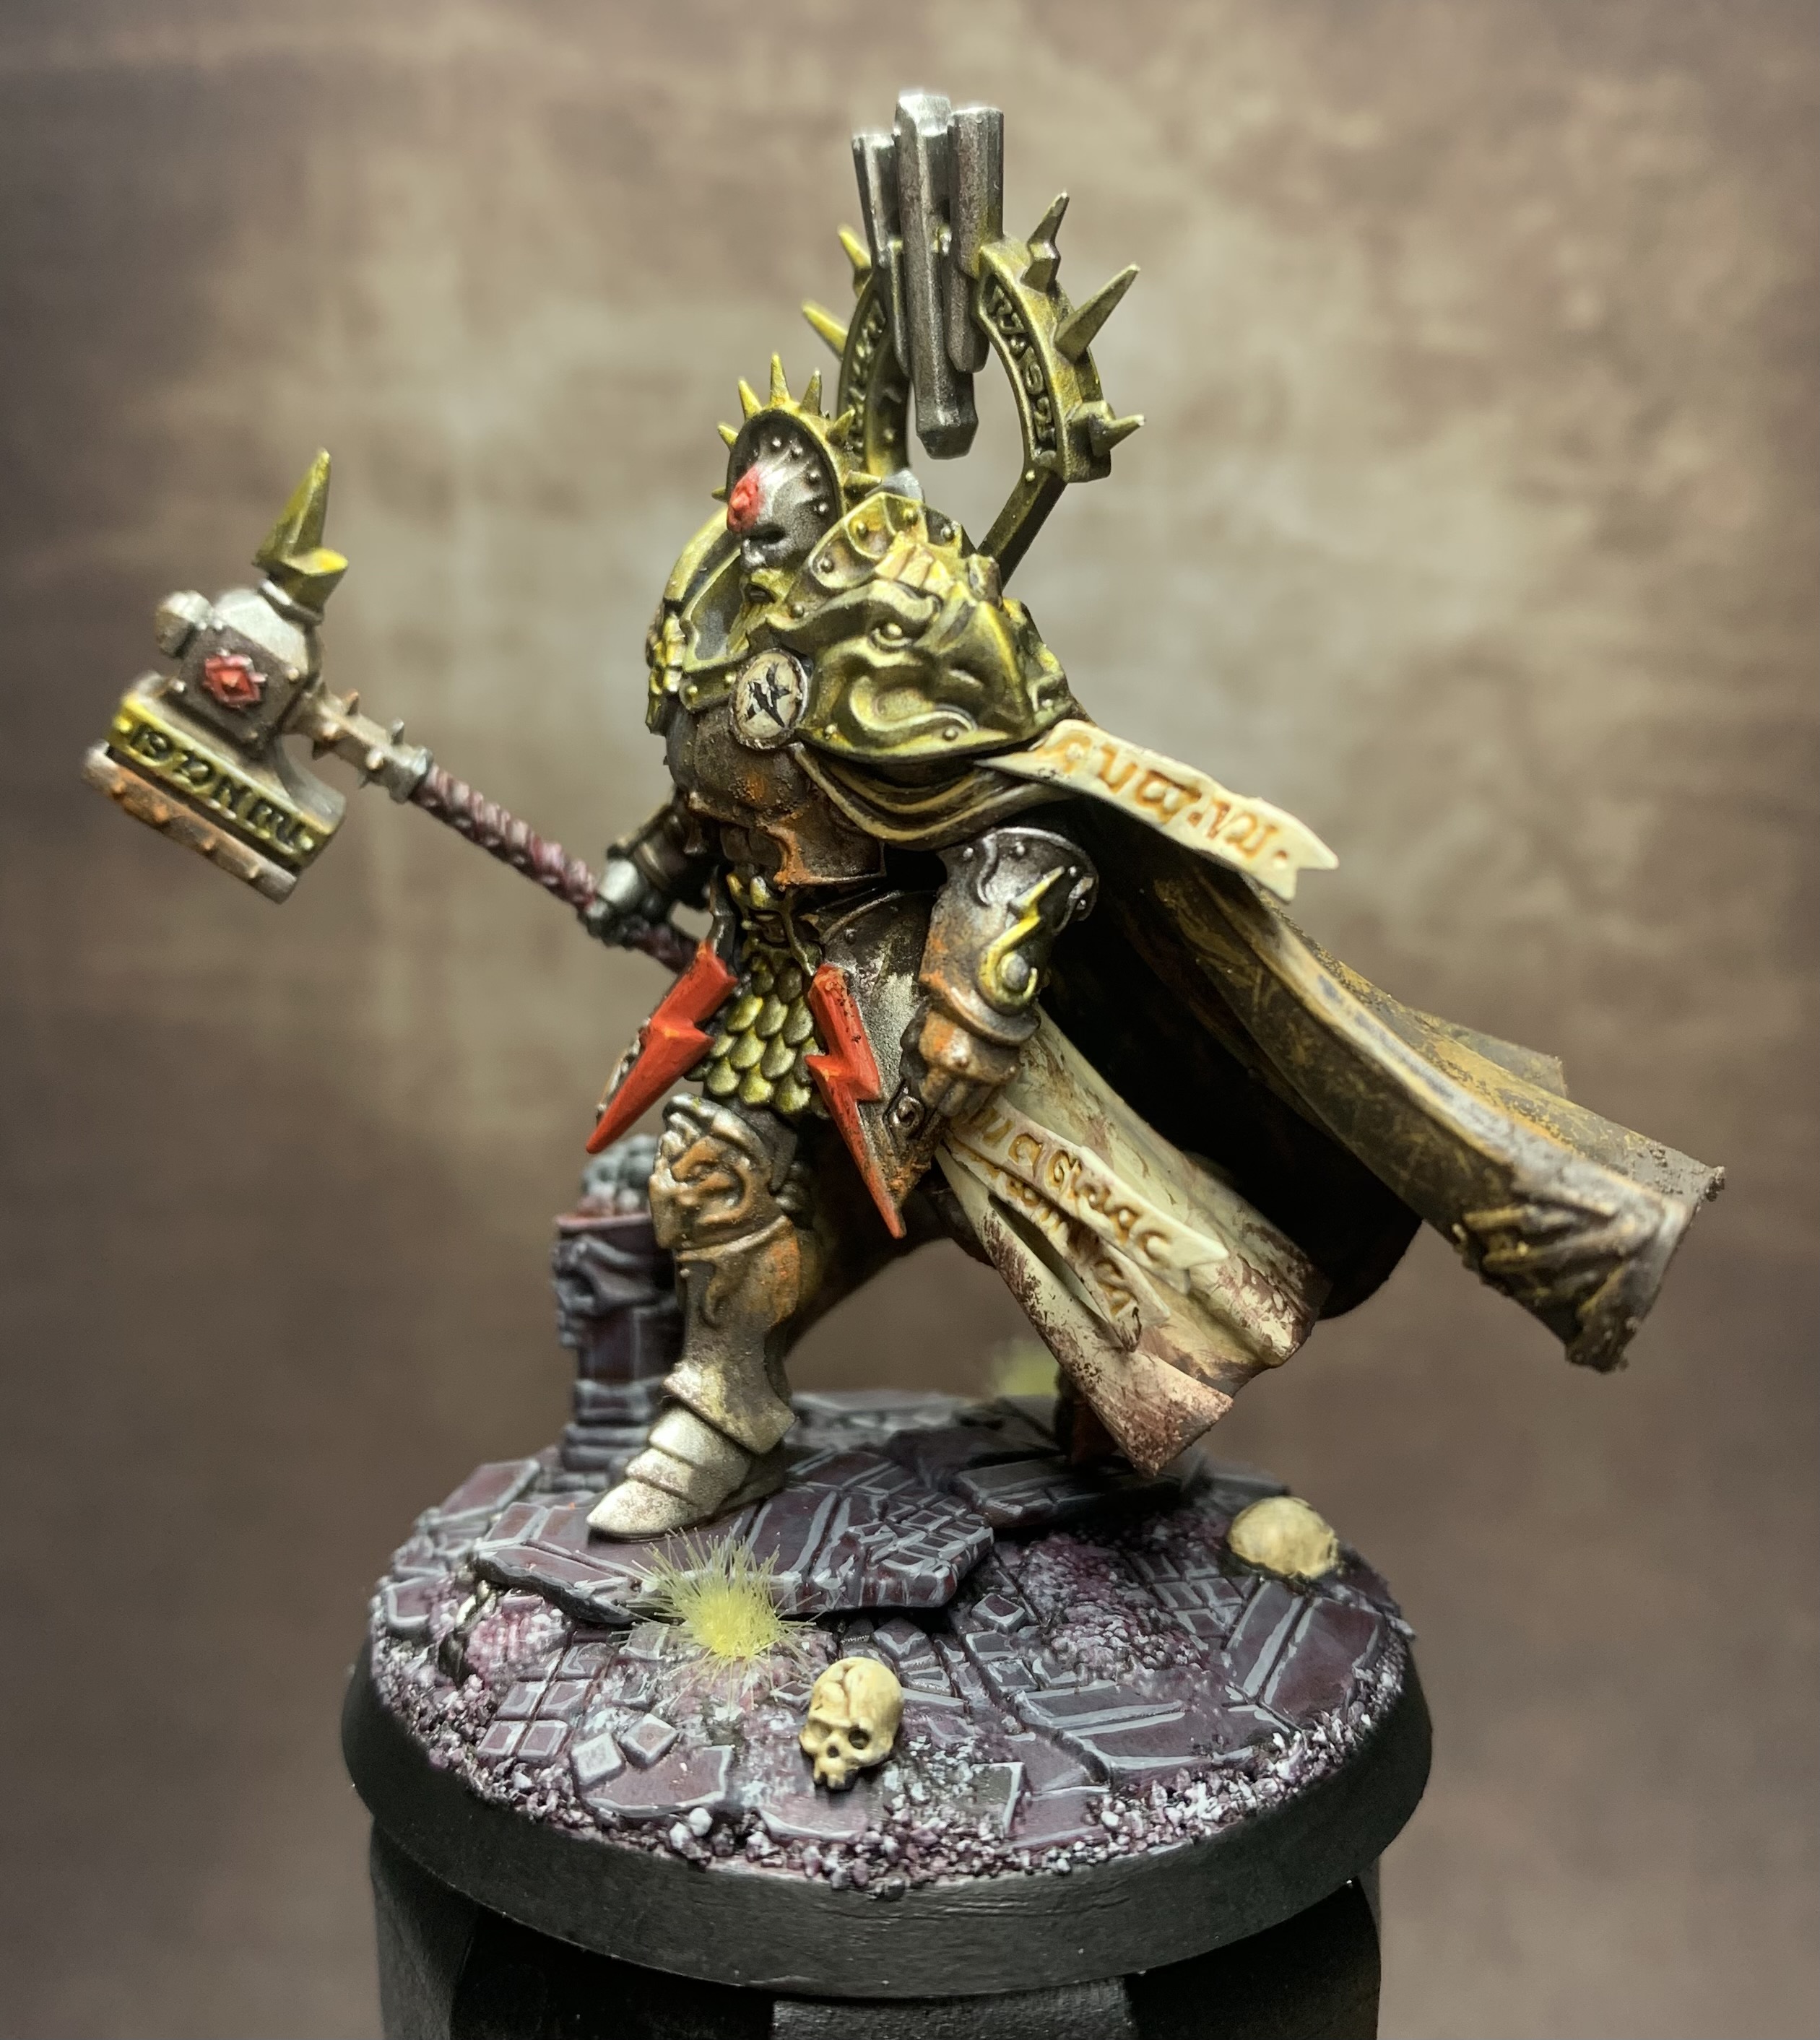
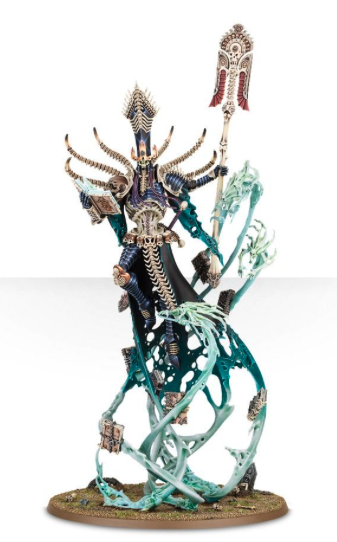
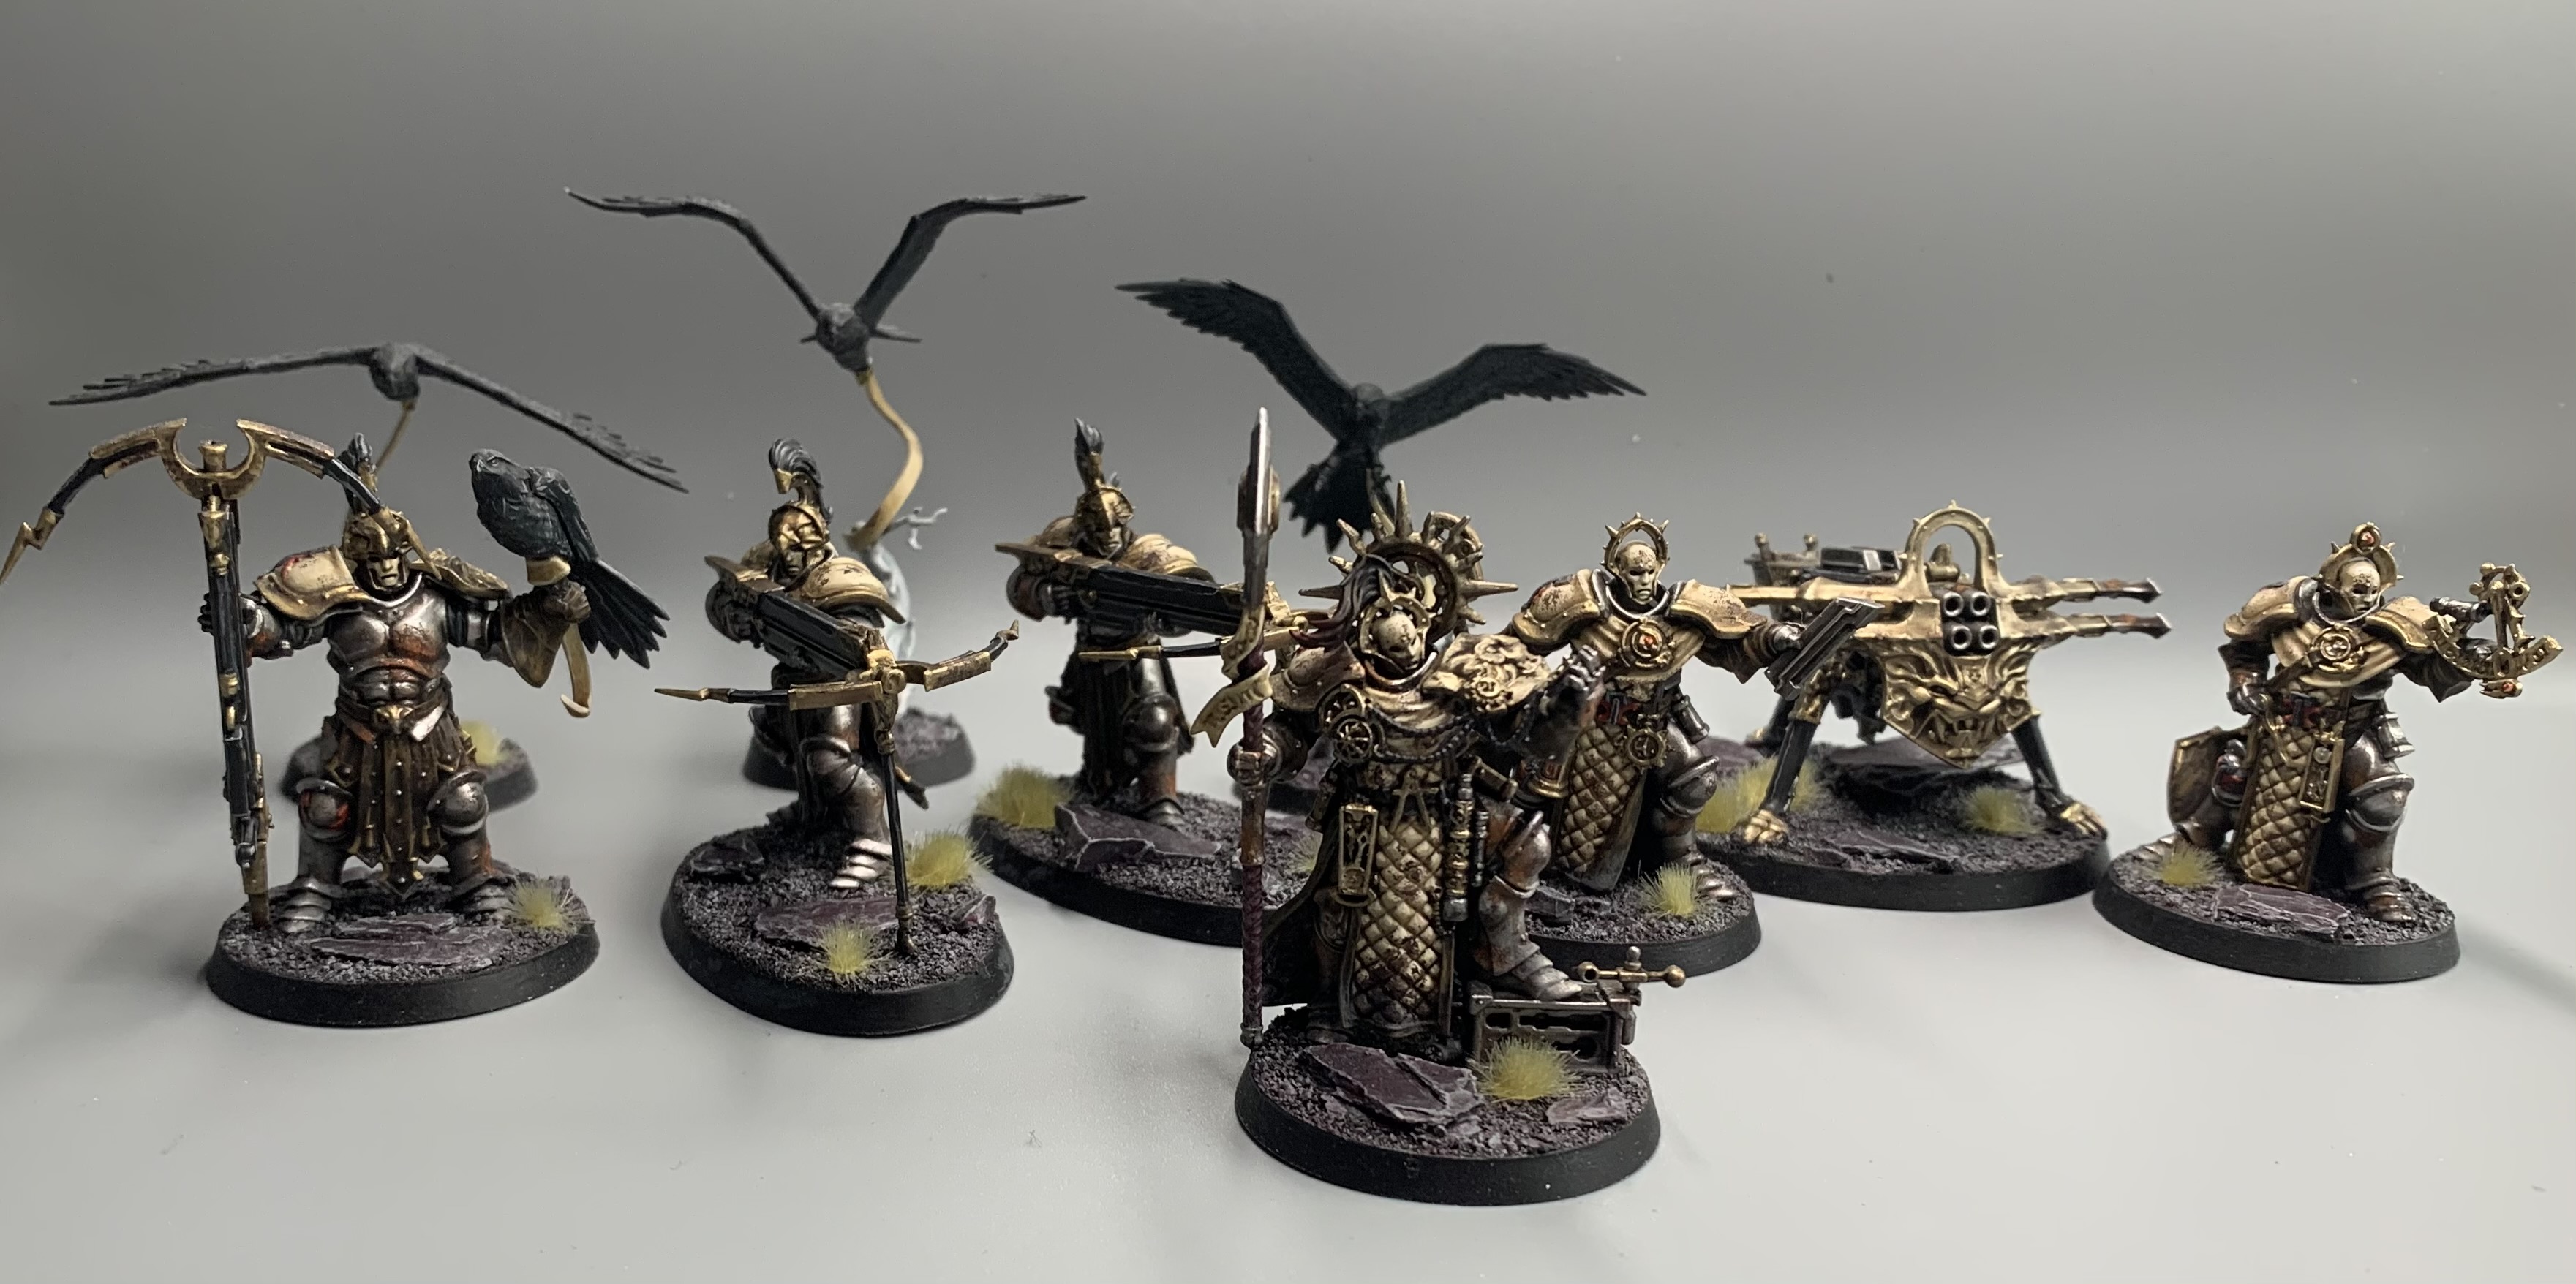
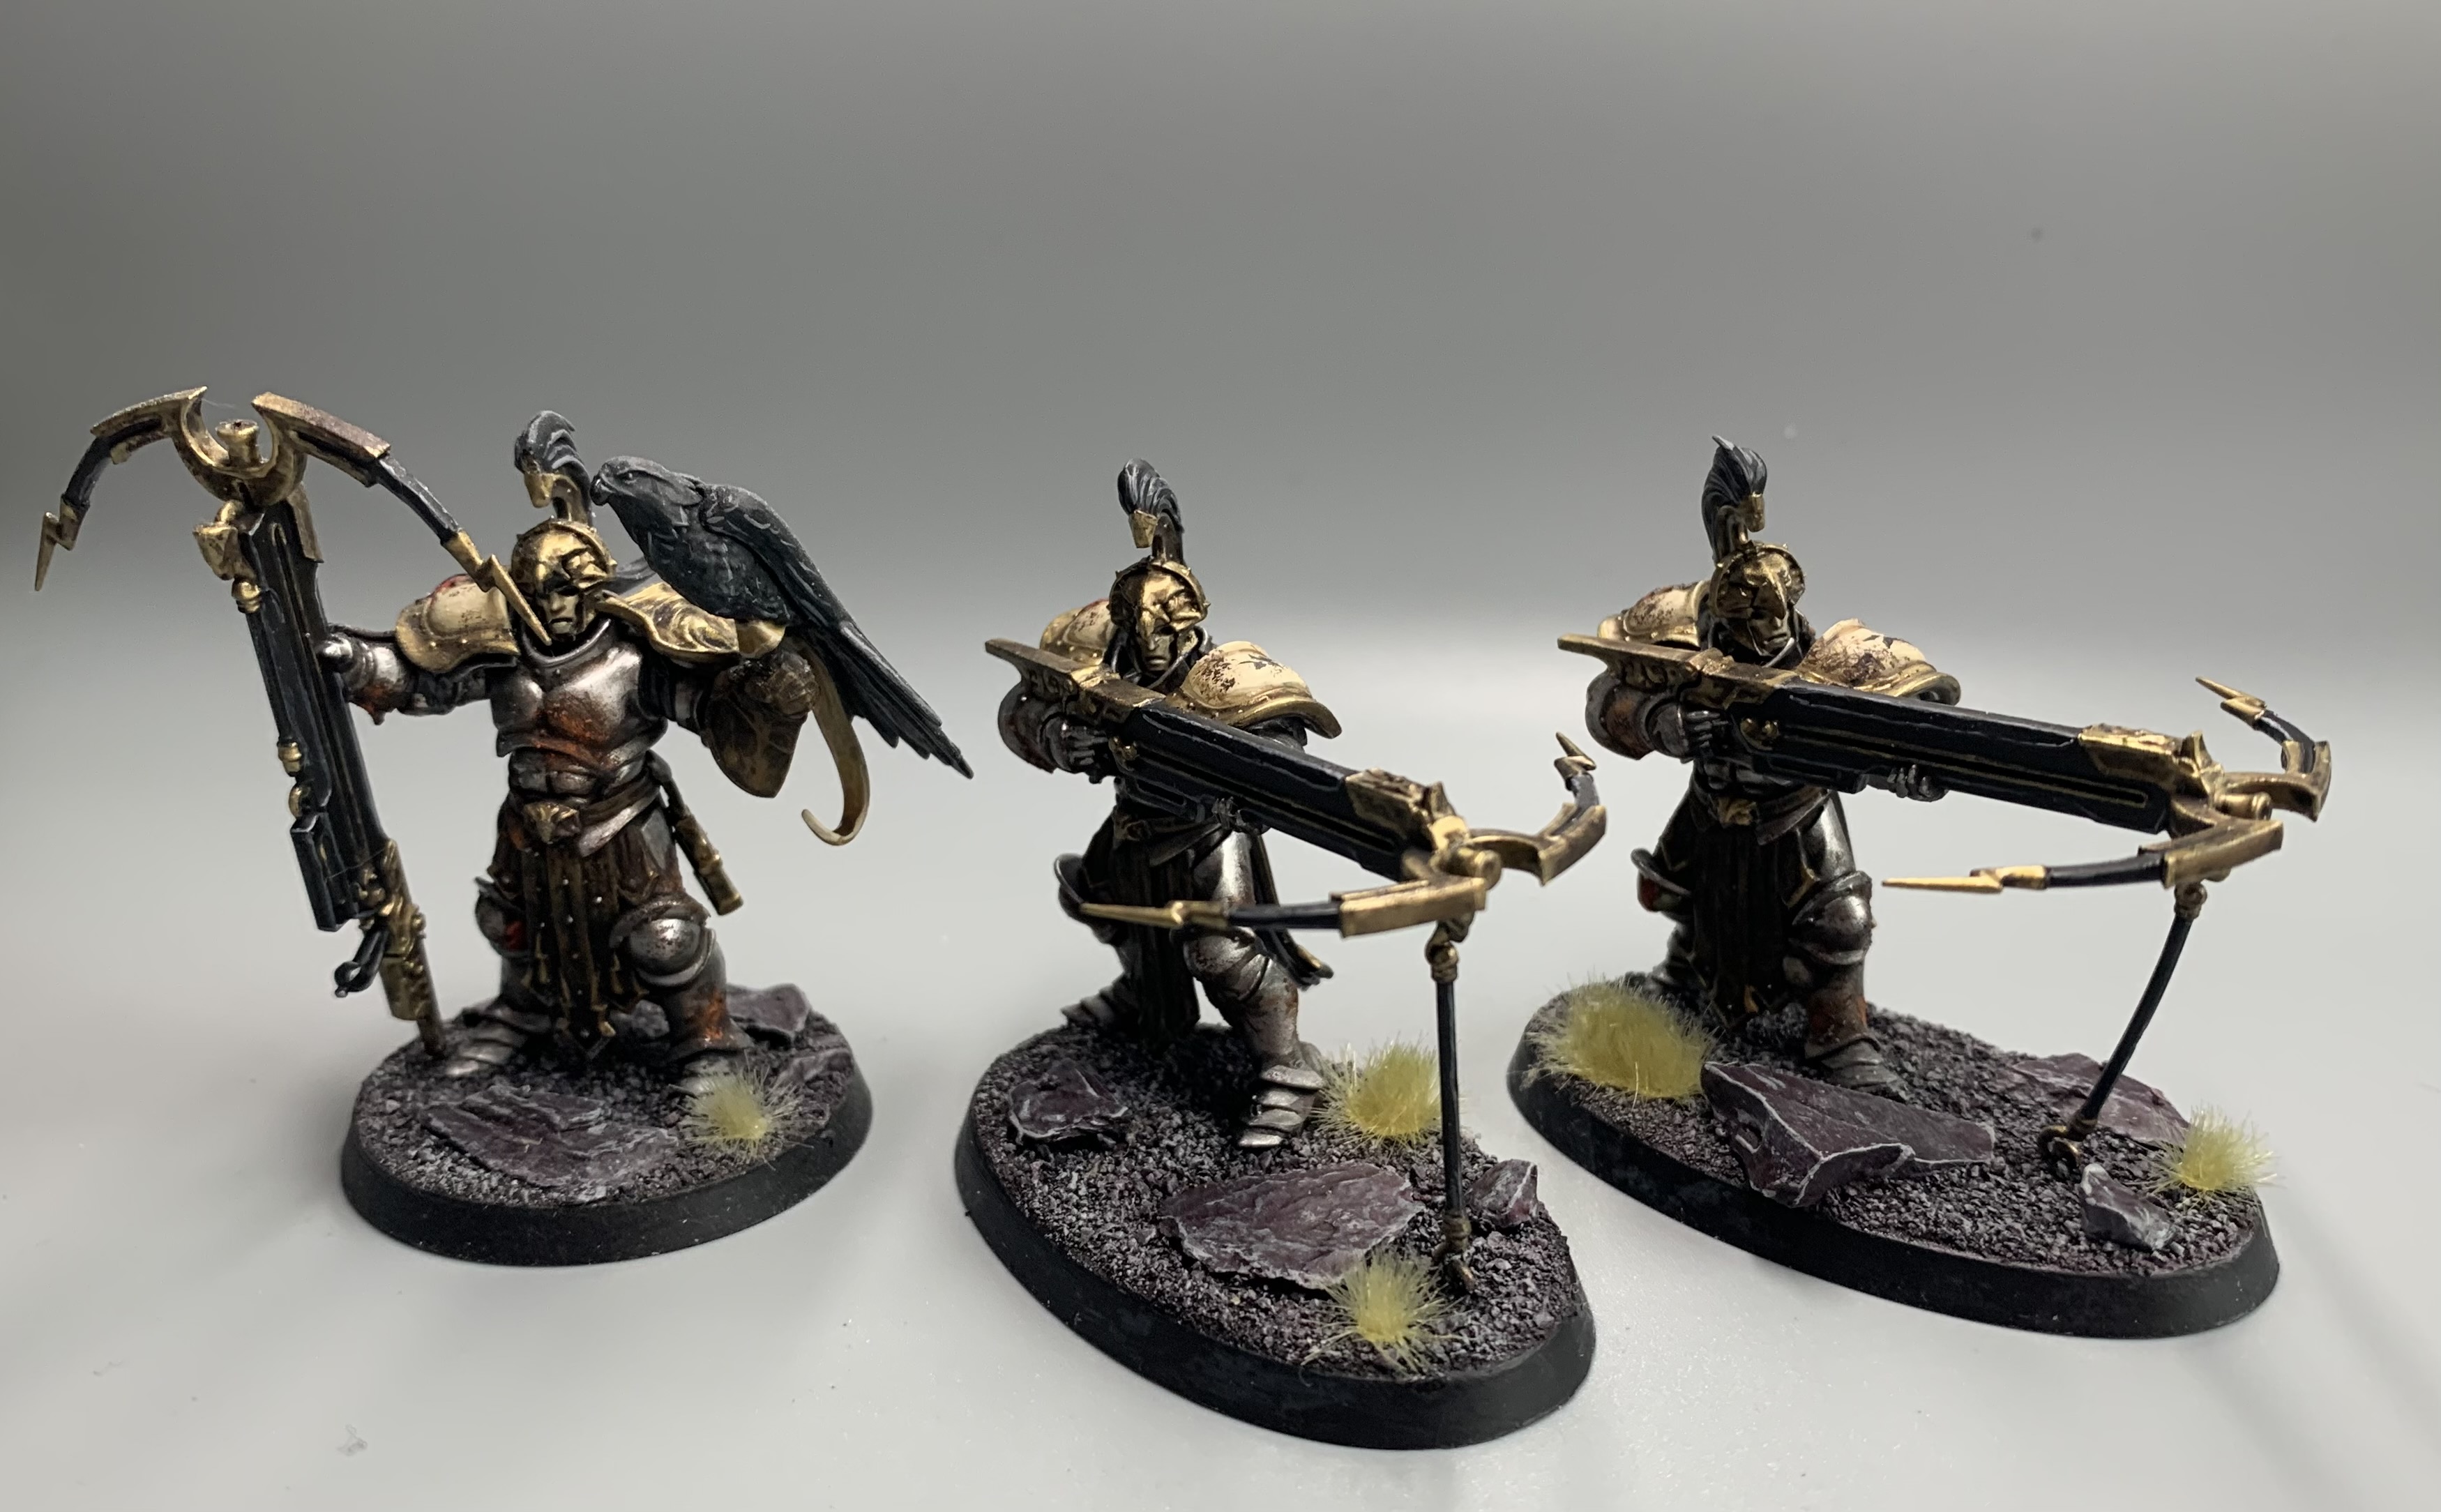
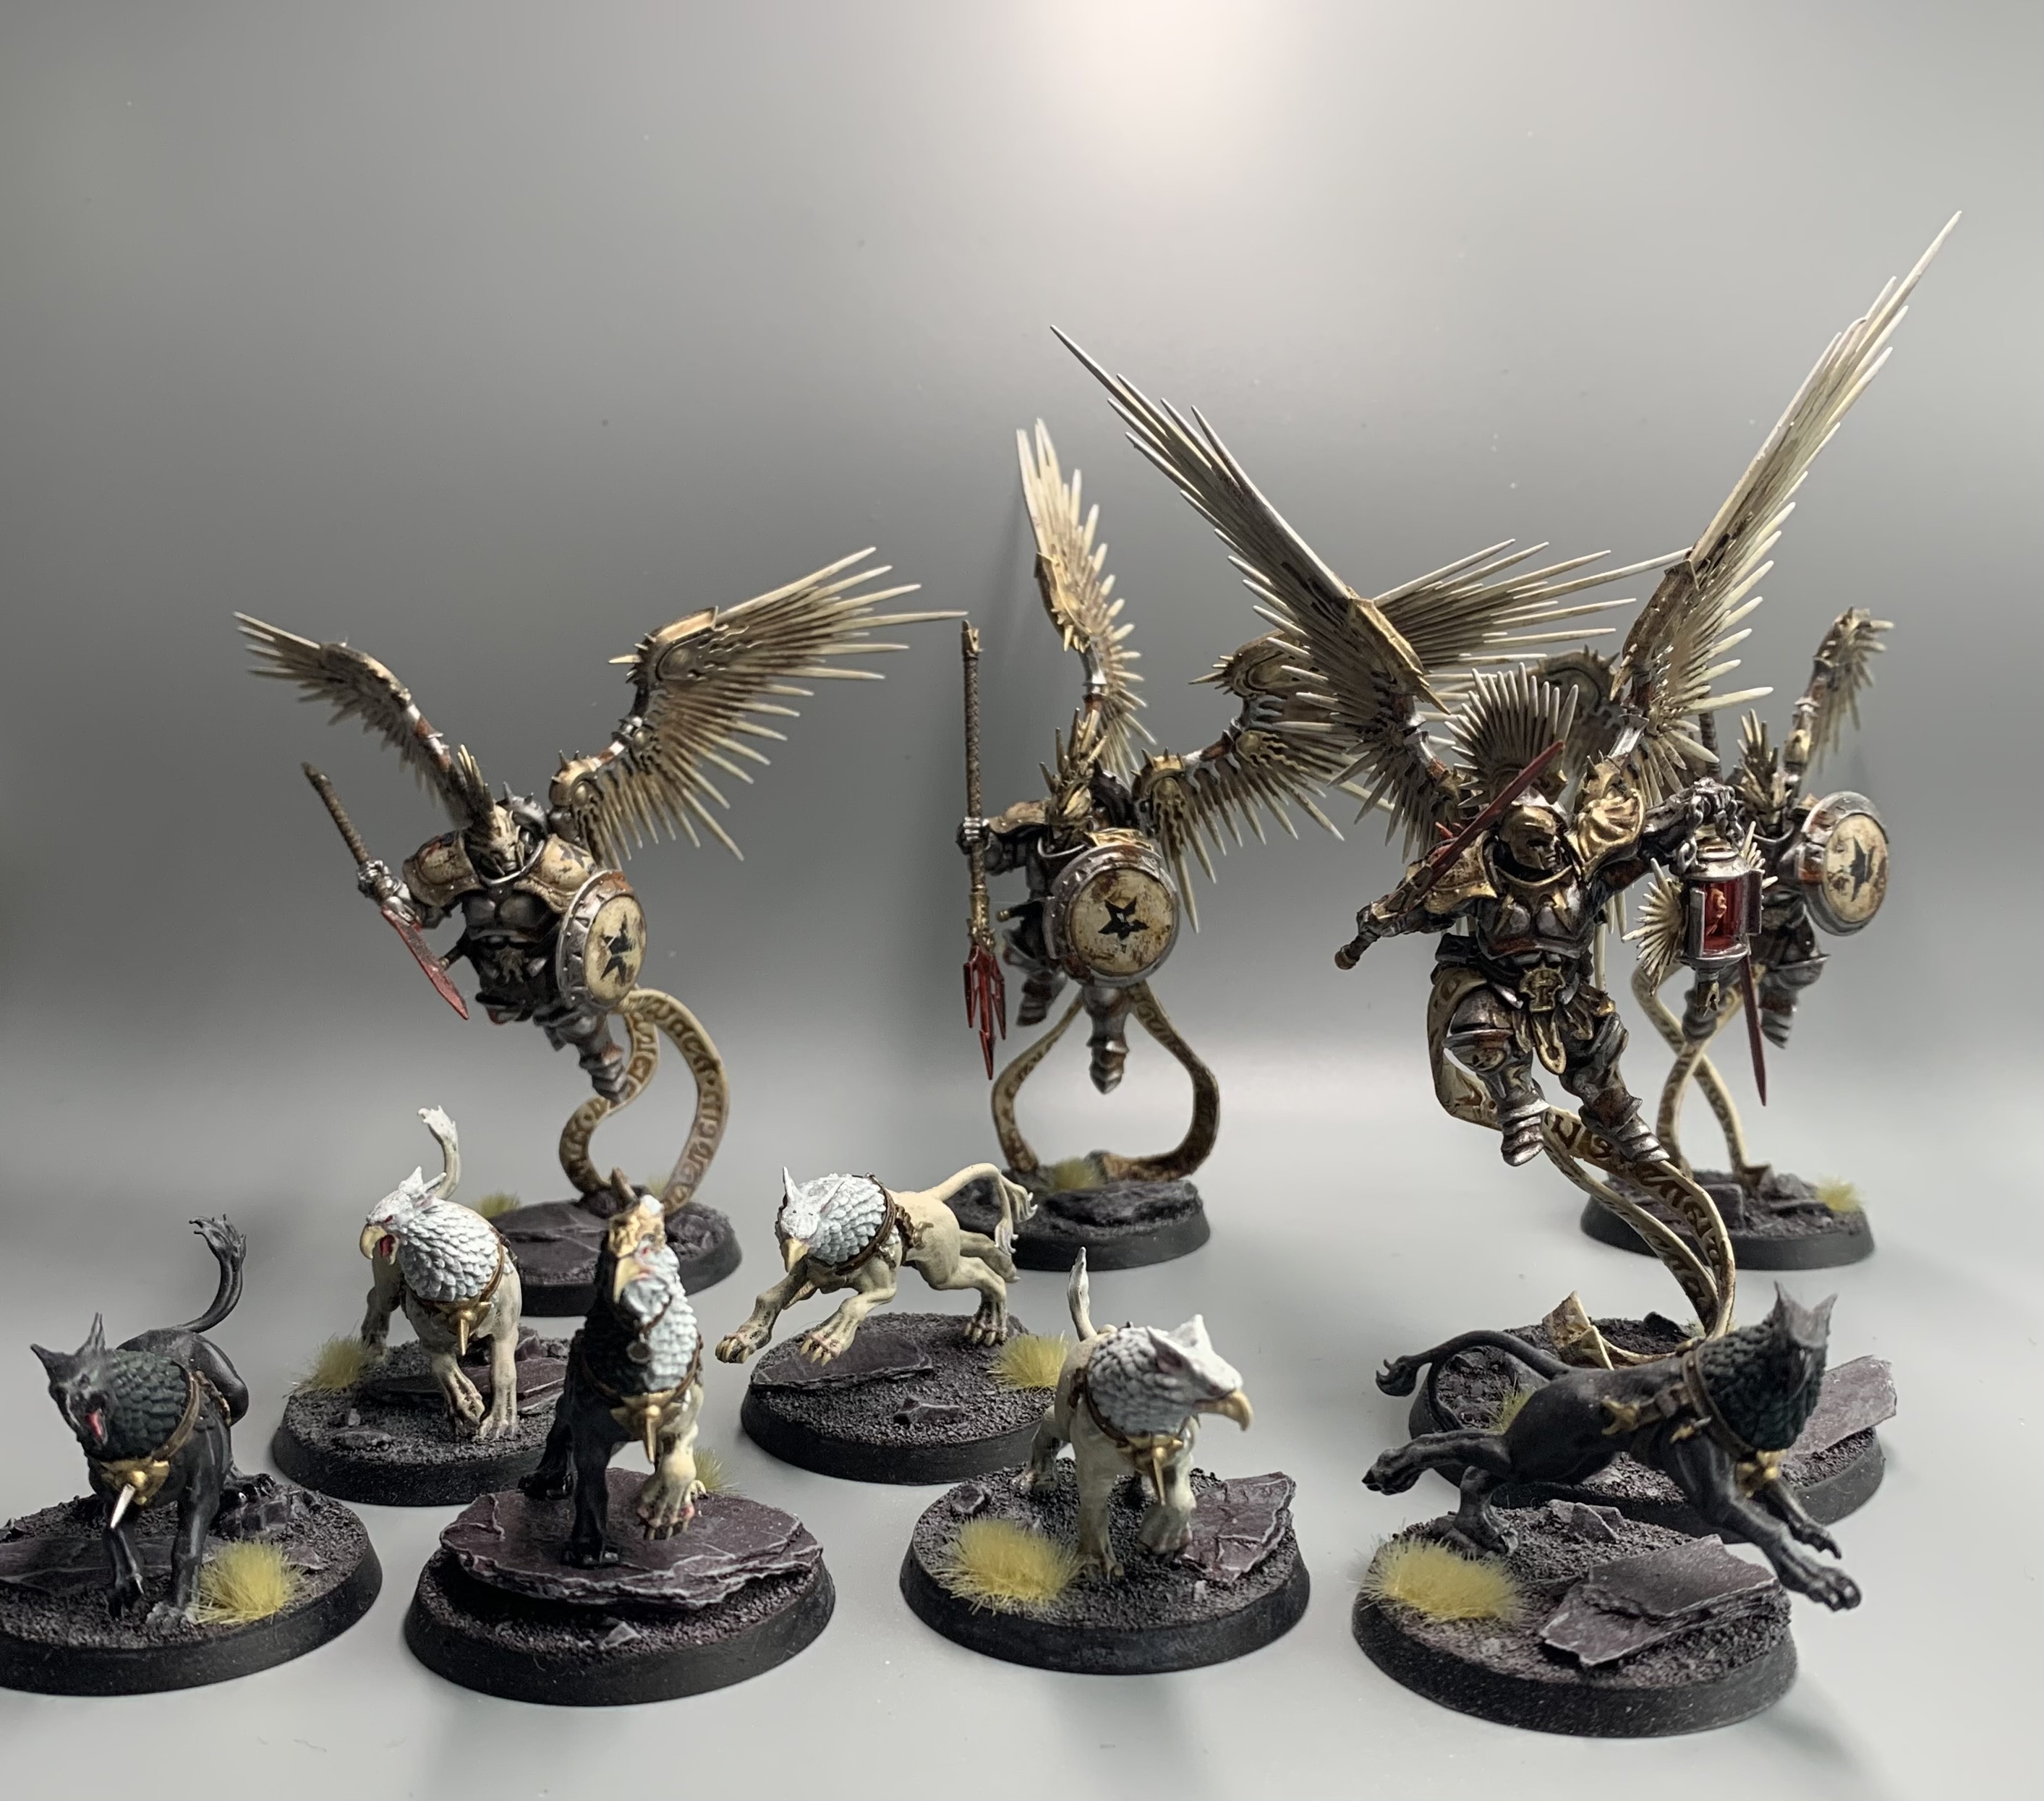
Games Workshop were kind enough to send me some of the brand new Stormdrake Guard recently and I have added them to the ranks of my Stormhost – the Ashen Stars. I showed the first one I painted off to the folks on twitter and asked if people would like any tutorials based on the model and I got an emphatically positive response. So, here we are – that’s exactly what you’re getting today. I will show you how to paint black dragons and rusty old armour and I promise you that these are very simple schemes to work on. I painted my Stormdrakes like this because I have very little time to dedicate to this army, but I still want it to look good, so I went with a down and dirty set of methods that do the job. Will these techniques help win you any awards? No. But can they help to create something effective and striking on the tabletop? I hope so, yes.
How To Paint A Black Dragon
First off, we’re going to tackle the dragon skin and we’re going to be using the age old technique of drybrushing. While some people look down on drybrushing, it’s a great way for a painter to achieve organic transitions and cut down time when painting a big mini like this. You can get a very nice effect and as long as you remove most of the paint from your brush before putting it to the mini, it’s very hard to make it go wrong. Just keep a very light touch and use the right sort of brush, I use something like this:

Well, for the larger areas anyway. Stiff bristles with a broad tip, this brush is perfect for this sort of work. And now that we have our brush, we need to meet our paints that I think of as the ‘Drab Four’ (a slight nod to Type O Negative there too). As we’re working on a black base, we’re going to use Abaddon Black, Eshin Grey, Dawnstone and Administratum Grey (you can of course use similar paints from other ranges – this is just what I have). All of our drybrushing is going to be done using these paints in various combinations. But before we get there, we have to get our base colours down. It’s also worth knowing that we’ll be thinking of our light-source being overhead. To that end, after giving the whole model a nice even spray of Chaos Black, we’re going to coat the underside of the model in Adaddon black because it is a little darker.
Because we’re now treating this as a miniature of two halves, we are going to drybrush the underside and the top side with different shades using our ‘Drab Four’. Now, I was going to show you eight different photos of a black dragon becoming slightly less black but that just looked stupid so instead, we have what every fun blog post needs; a diagram:
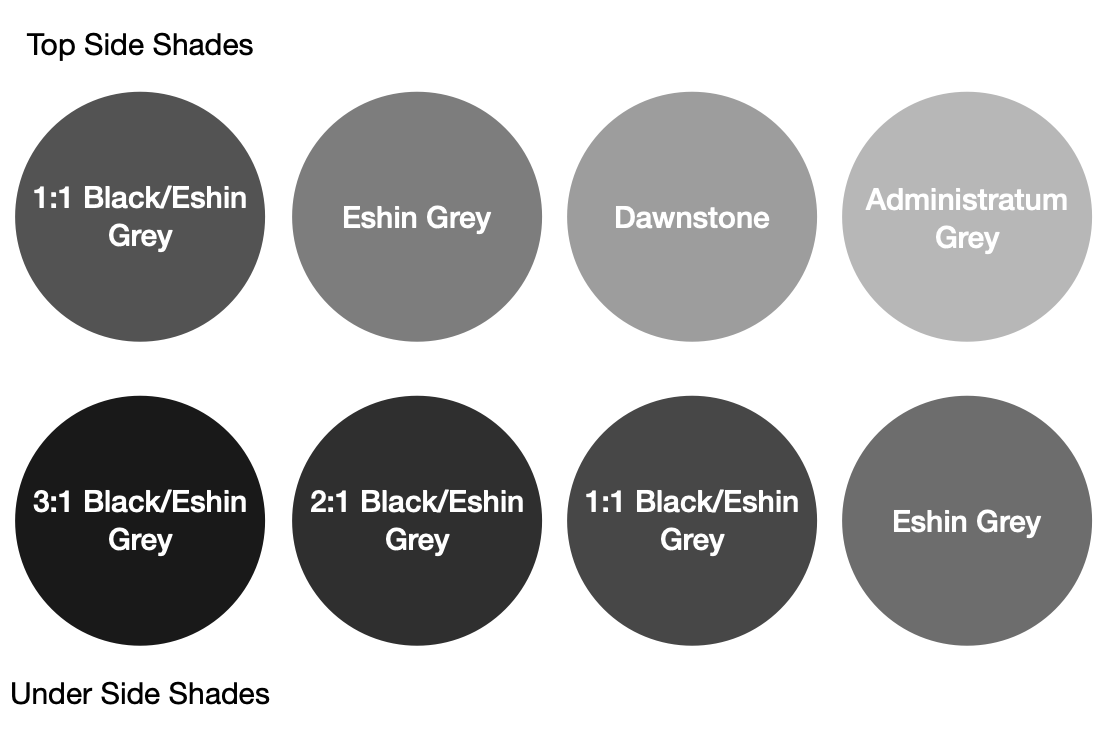
So the Underside will never get lighter than Eshin Grey, while the top side will go all the way up to Administratum Grey. You start with the darkest shades and cover the whole area you’re working on (top side or underside) and by the time you’re using the lightest shades, you should only be hitting the most prominent parts. It looks very subtle on the underside, but subtle is good on organic things:
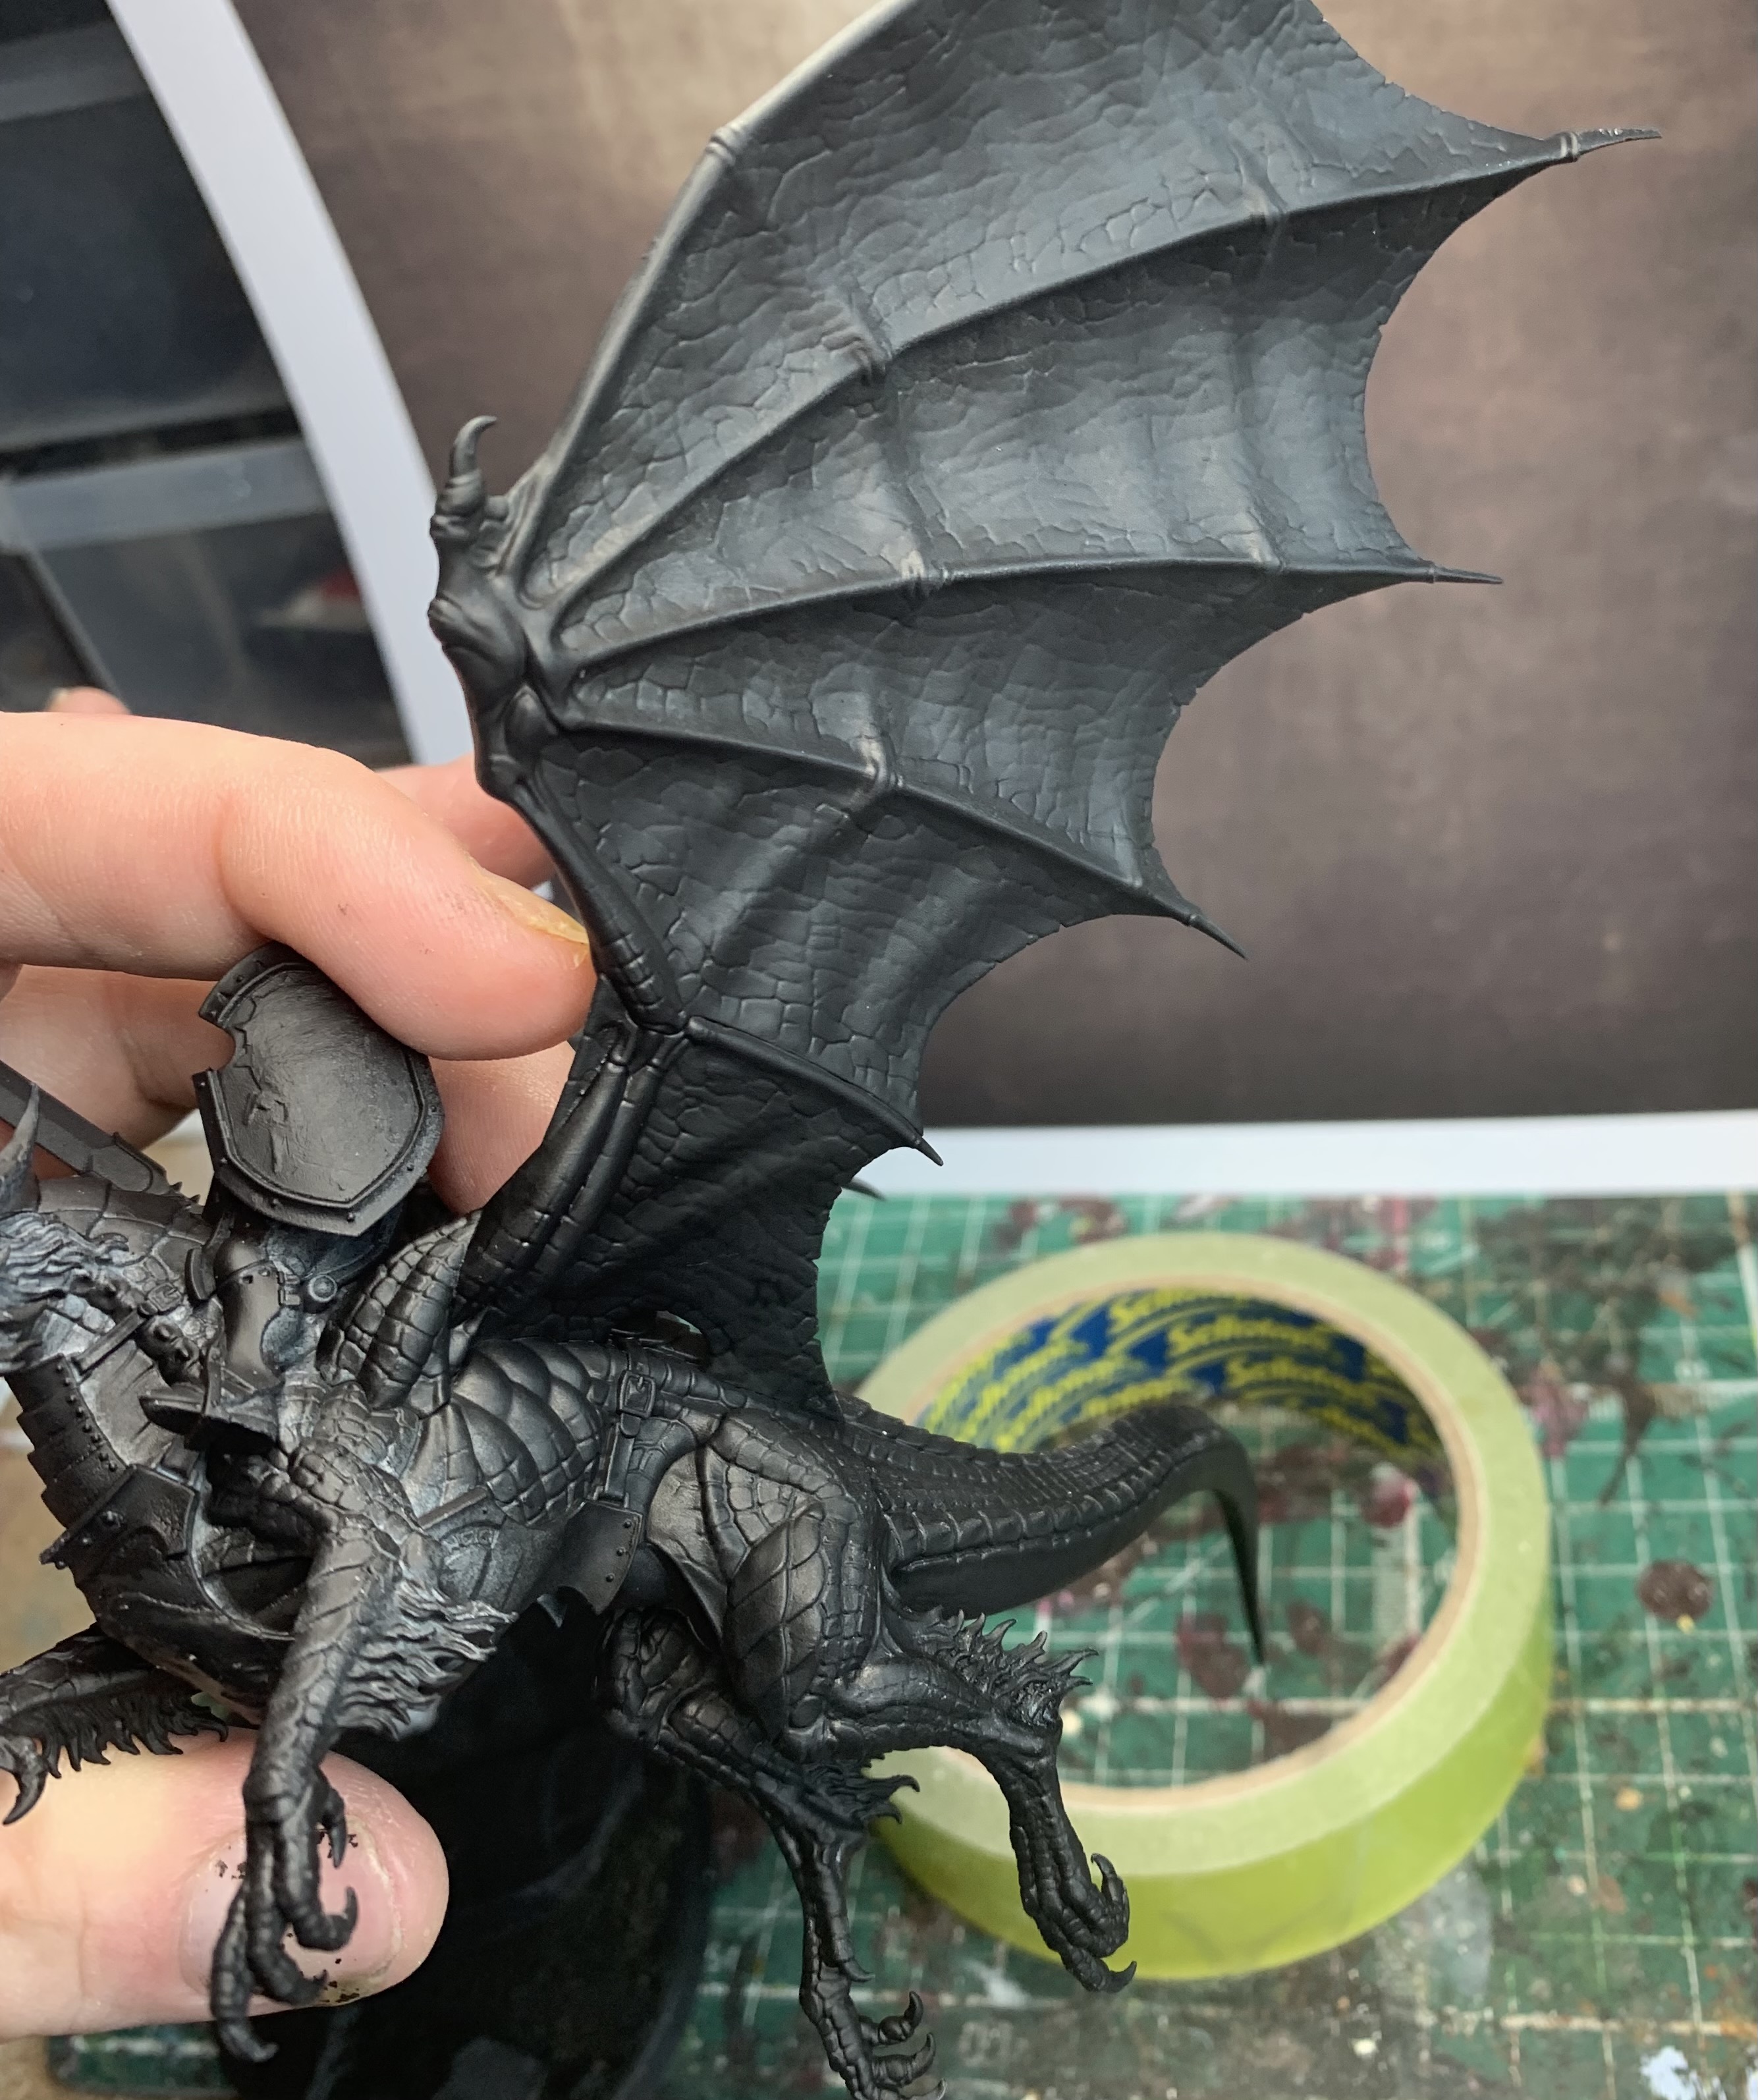
Then, above the wings, it can look a lot more vibrant even when using these greys:

Next up, you want to take a smaller brush and apply that last high light of Administratum Grey to the highest points and also paint the ribs in the wings – the bits that lead to each of the individual talons (Eshin Grey Underneath, Admin Grey on top). You’ll also want to paint the hair, using Dawnstone as a base, and Administratum Grey as a highlight colour.

Almost done. One last step and our dragon scale is complete. All that’s left is to cover this in an even coat of, well, it’s up to you. Using the Citadel paint range as a guide, Shade paints will give you a subtle tone, but if you want something more vibrant, a slightly thinned Contrast Paint will do the job too. For this dragon though, I used Coelia Greenshade to get a nice, dark look – perfect for a black dragon.
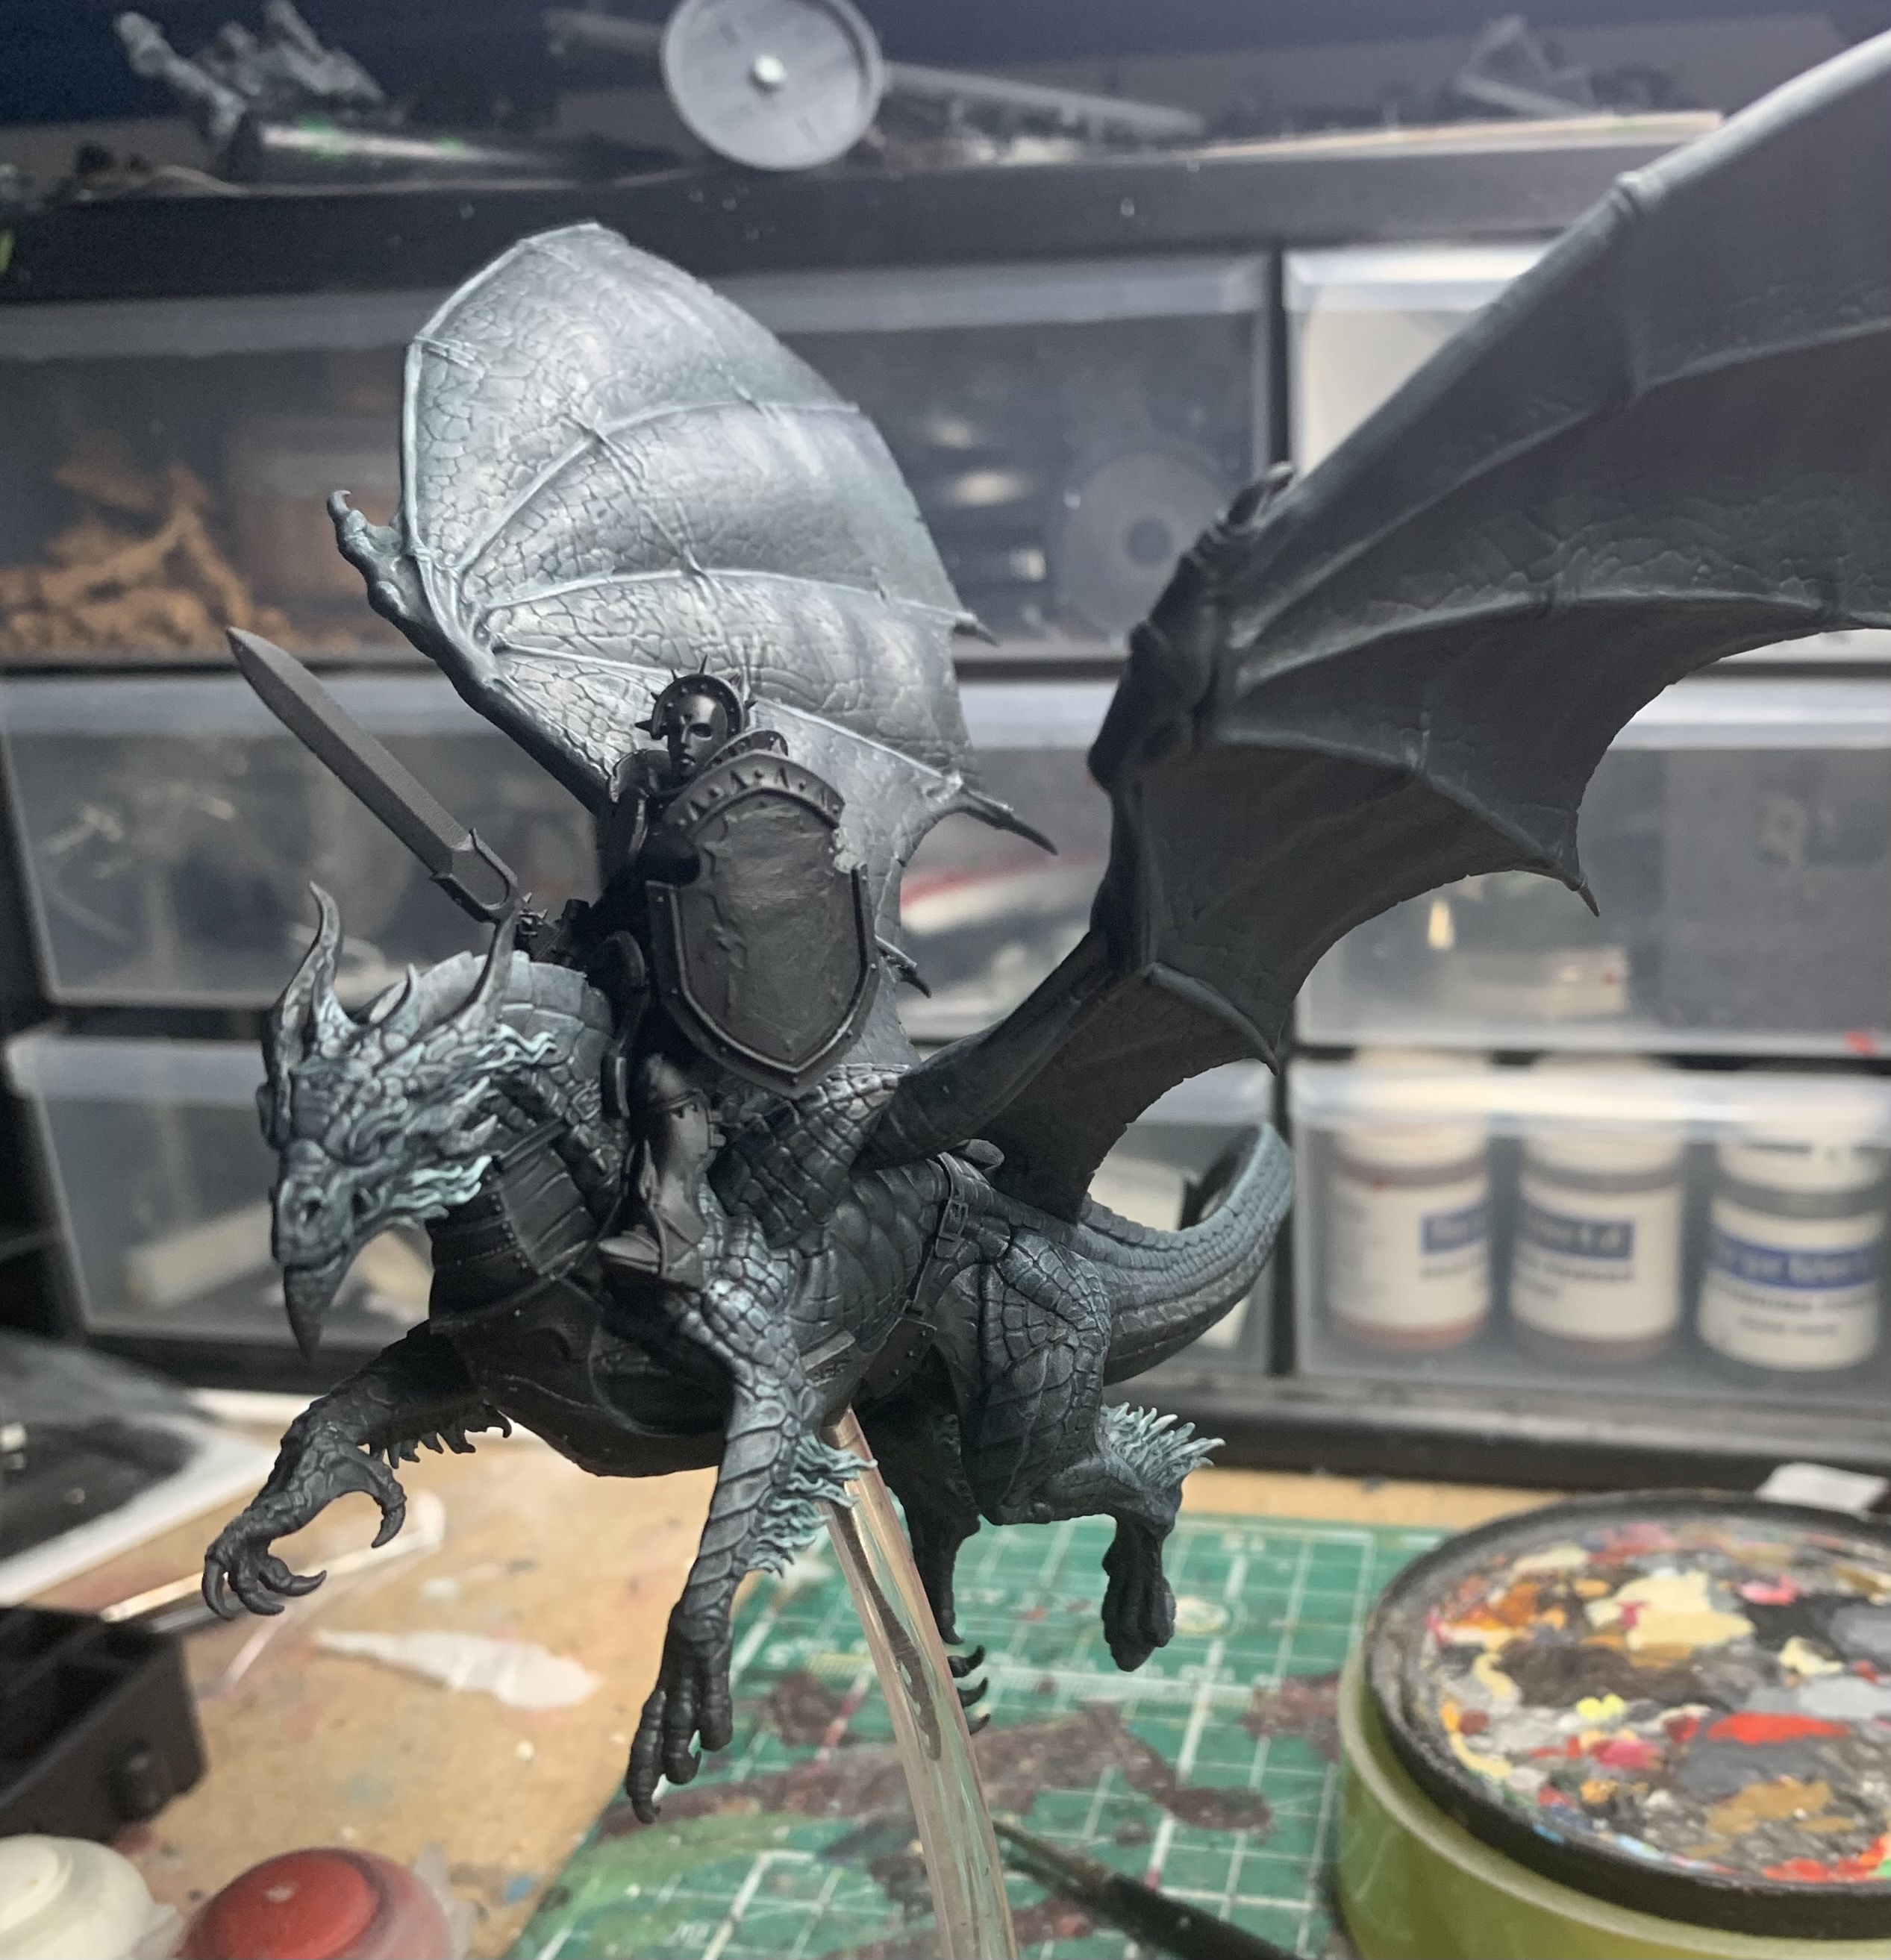
Like I said, you could use other paints (I think Druchi Violet or Carroburg Crimson would look amazing as alternatives), but I’m very happy with this. I suppose technically this means it’s only “Battle Ready” but I’m ok with that.
Anyway, now that the bulk of it is done, we don’t want to linger too long on the rest of the details. Next up, I’m going to give this dragon shiny black talons, and I’m going to let actual light give them some very smooth highlights. I went around all the talons (on the feet and the wings) and blocked them in with Abaddon Black. After this, I gave each a coat of ‘Ardcoat. Done. Why highlight these naturally shiny parts when the light bouncing off them can do all the work for you?

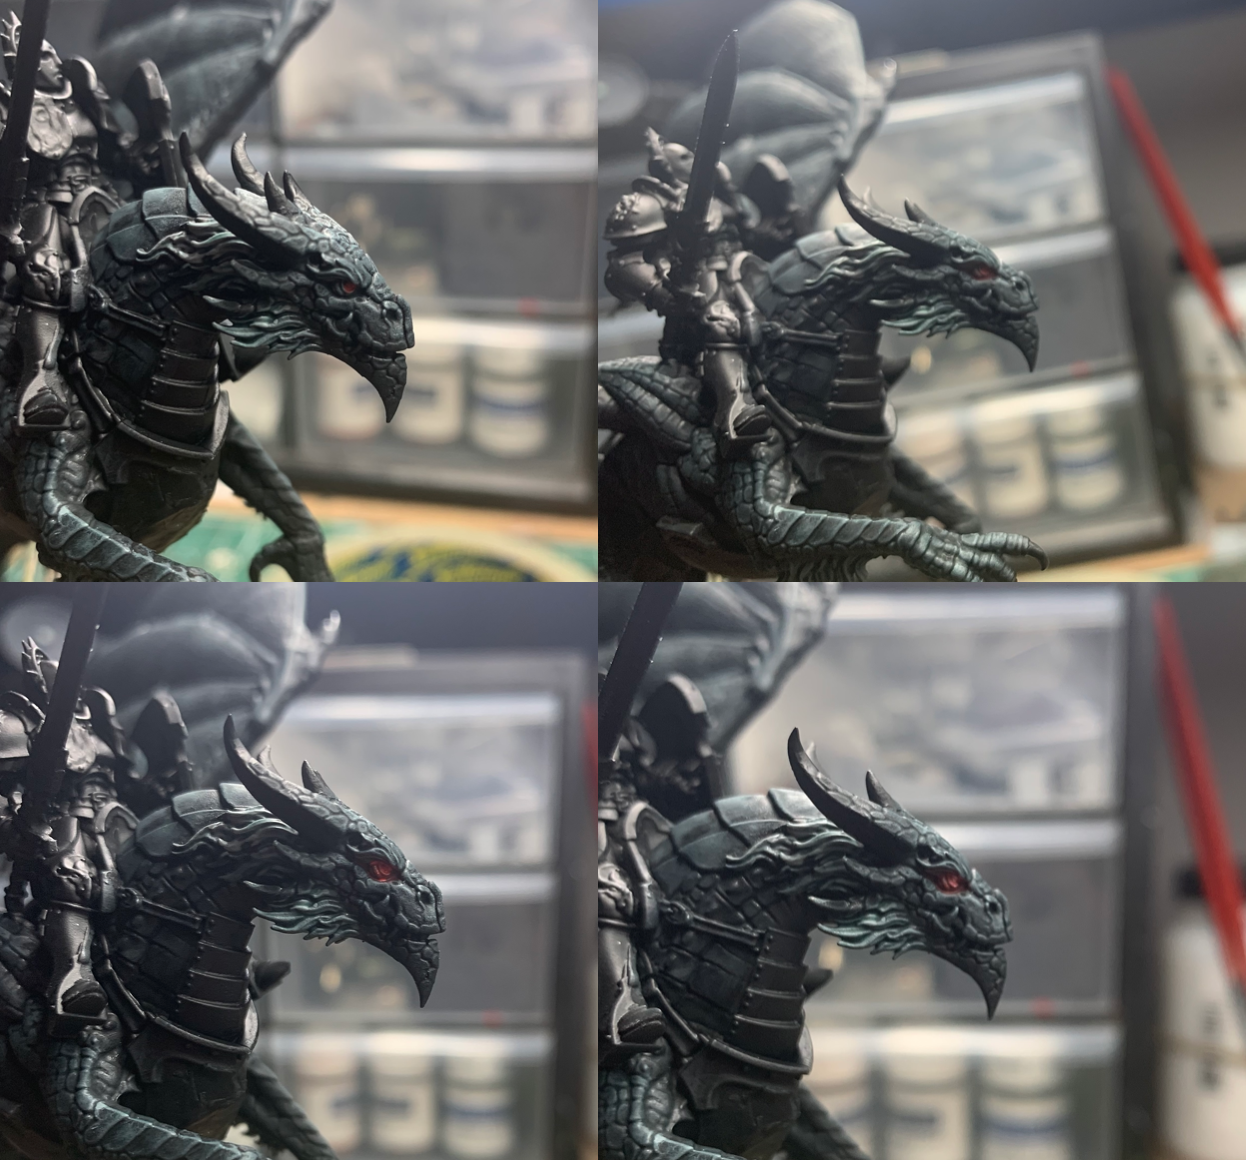
I also blacked out the horns on its head at some point though I didn’t add ‘Ardcoat to those – I just wanted to set them apart a little bit.
Next up it’s time to do the glowing red eyes. Take Mephiston Red and put some of this on the actual eyeball. Next, thin that Mephiston Red down plenty and paint it into the the recess that the eye sits in, always drawing the paint back to the eye itself – this is our glow. Do the same two steps next with Evil Sunz Scarlet but don’t go so far away from the eye with this paint, and again, draw it back to the source of the glow. Now add some White Scar to some Evil Sunz Scarlet and just hit the eye with this. Give it a second highlight if you like with a bit more white in the mix for a spot highlight.
The last thing I did was the fangs. A little Ushabti Bone, then a wash of Seraphim Sepia, before bringing it back up with Ushabti Bone and a Spot Highlight of Screaming Skull.

There you go. Dragon is done. Quick, easy and it doesn’t look too bad either. Like I said, you won’t win awards with this, but it does end up looking quite striking on the tabletop.
How To Paint Rusted Armour
Now I’ve been painting up this rusted armour in this way for 4 years now and it serves me well enough. I mentioned in another post not too long ago that it’s sometimes hard to get back into the habit of painting metallics like this after my personal preferences have changed quite a bit over that time, but it’s a nice, easy way to do things and it holds up just fine if you don’t glare at it too closely. Also, if you’re going to be quick, remember that weathering hides a multitude of sins.
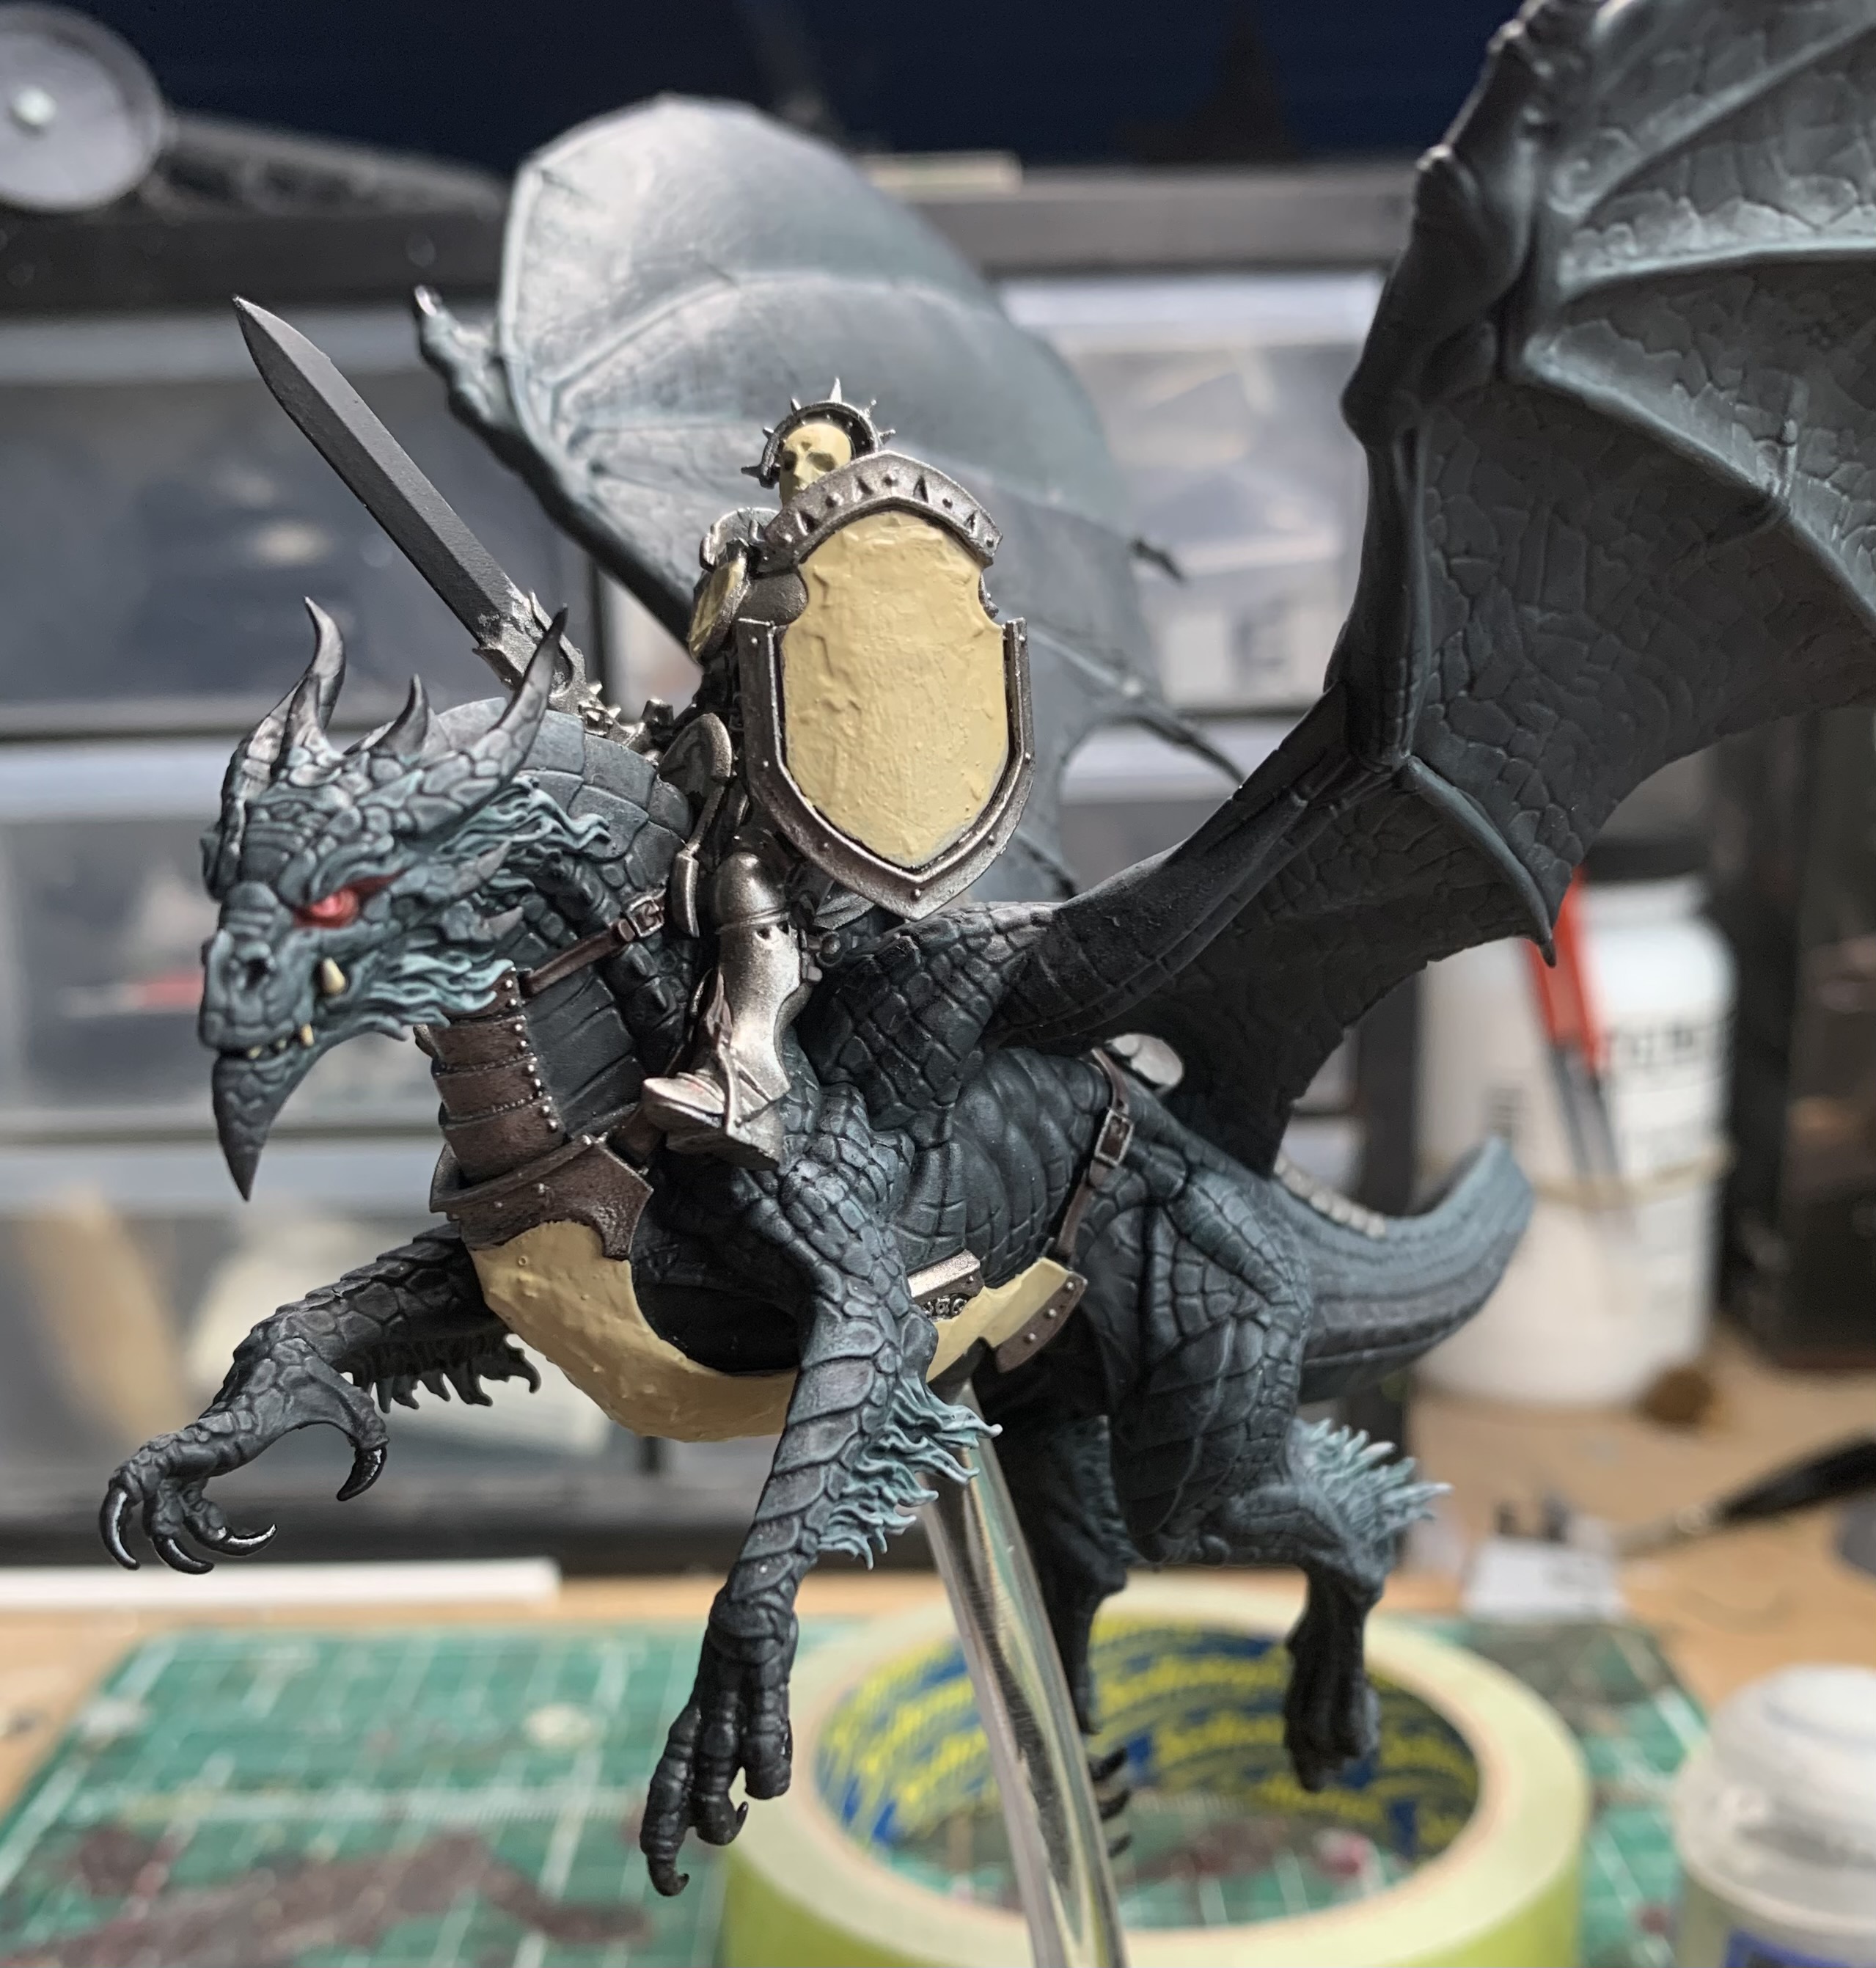
First off, we’re going to put down three base colours as seen above. We have Ushabti Bone, Leadbelcher, and Rhinox Hide for the leather areas. A couple of coats should do. Be as neat as you can, but we have ways of fixing things later so don’t worry if you miss a spot, but try and stay as clear as you can from the dragon skin – much harder to touch up.

I got the leathers out of the way next. Edge highlight with XV88 and then coat with Seraphim Sepia. Done. This is a very simplified and quick version of the same technique I use for most of my leathers and it works just fine here in this very basic form.
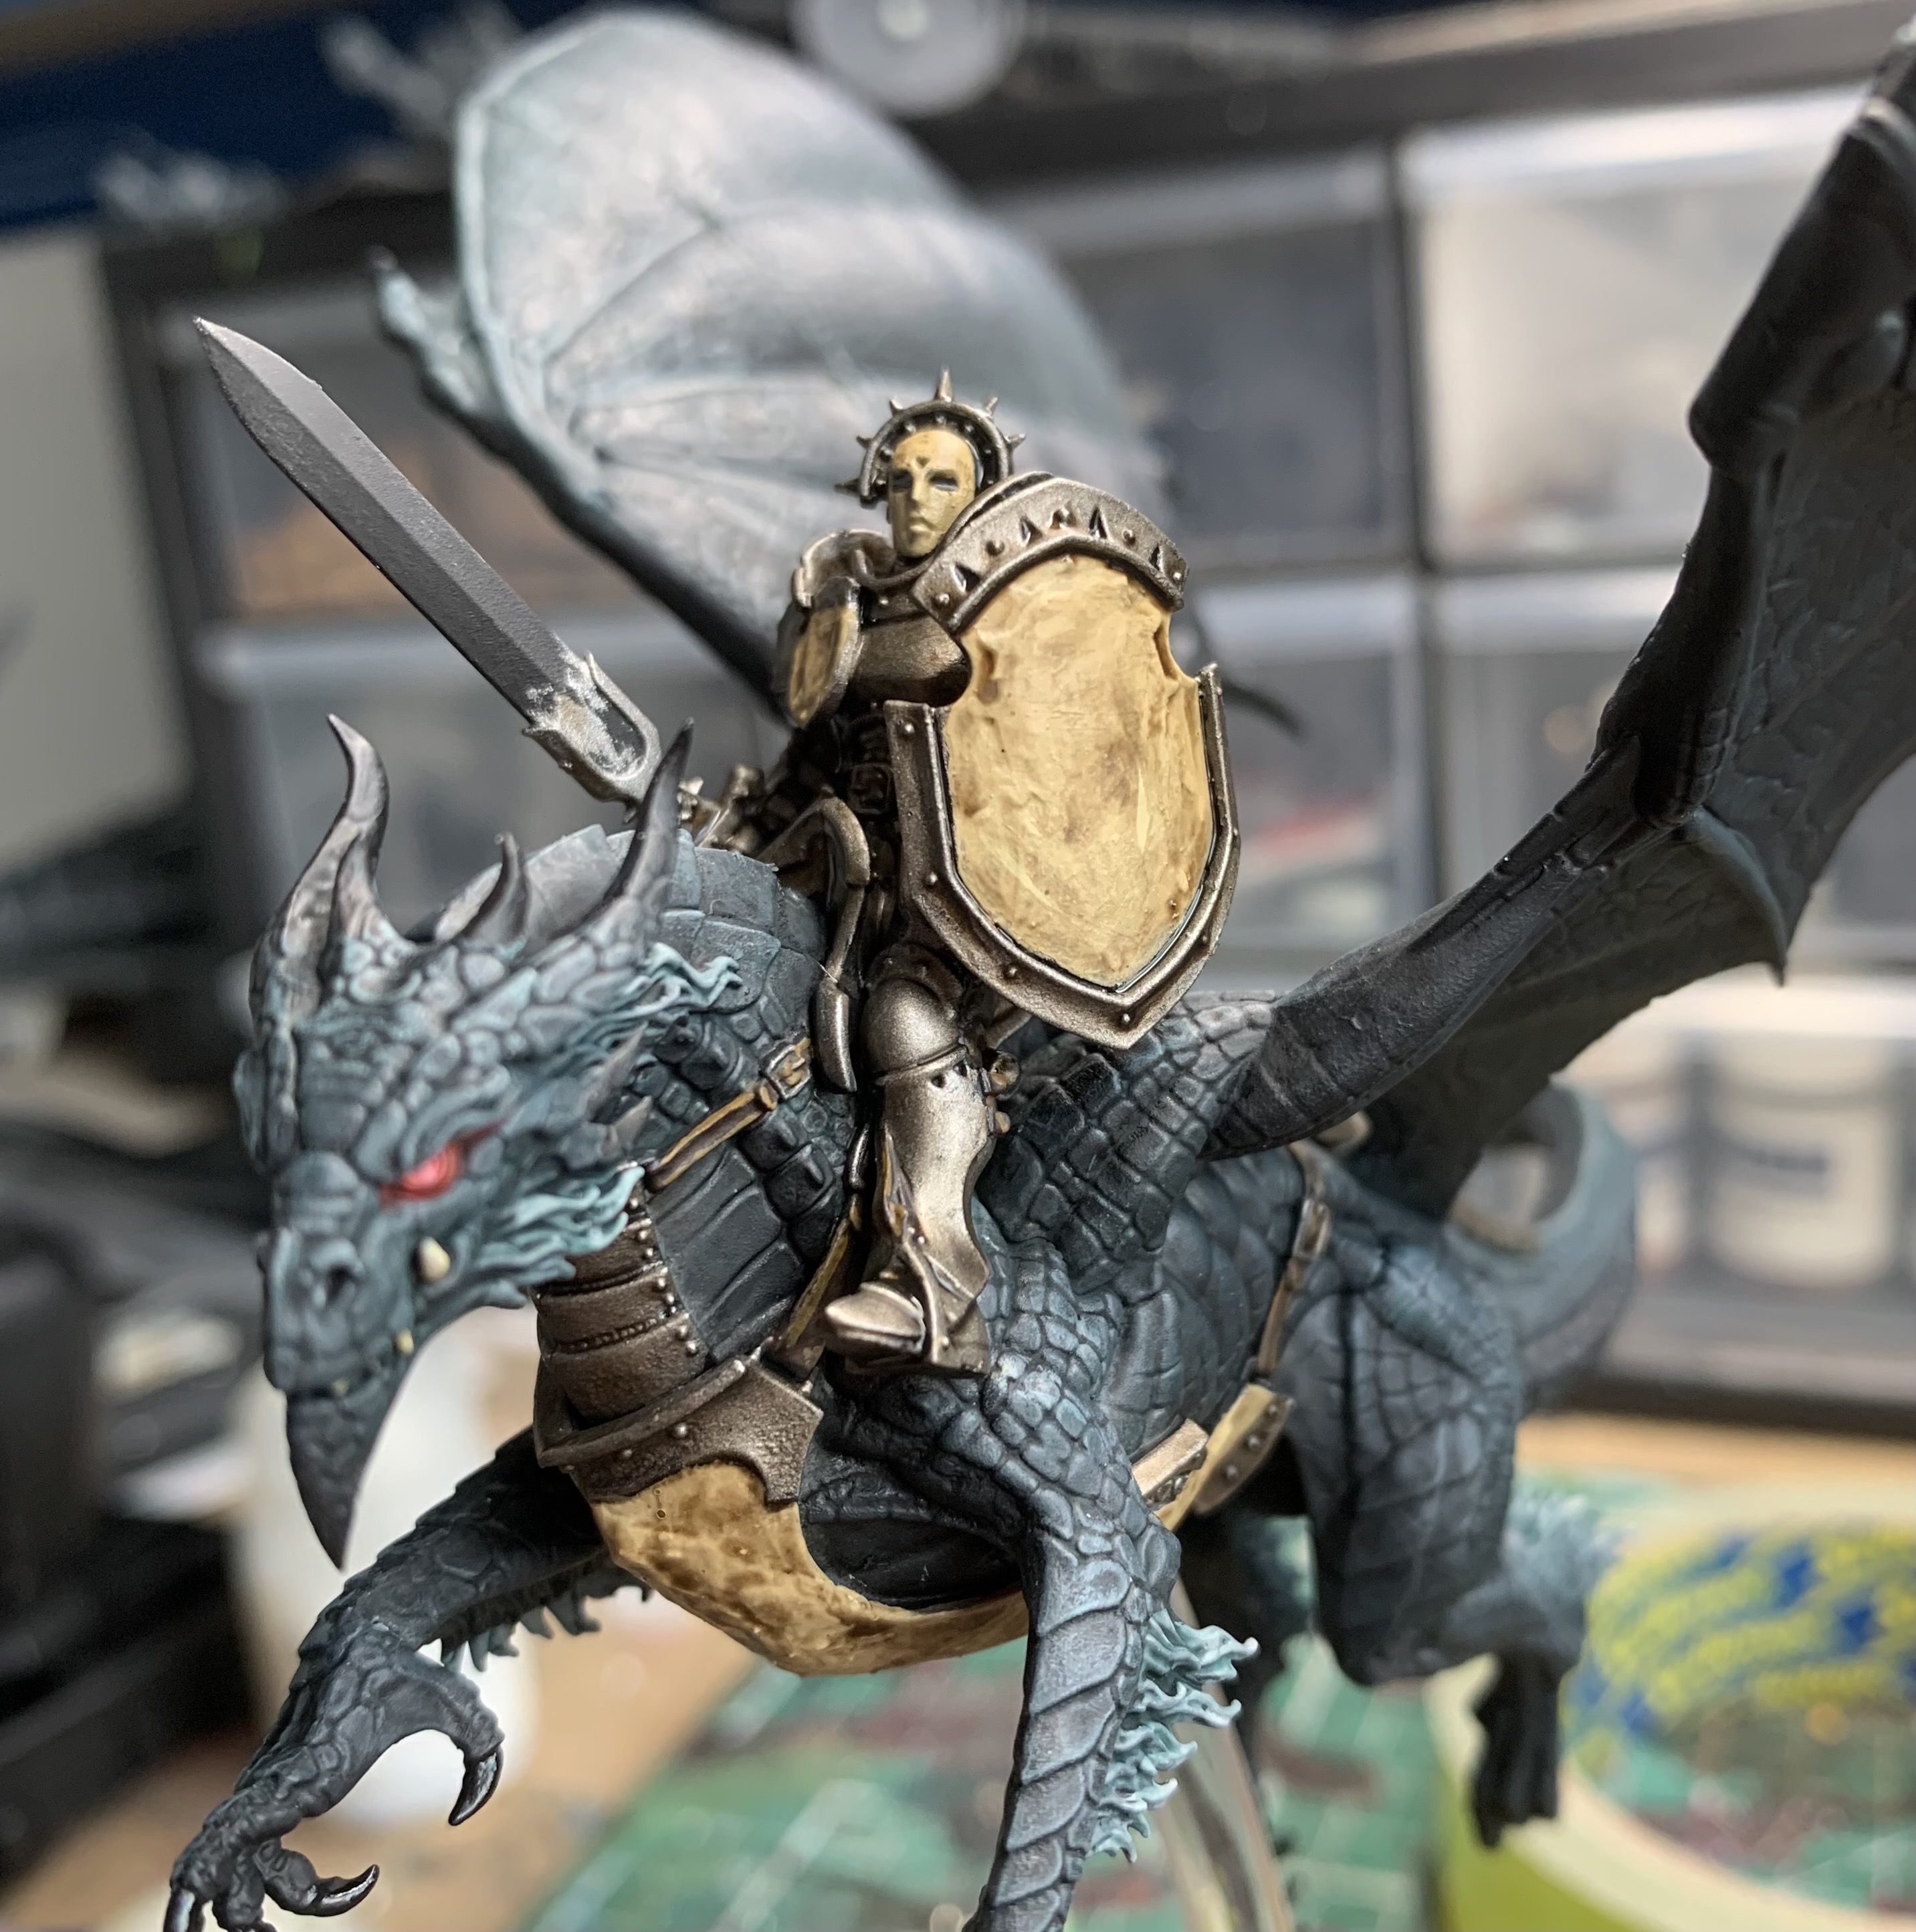
Then the bone and silver areas get a nice coating of Liquid Talent (Agrax Earthshade) before leaving it to dry. Don’t let it pool too badly though – we’re going for quick not (figuratively and literally) sloppy.

Next we’re bringing the Silvers back up. Focussing on the higher areas (that might catch the light source from above) we use Leadbelcher again, before applying a spot highlight and fine edge highlight of Ironbreaker at those high points. Make sure you hit those rivets with Ironbreaker too.
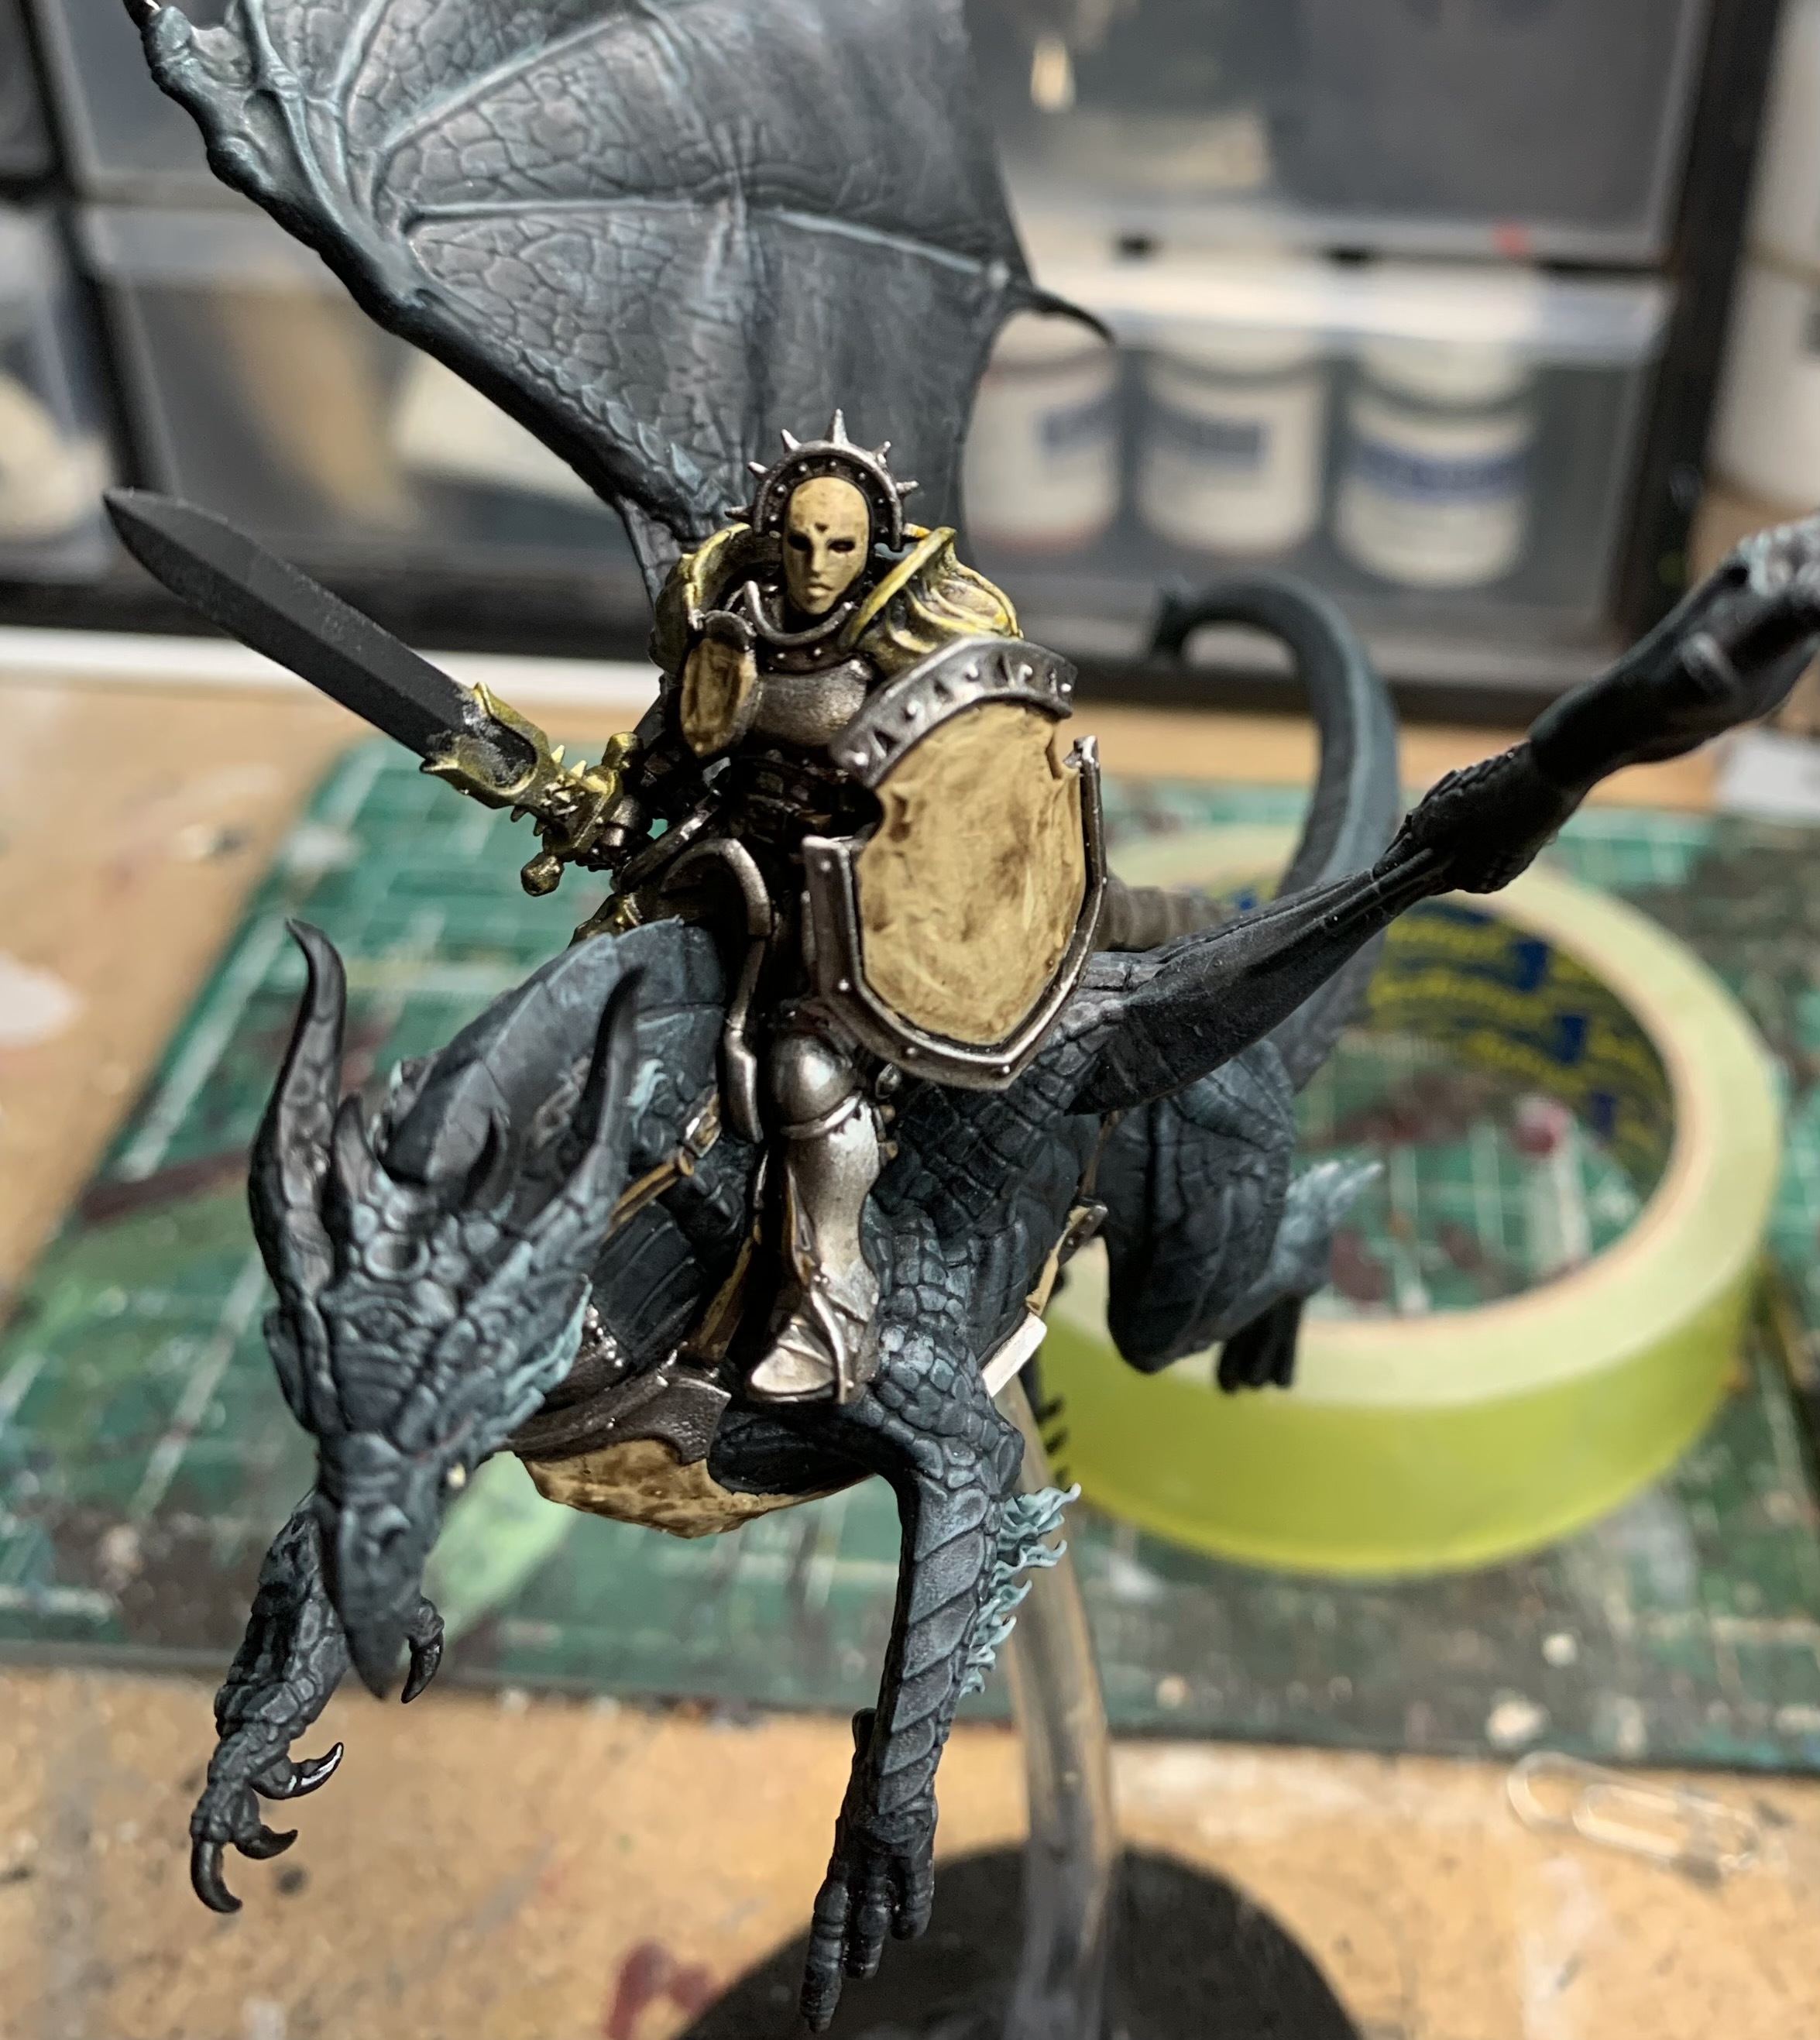
Now we’re going to use a Contrast Paint to make some areas a nice brassy/gold colour. I used a mixture of Contrast Medium and Nazdreg Yellow (about 3:1). Seriously, since Contrasts came out, I have painted nearly all my metallics with this method and it just makes everything so much easier.

Then we’re going to do something similar with the bone colour that we did with the silvers. Bring it back up with Ushabti Bone, leaving only the recesses with a sign of Agrax, and then use Screaming Skull on the higher areas and areas that would catch the light.
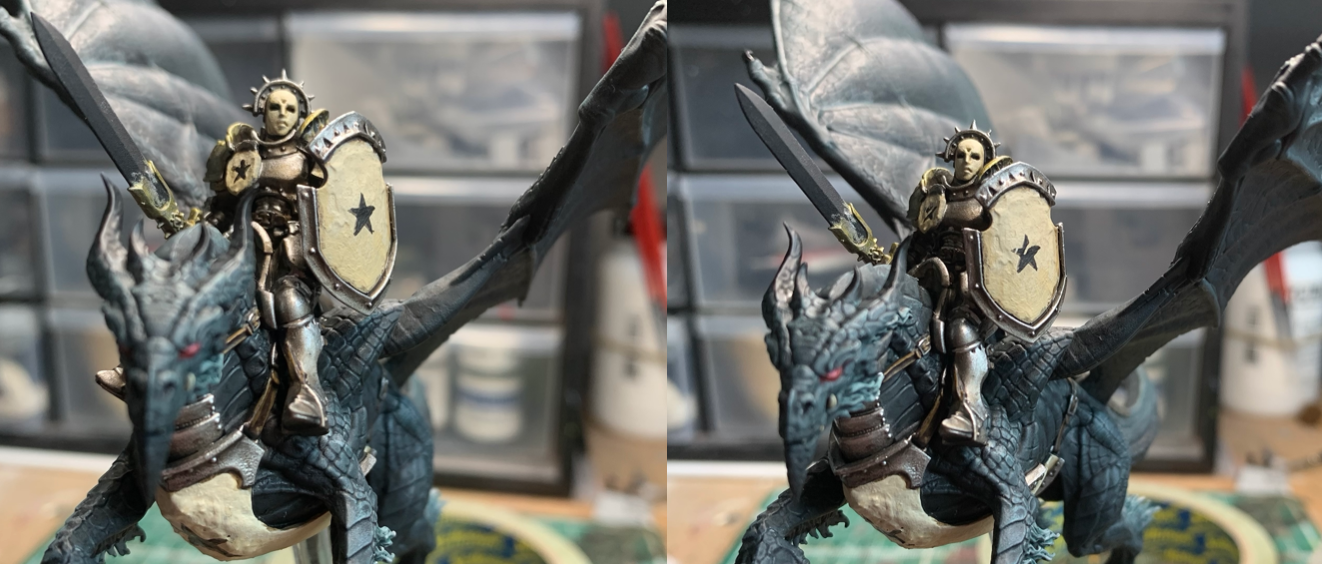
Now, I can’t not freehand something on a miniature ever, and this army does have its black star motif. It’s a good time to practice your freehand here as you’re going to be able to scuff up any areas you’re not happy with. I really messed up the one on the tilting shield, but hey, that’s what weathering is for, and you can see in the second image above that I just used some undiluted Screaming Skull to make it look like its been scratched. Now, let’s have some fun with weathering…
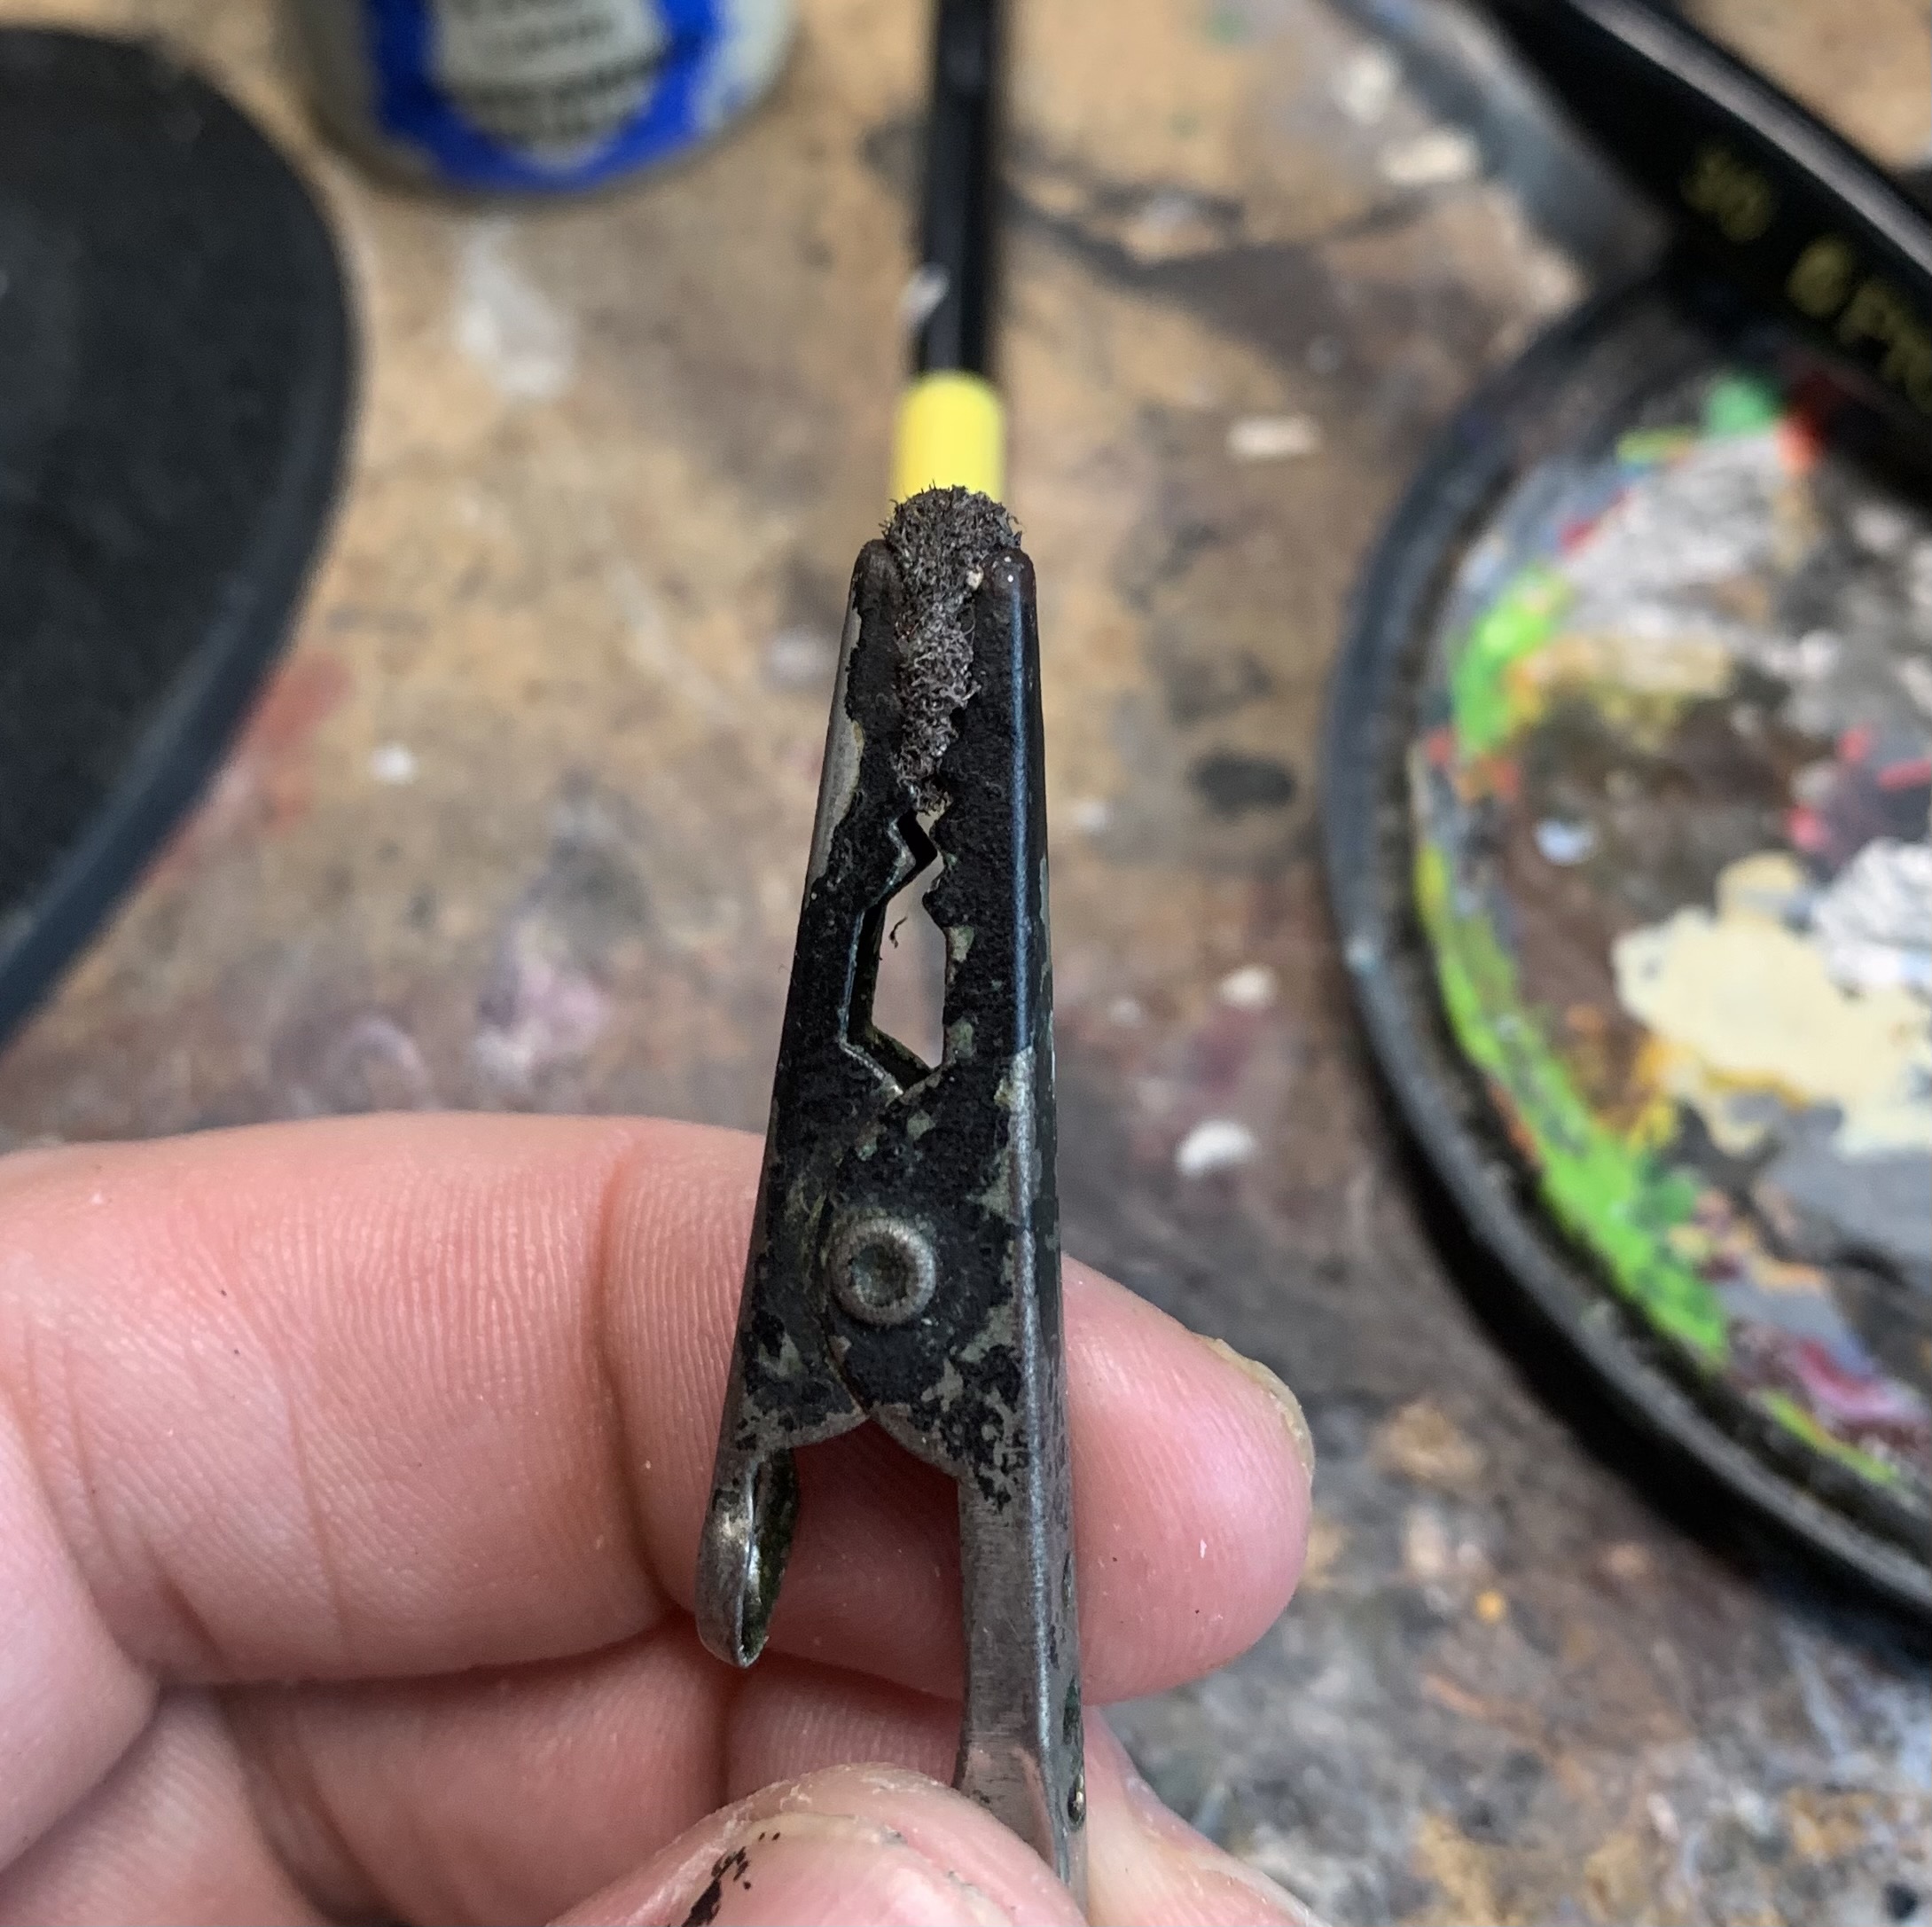
First off, we’re going to want a bit of sponge. This is some pick and pluck foam which I like to hold in a crocodile clip as it’s easier than smooshing my fat fingers against the model and it allows me to get into more crevices with the paint. Tweezers work too, but the good thing about a crocodile clip is that its resting position is closed and so you’re not squeezing it all the time.

And this is what we get. Hit all the different areas with Rhinx Hide (make sure you only have very little on the sponge and wipe off the excess) but there’s no need to go overboard – less is often more with this sort of thing.

Now, take a knackered old brush you don’t care about but that’s still got some stiffness in its bristles and splodge a few areas of metal with Typhus Corrosion. Try to keep the edges of these areas rough and once they’re dry, get a little Ryza Rust on your brush and smoosh that into those areas, and dry brush it around a little bit. This is also a great stage to cover up any areas you’re not happy with. Again, less is more with this step, but you can still have plenty of fun.

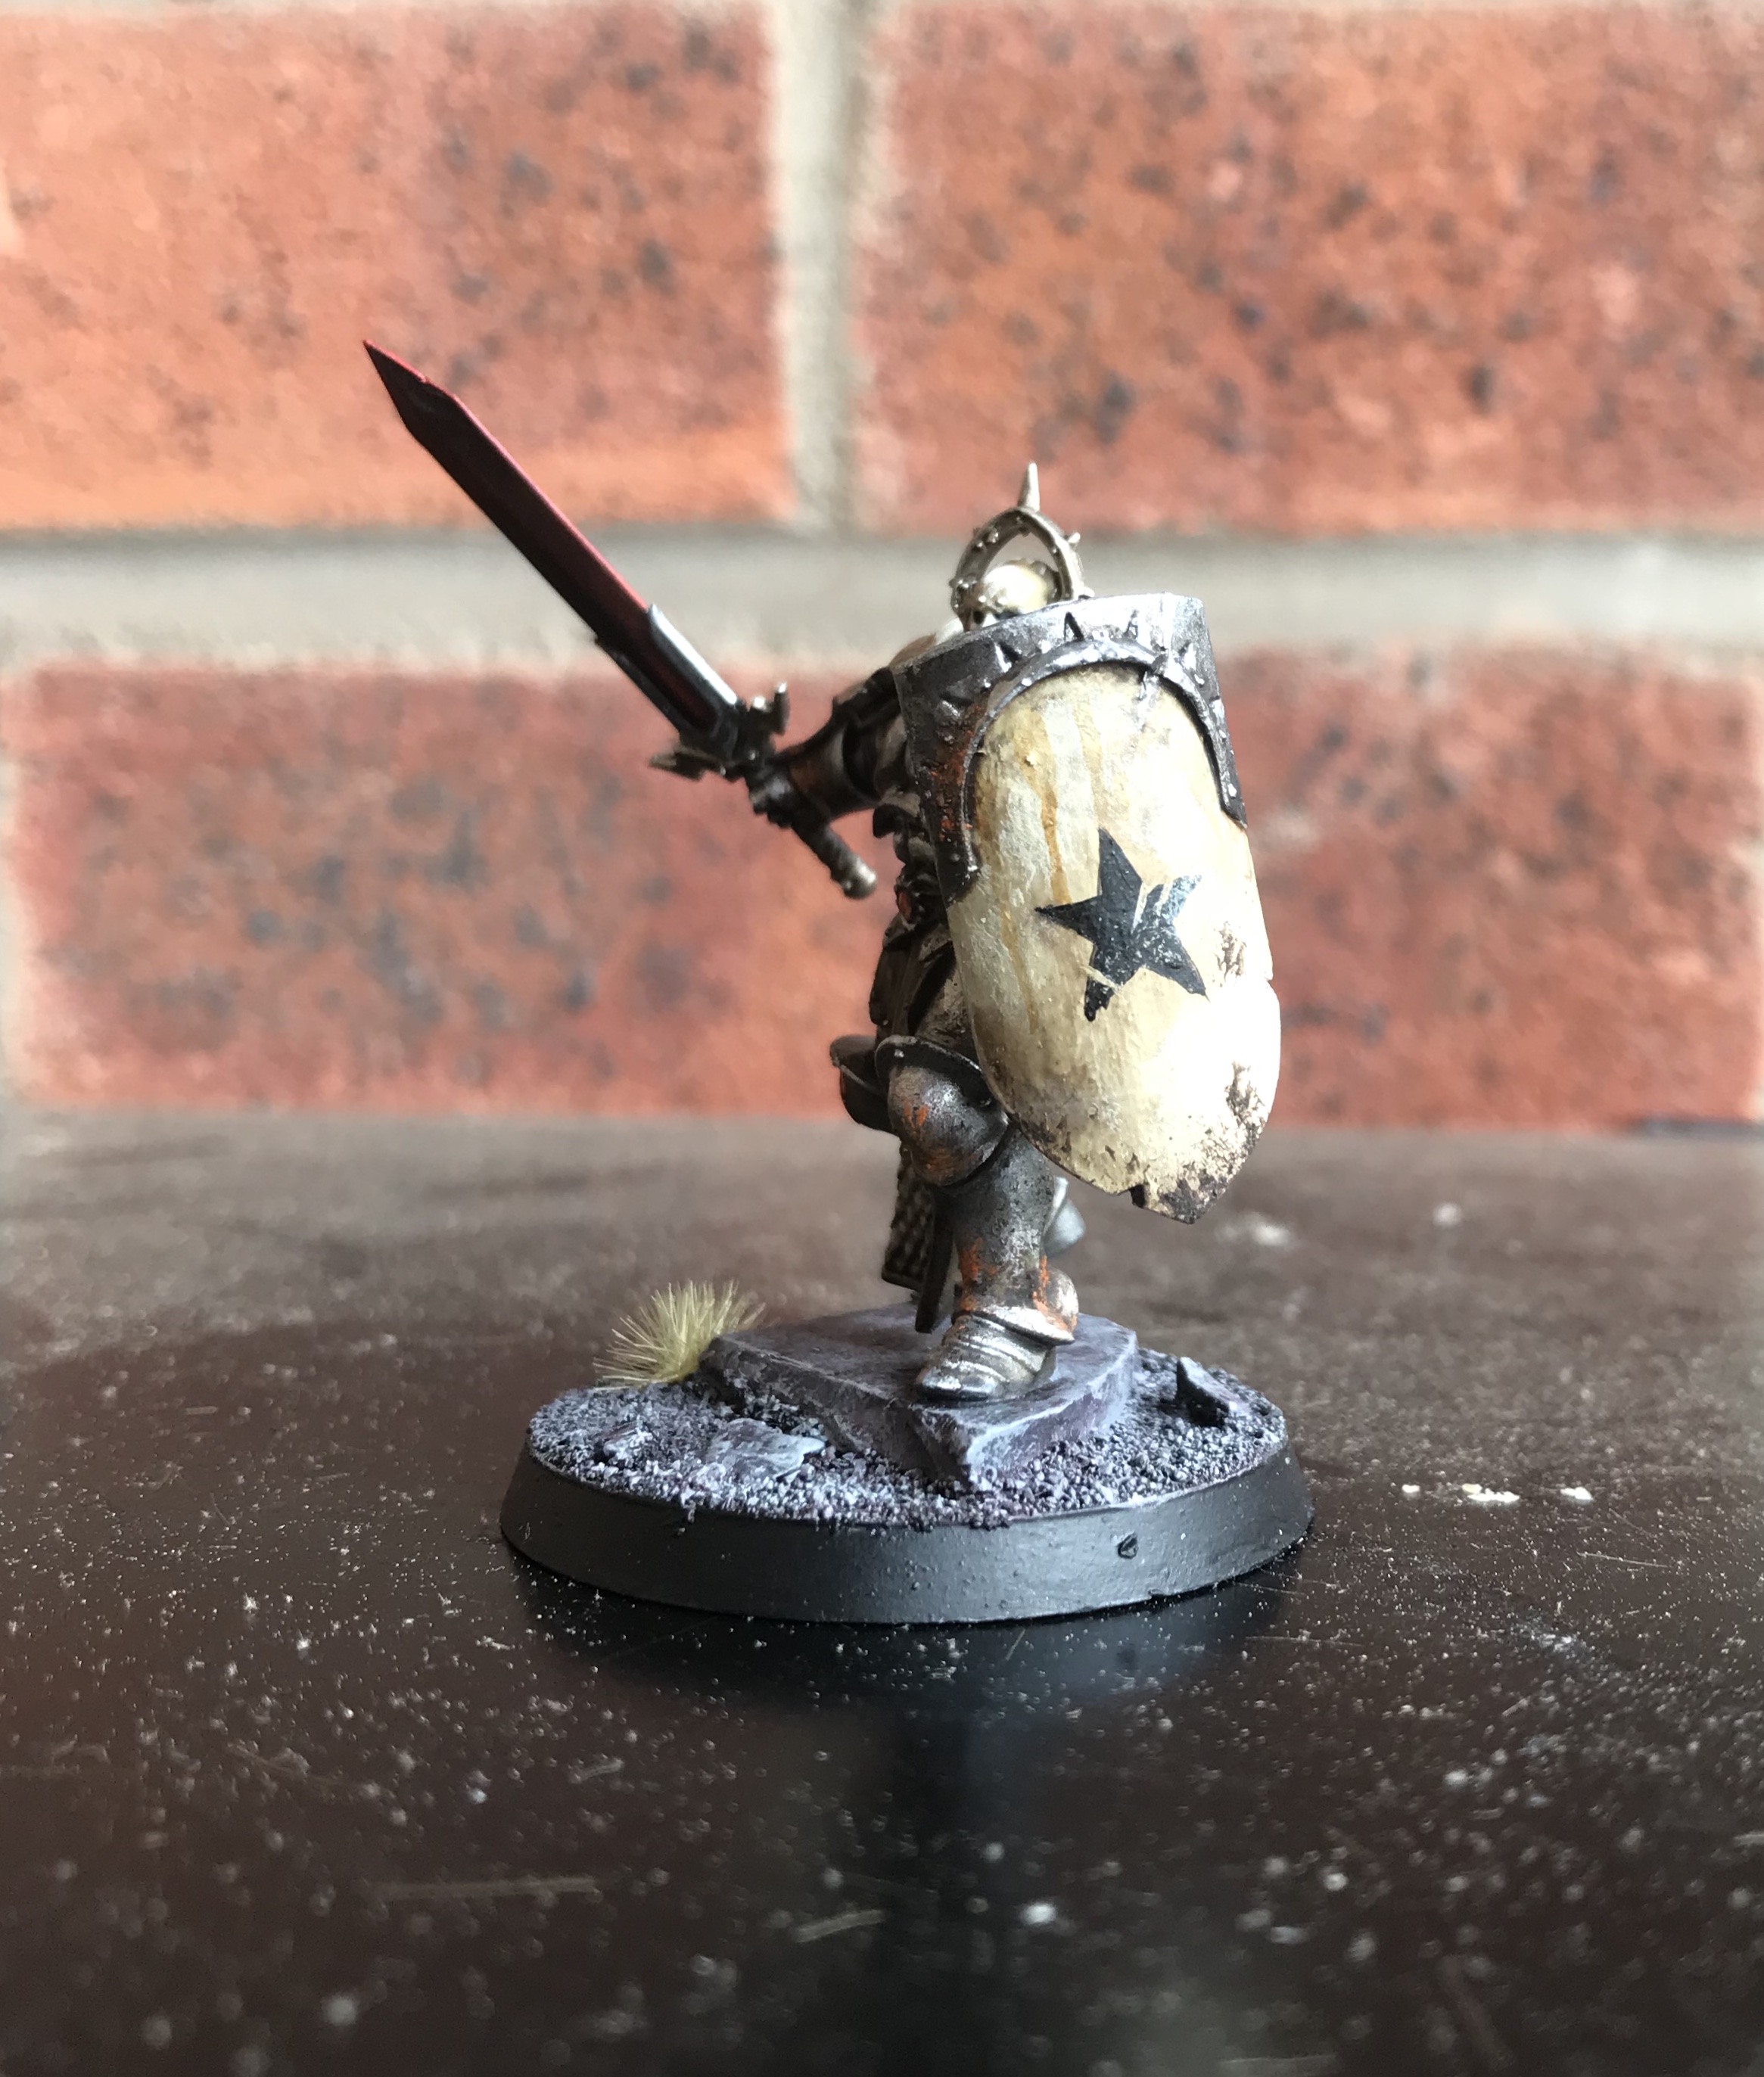
Pretty much the last thing to do on the armour, if you want to, is to add some drips. More Agrax Earthshade is applied in a downward motion, and then a little of the drip is lifted off at the top to help thin the original streams. And that’s us done. After these steps I painted up the sword…

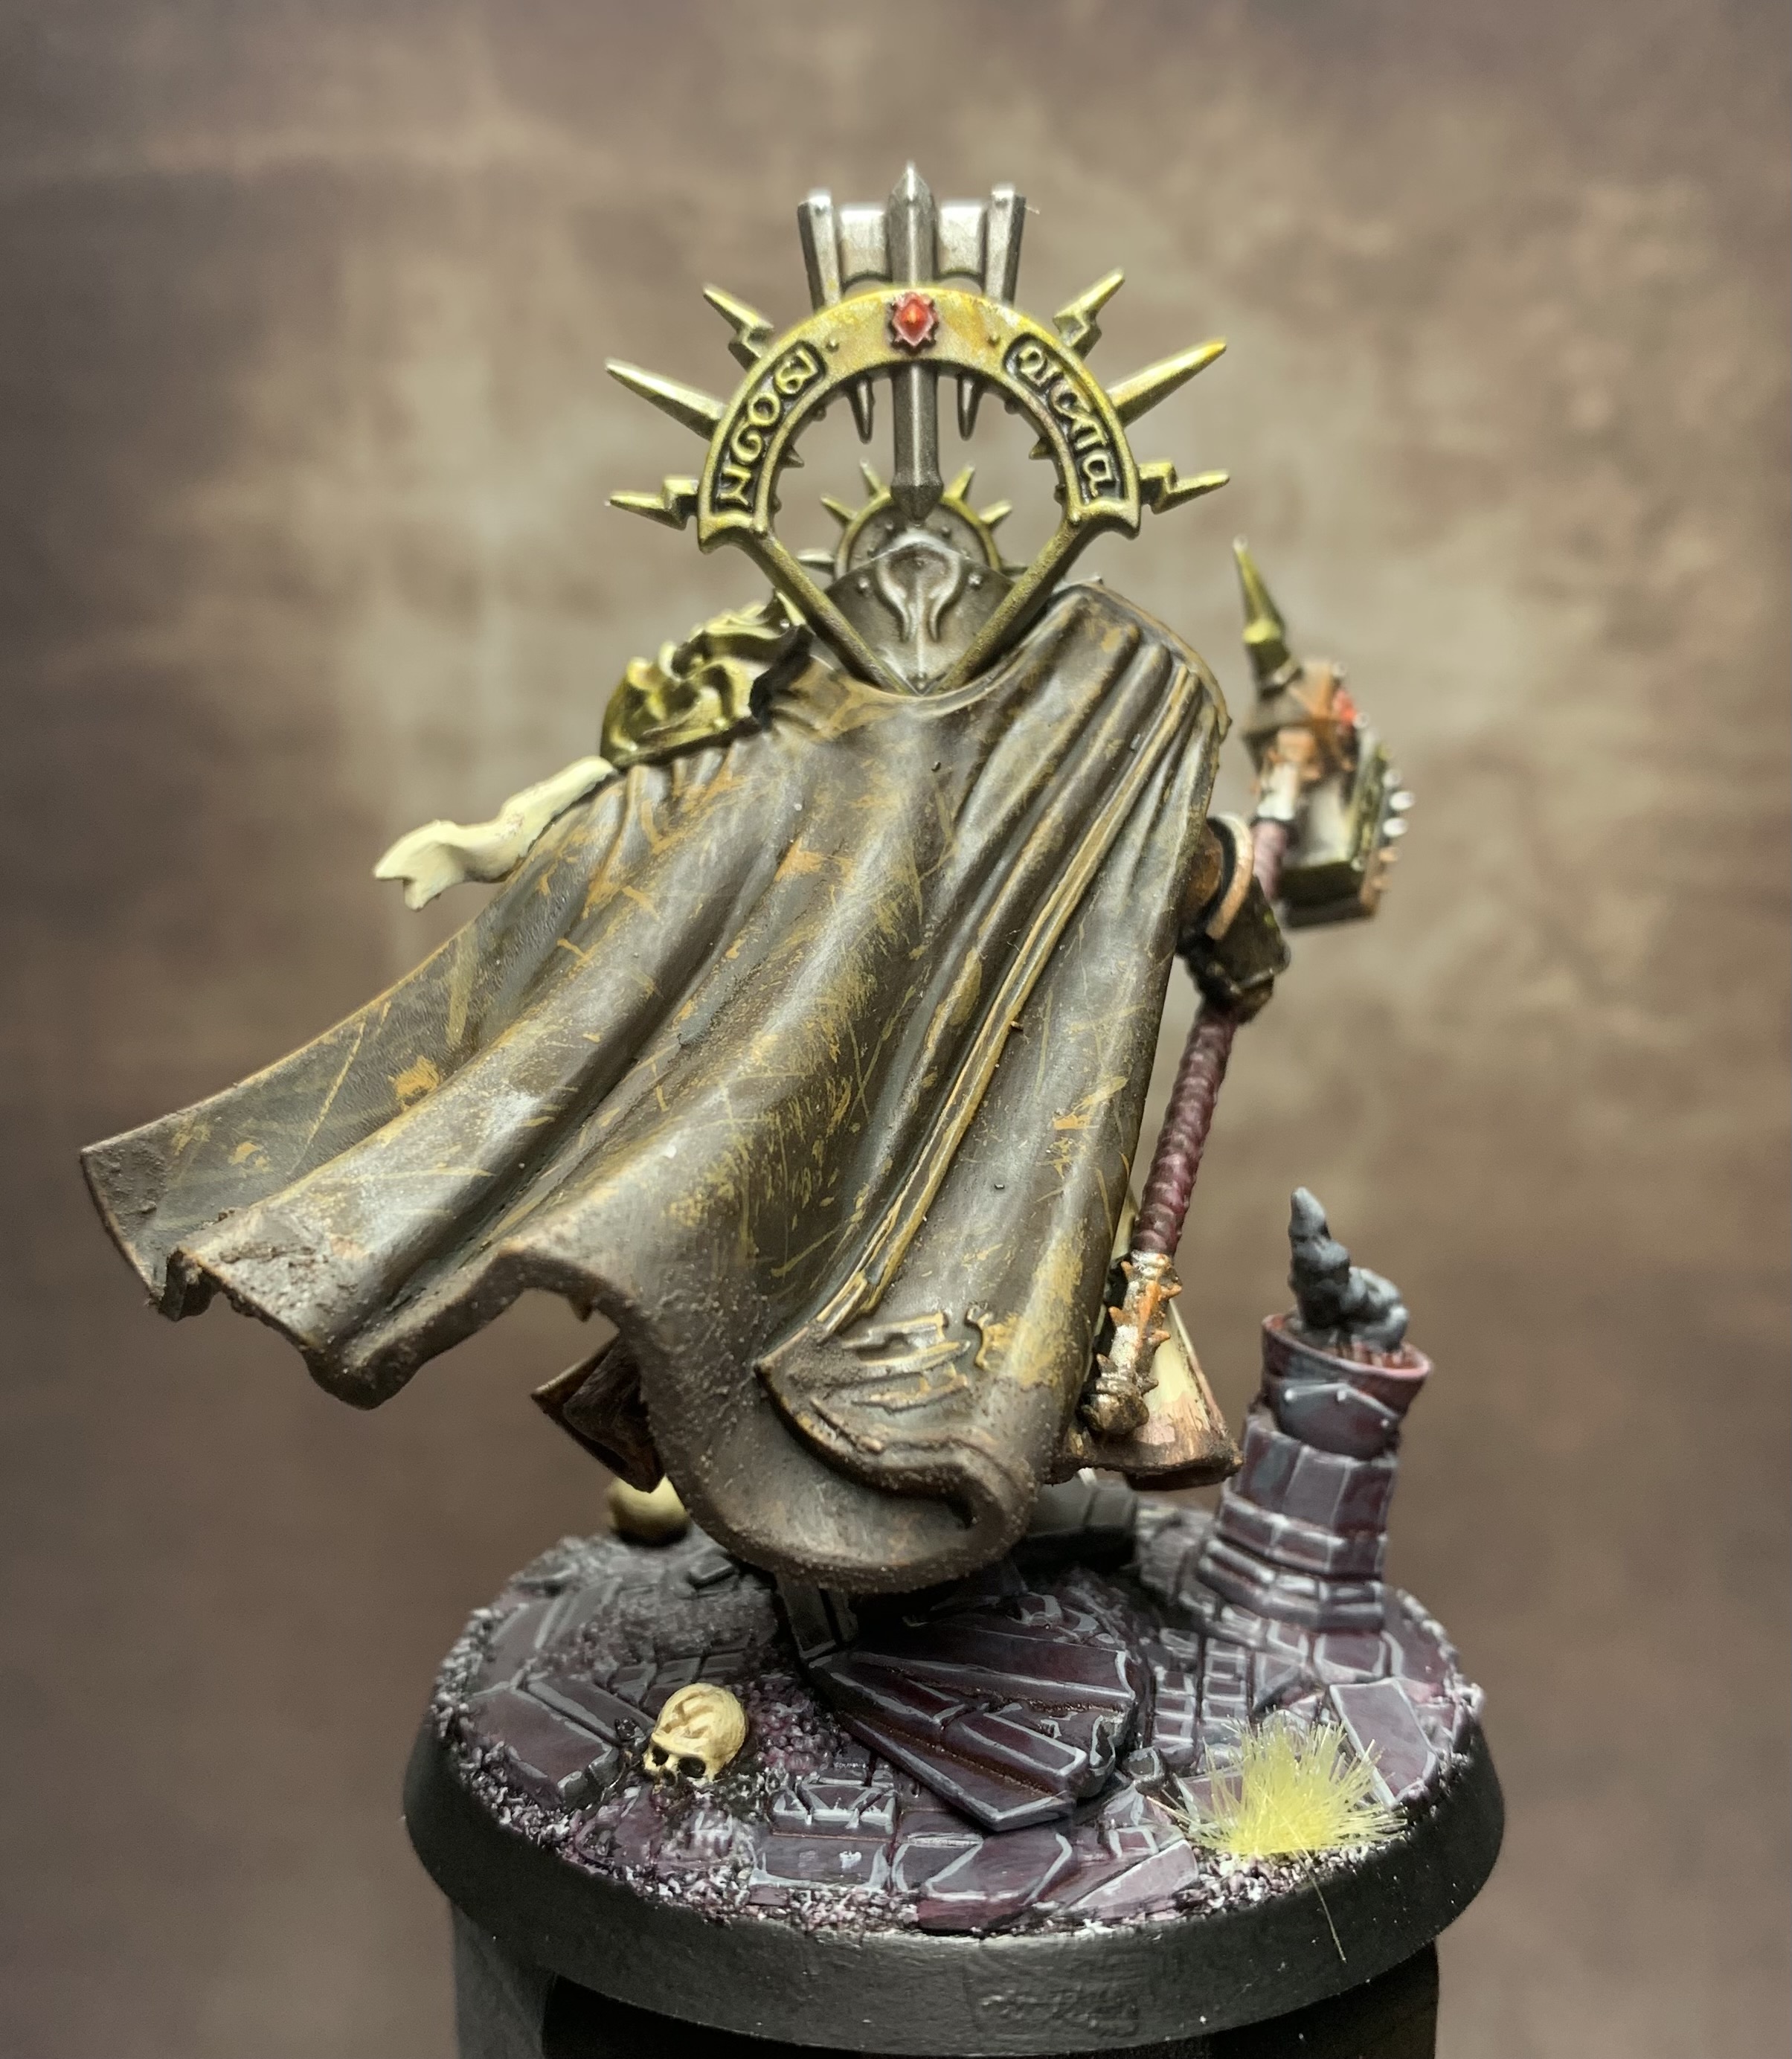
…and did the base to match the army…

…and I’m calling this dragon and its rider all done! I really hope you found this tutorial useful and that you learned a couple of fun, simple and easy-to-do techniques from it. If nothing else, I hope it makes painting dragons a lot less scary in the future. These were great miniatures to work on, but just be warned that those talons like grabbing hold of anything and everything nearby – the wing from this dragon got snapped off at the beginning of painting because the little sod caught the sleeve of my shirt and jumped from my painting desk. I’m so close to being done with this army – fingers crossed I can have it all finished soon. Onwards!


 40kaddict
 4gotowar
 Castigator's Chaos
 convertorum
 darkfuturegaming
 ftgtgaming
 Mind of the Daemon
 taleofpainters
 talkwargaming
 Twisted Brushes
 weemen