
Well, the last painting tutorial I put up here went down rather well, so I thought I’d chance my arm at another one here on the blog and this time, I am going to show you, through the medium of my questionable photography, how to paint a “Star-field” cape – a cape that looks like it’s showing stars in a galaxy. Something like this:

Obviously, I’ve used this technique for Aeldari things, but it could be used on Chaos Space Marines or even loyal Space Marine capes. It’s a fun little technique that once again uses the “Drab Four” – Abaddon Black, Eshin Grey, Dawnstone and Administratum Grey, though we’ll also be adding in the 5th Beatle of this group; Celestra Grey later on. It’s a fun effect, and I hope you’ll find it useful in the future.
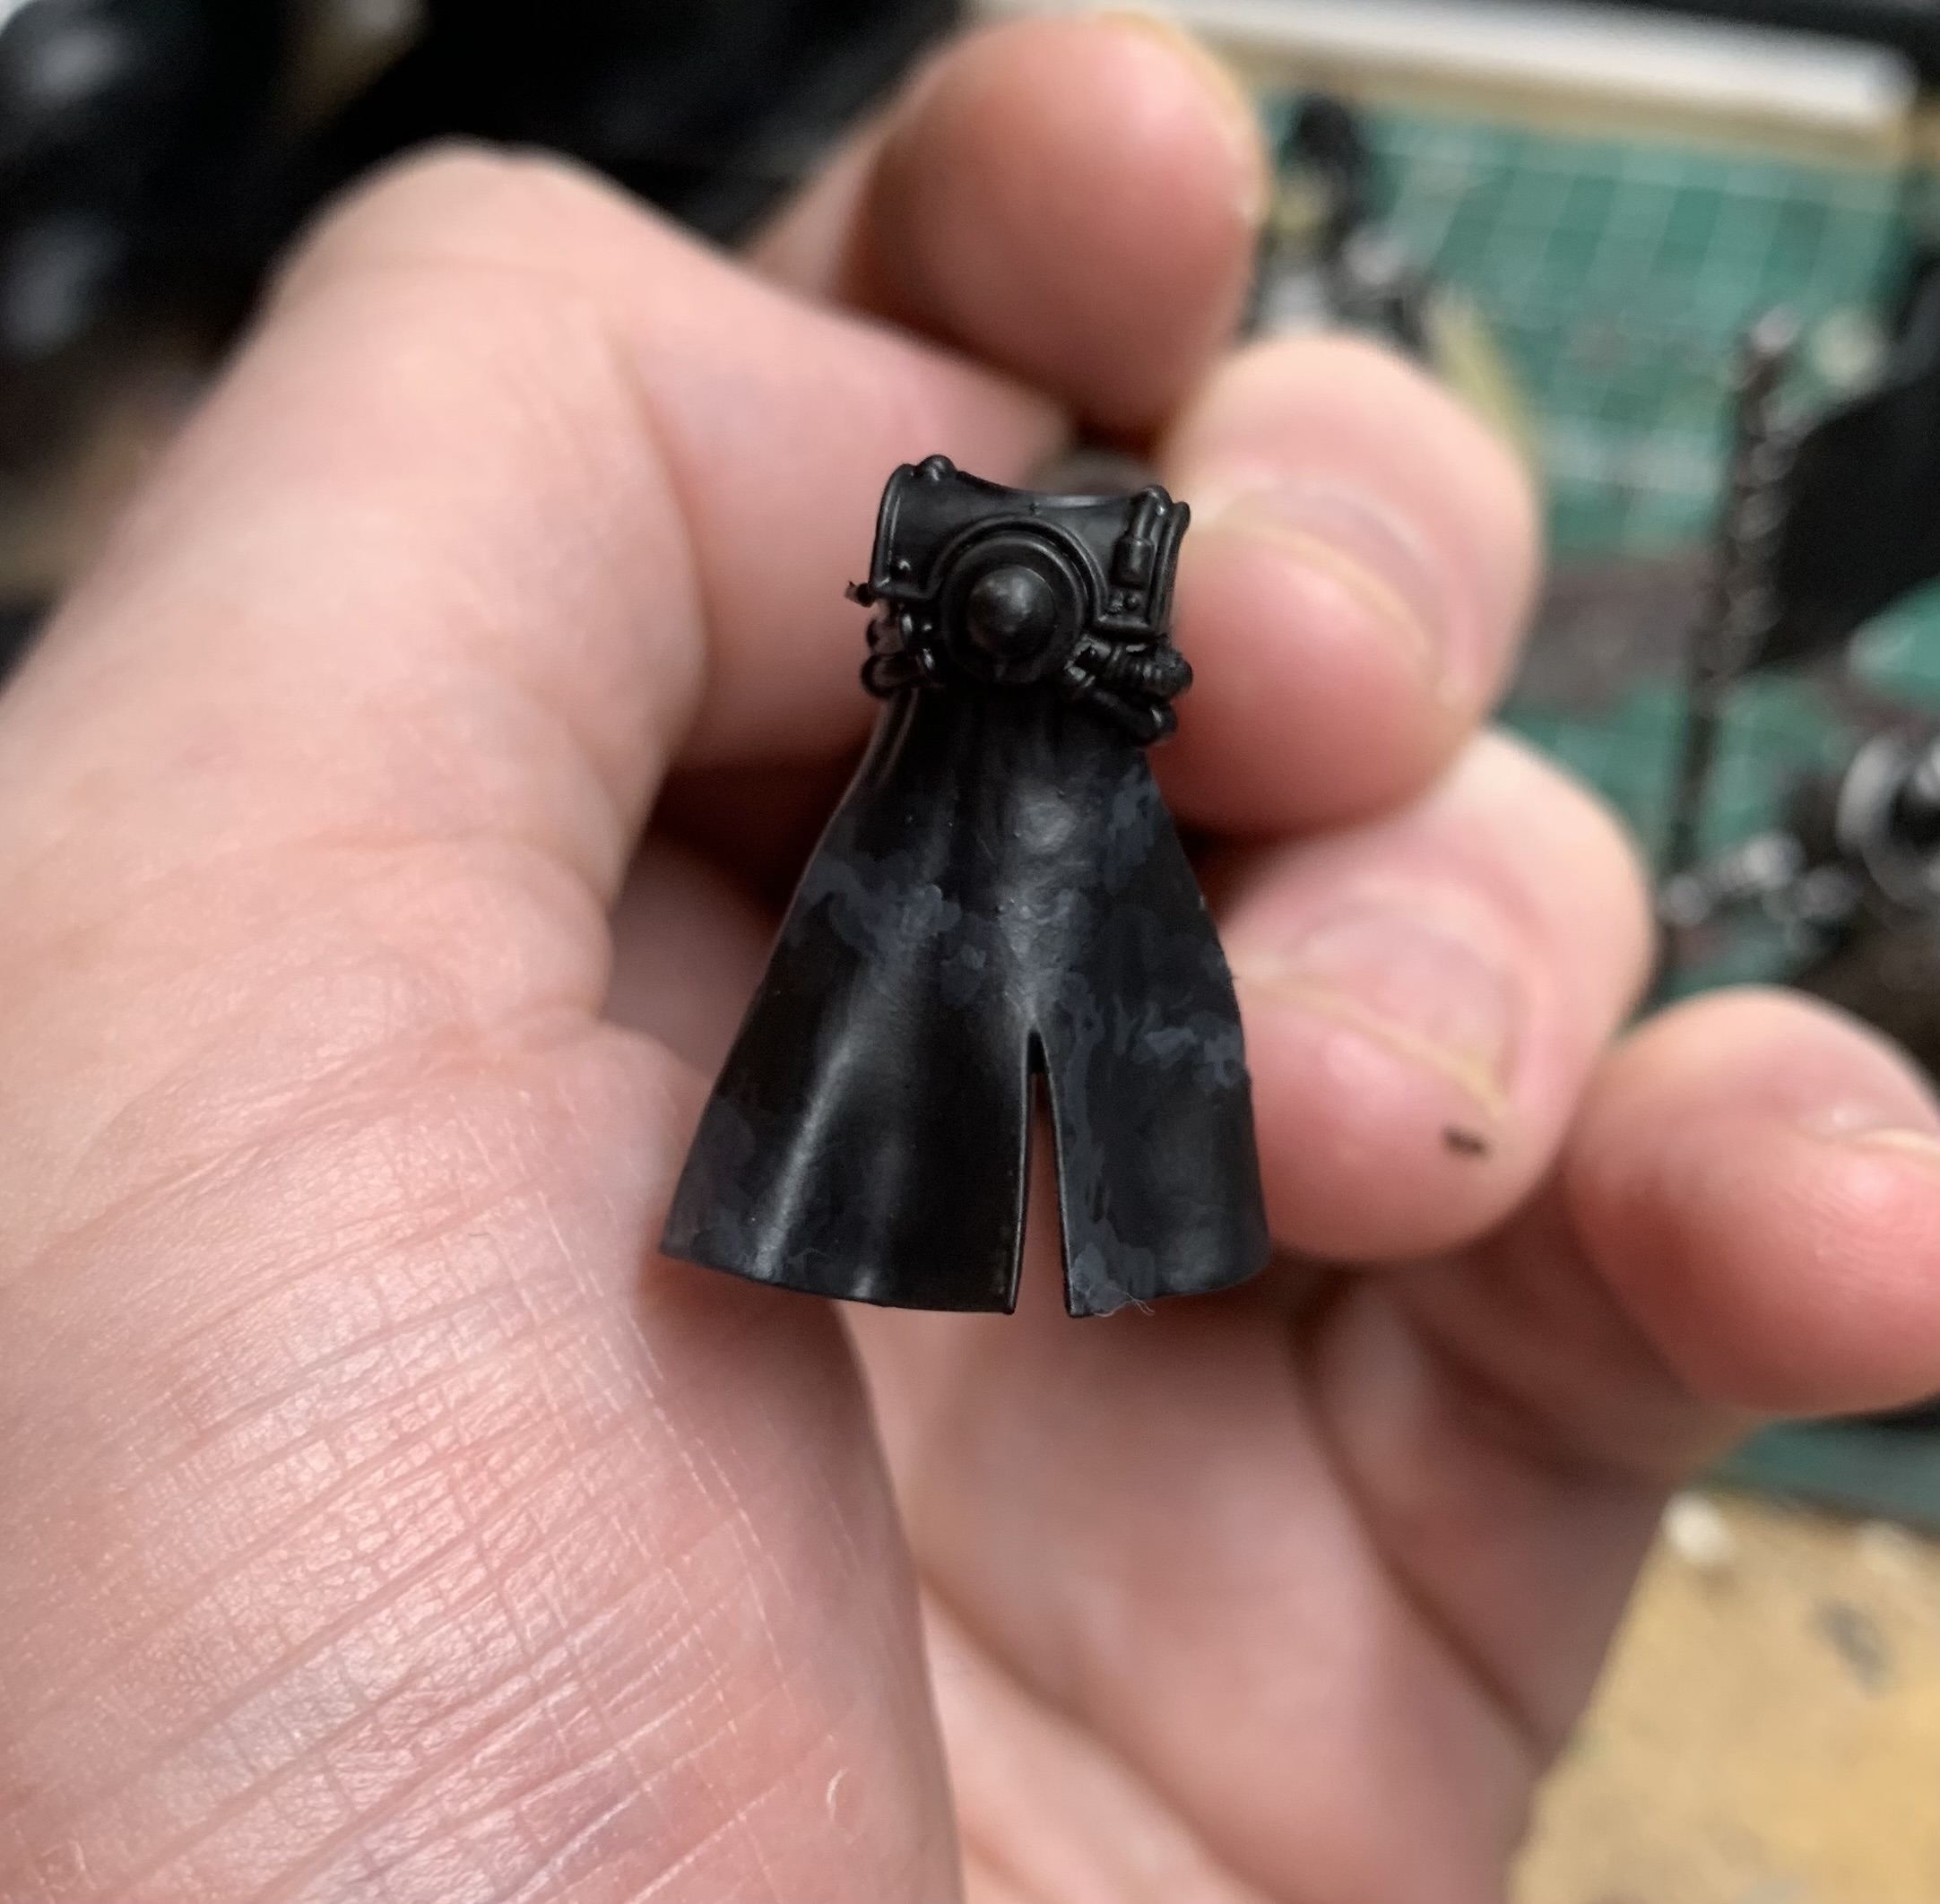
So how are we going to use our Drab Four? Well, first off, we’re undercoating with Abaddon Black – a smooth coat over the whole cape is what you need. But it’s also worth considering that this tutorial is also going to get you away from the idea of ‘Black and White’. Pure black and pure white don’t really exist in the real world, and it’s a bit of a trap that many a hobbyist falls into – thinking that the lightest point is white and the darkest point is black, and that’s very rarely true. Actually seeing colours and shades is a hard trick to learn and very few of the painters you really look up to will push the tonal contrast quite this far unless the particular style dictates. With all of that being said, Abaddon Black is considered quite a weak black (more of a very dark grey than anything) so that’s why we’re ok to use it here. And besides, we’re going to cover it with something else later. Here is our “black” cloak:

I’m not entirely sure why you needed a picture of a black-painted cloak, but I took the picture so you’ll have to put up with an image of my gross hand. But this is going to form the basis of our cloak before we start mixing paints and adding them to what we’re doing. First off, here’s how we’ve mixed things up:

Now, I promise this will make sense in a second, but we’re going to use the Black-Eshin Grey mixes to give us the “clouds” that we associate with galaxies. Then we’re going to use our lighter greys to create the actual stars. Here’s what we do with those darker shades:

I know the above is very subtle but trust me, there’s some different paint on there – this is why I didn’t do full step-by-step photos of the last tutorial because so many of the steps just looked black. But I picked out a rough pattern and then for the next couple of steps, using the above mixtures, I reduced the coverage – painting inside the shapes that I began to define in the above image.

Do you see how I kept the shapes loose and rough here? There are no straight lines in the brush-marks there. Now, You could take this one further with a 1:1 Dawnstone/Eshin Grey mix if you wanted to push the contrast a little harder, but this will do for me here. Now it’s time to paint some stars.

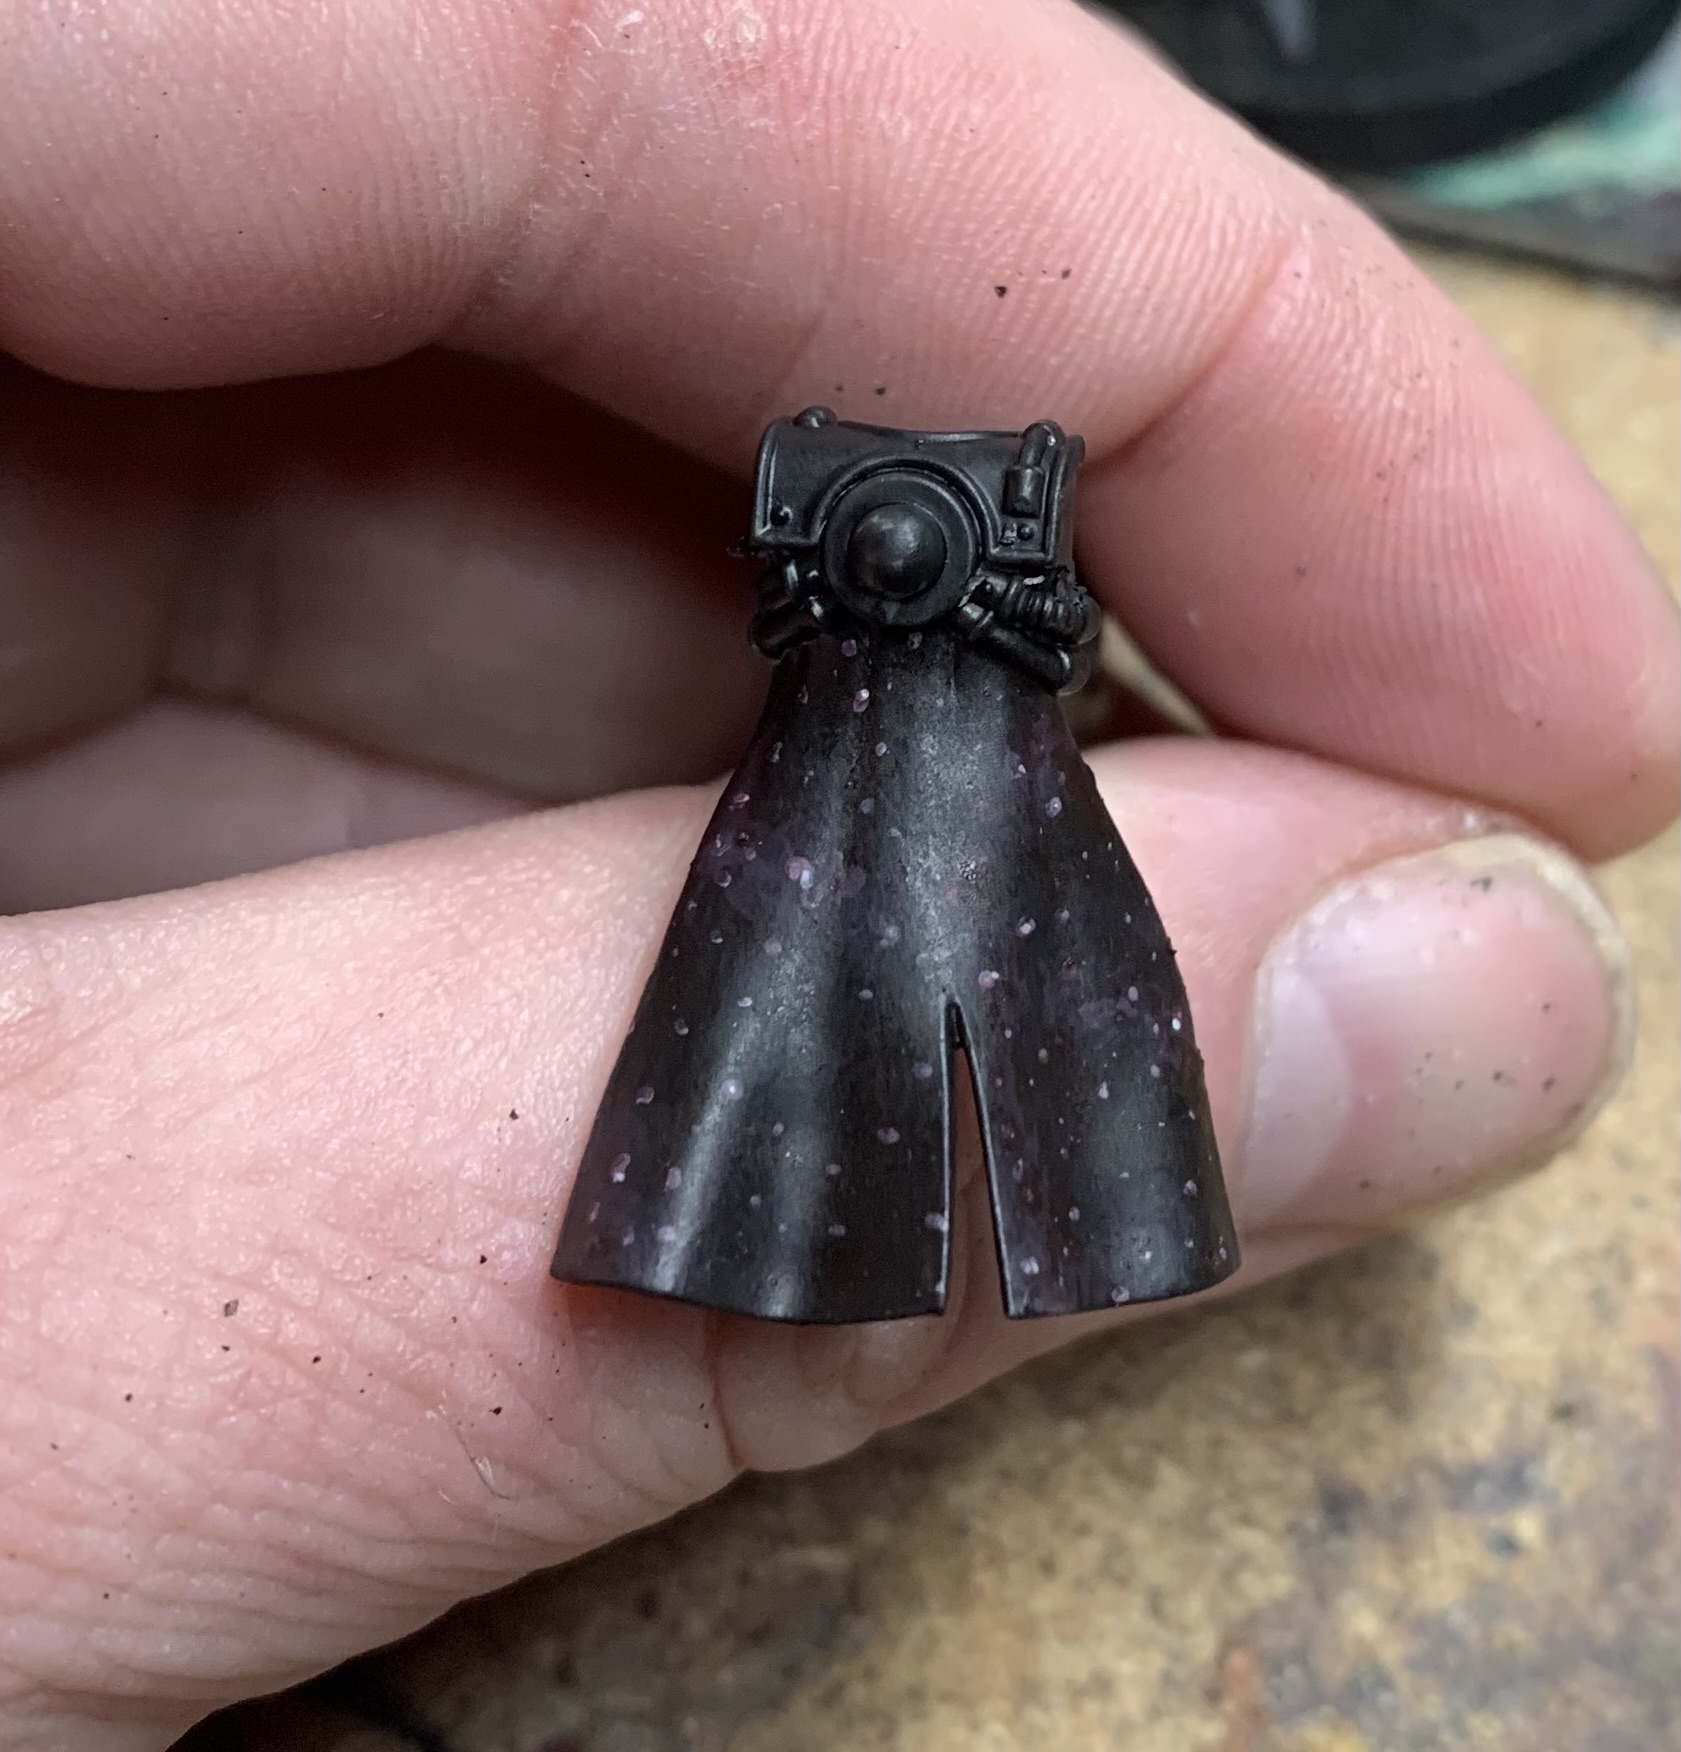
I’m not often an advocate of using a size “000” brush, but whatever helps you get the finest point is worth it here – if a tiny brush gives you the confidence to do this, have at it. You just want tiny dots, and you want them to not have any sort of geometric pattern – pure randomness is better. The above was done with pure Dawnstone, and next, we move on to pure Administratum Grey:

Some stars shine brighter than others, and predominantly here, you’re going to be placing tiny dots of Admin Grey inside bigger dots of Dawnstone. Again, use the best, sharpest tip you have on a brush for this work. Don’t press into the mini – just let the very tip of the brush give the mini the tiniest peck. A soft little kiss is all you need.

Then you’re going to cover it all in a shade or a very-thinned-down contrast paint. This will help to blur the edges even more, and make it more… I don’t know what the word is… “galactic”? Those images you see from Nasa don’t show grey galaxies, right? They are often in different hues like pinks, blues, greens, purples, reds… and while I used Carroburg Crimson on the above, you can use any shade of paint you want. But it needs to be as thin as a Citadel shade paint or you’ll lose a lot of the detail you’ve put down.
And finally, you’re going to pick out a couple of these stars (or a few) and you’re going to give them the tinniest dot of Celestra Grey, because again, some stars shine brighter. And that’s how I do star-covered cloaks or capes. maybe the above images don’t sell it enough thanks to my manky fingers and the fact that the mini is going to be several times as large as it actually is, but look at those two minis at the top of this post again – that’s what it will look like in real life. And if you want to push it, you can add more steps of grey galactic cloud, make the patterns more intense… have a play. I’m sure you’ll have some fun.
It’s nice to get some tutorials back on the blog, and if you have anything you’d like me to make a tutorial of, just let me know on Twitter or reply to this blog post. More than happy to do more of these for those that want them. Onwards!
 40kaddict
 4gotowar
 Castigator's Chaos
 convertorum
 darkfuturegaming
 ftgtgaming
 Mind of the Daemon
 taleofpainters
 talkwargaming
 Twisted Brushes
 weemen