
Hello sports fans! GW were kind enough to send me a box of the new Blood Bowl Vampire team to review (Fangs for that!) and while life as a new dad has left me with little time to work on the miniatures, I am writing this epistle to assure fellow veterans of the game that Blood Bowl Vampires just got a lot more interesting. Tempting even!
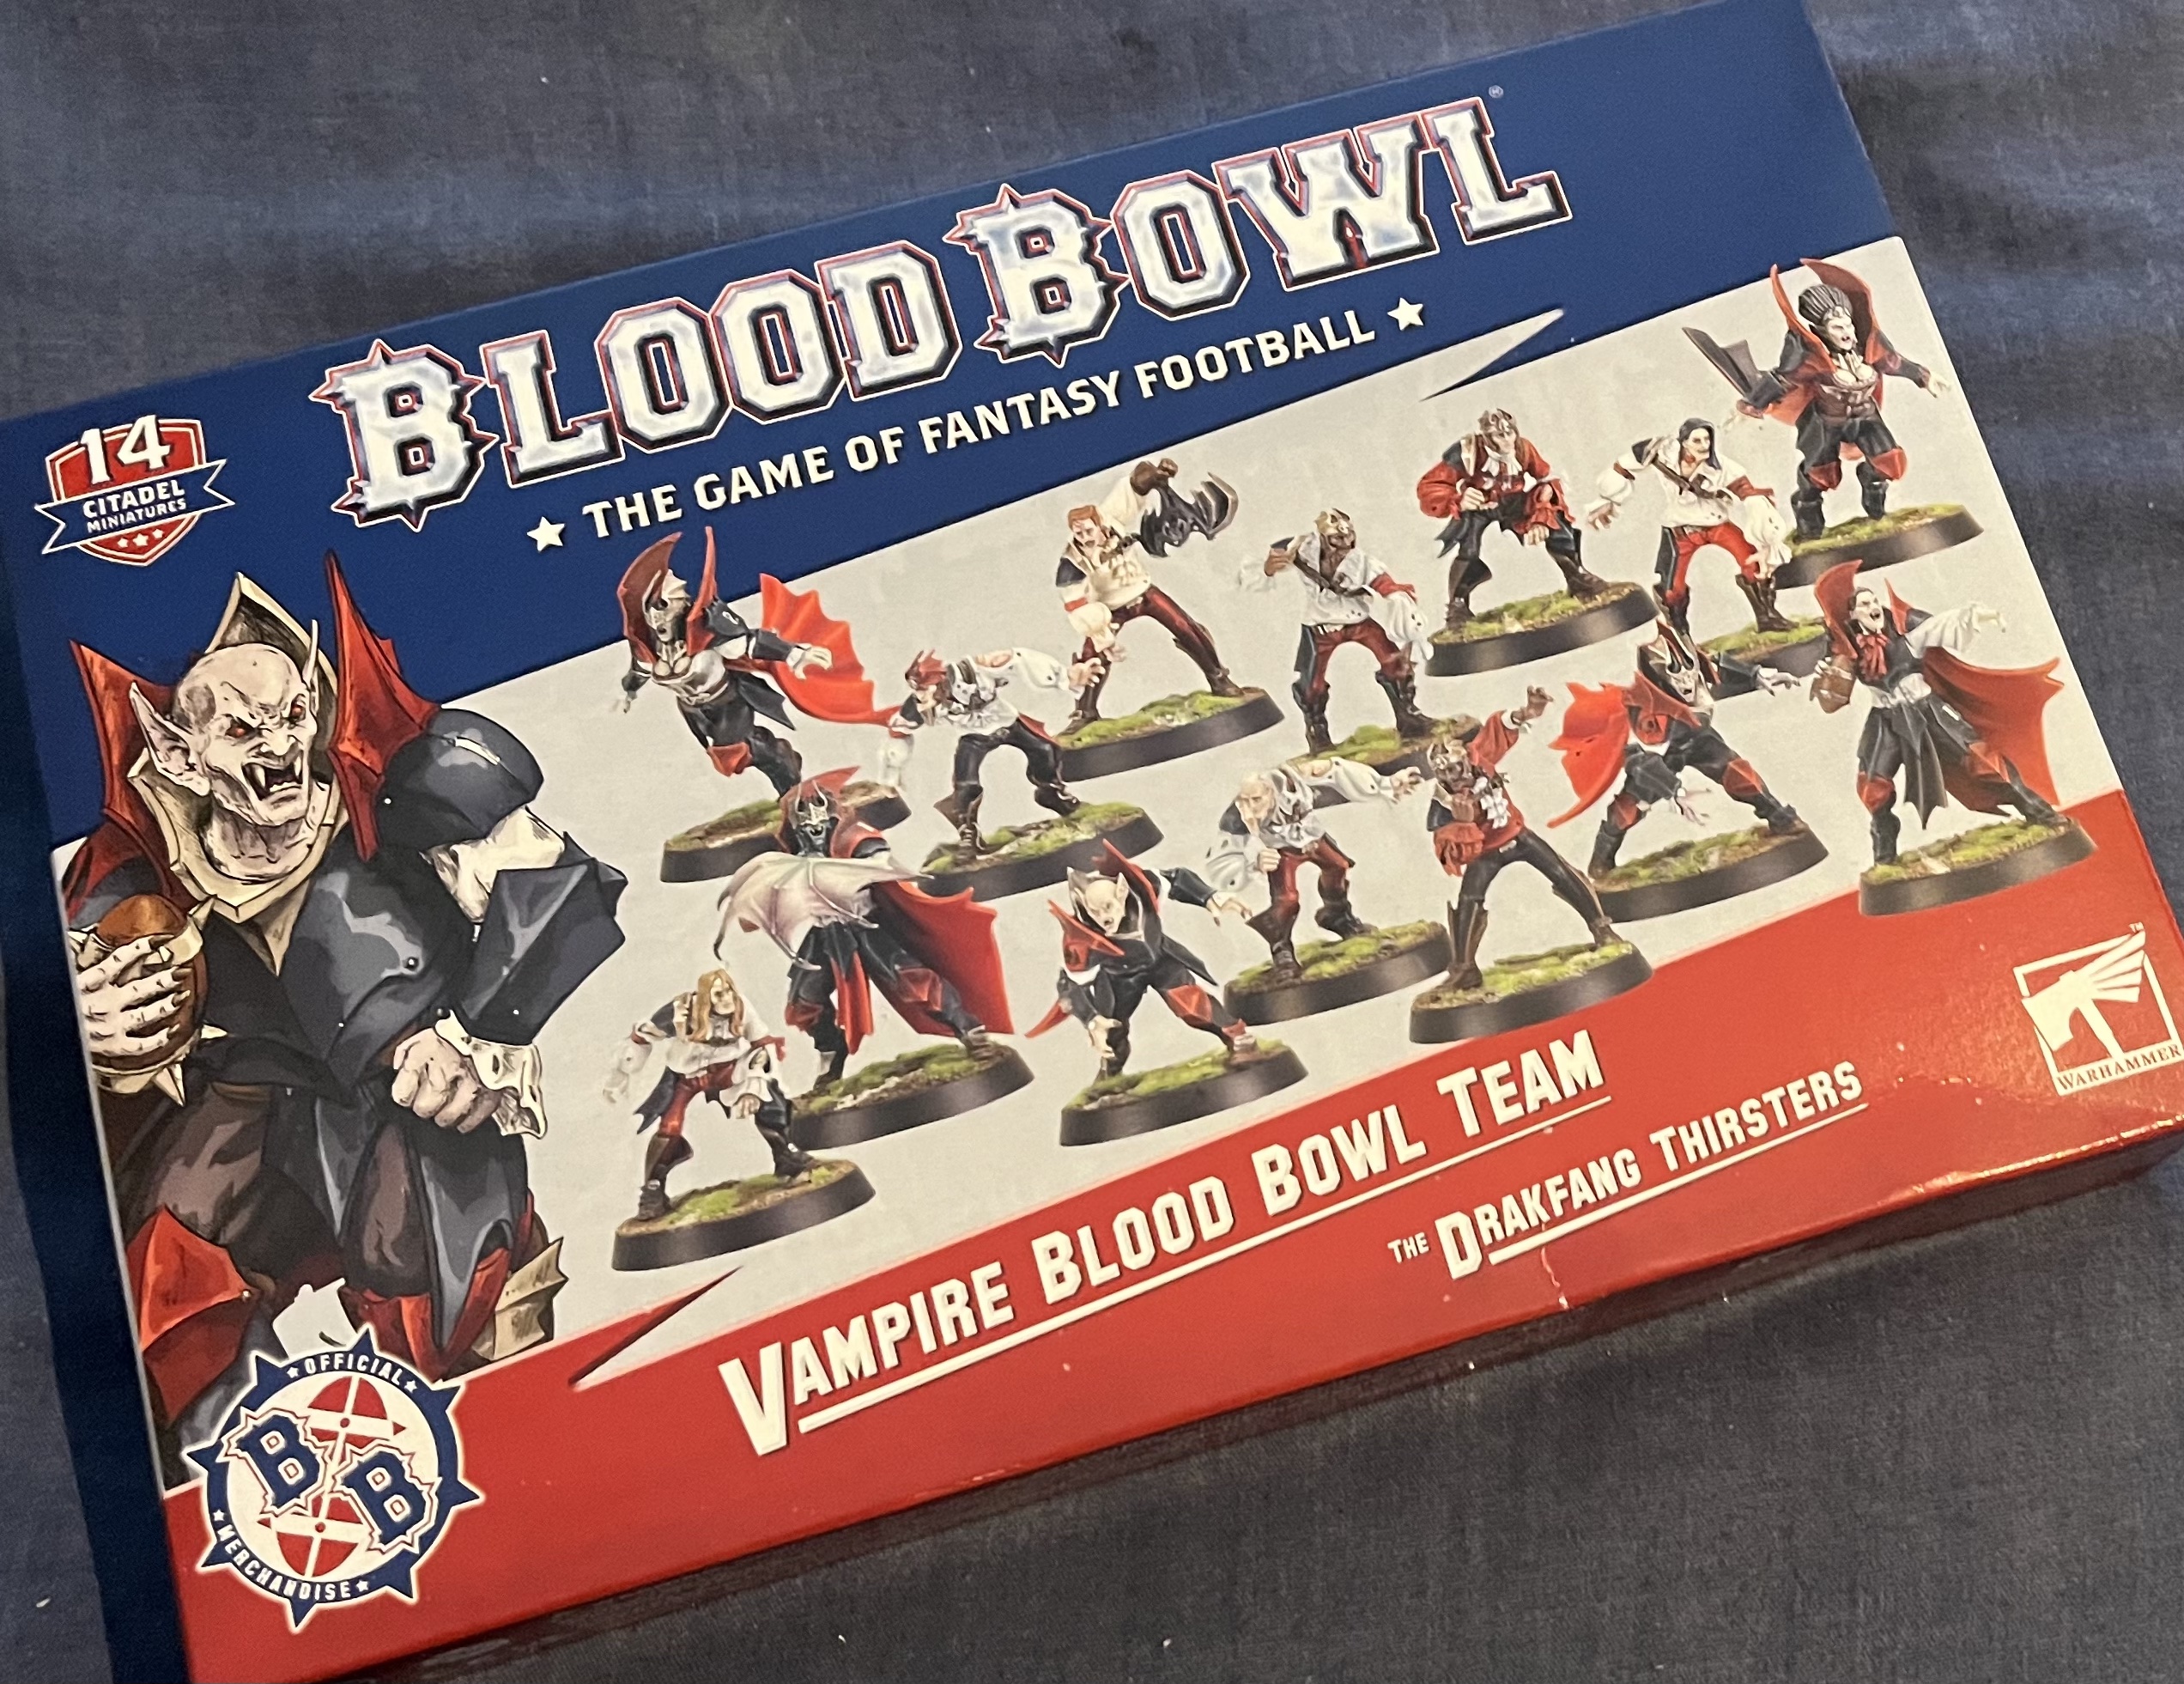
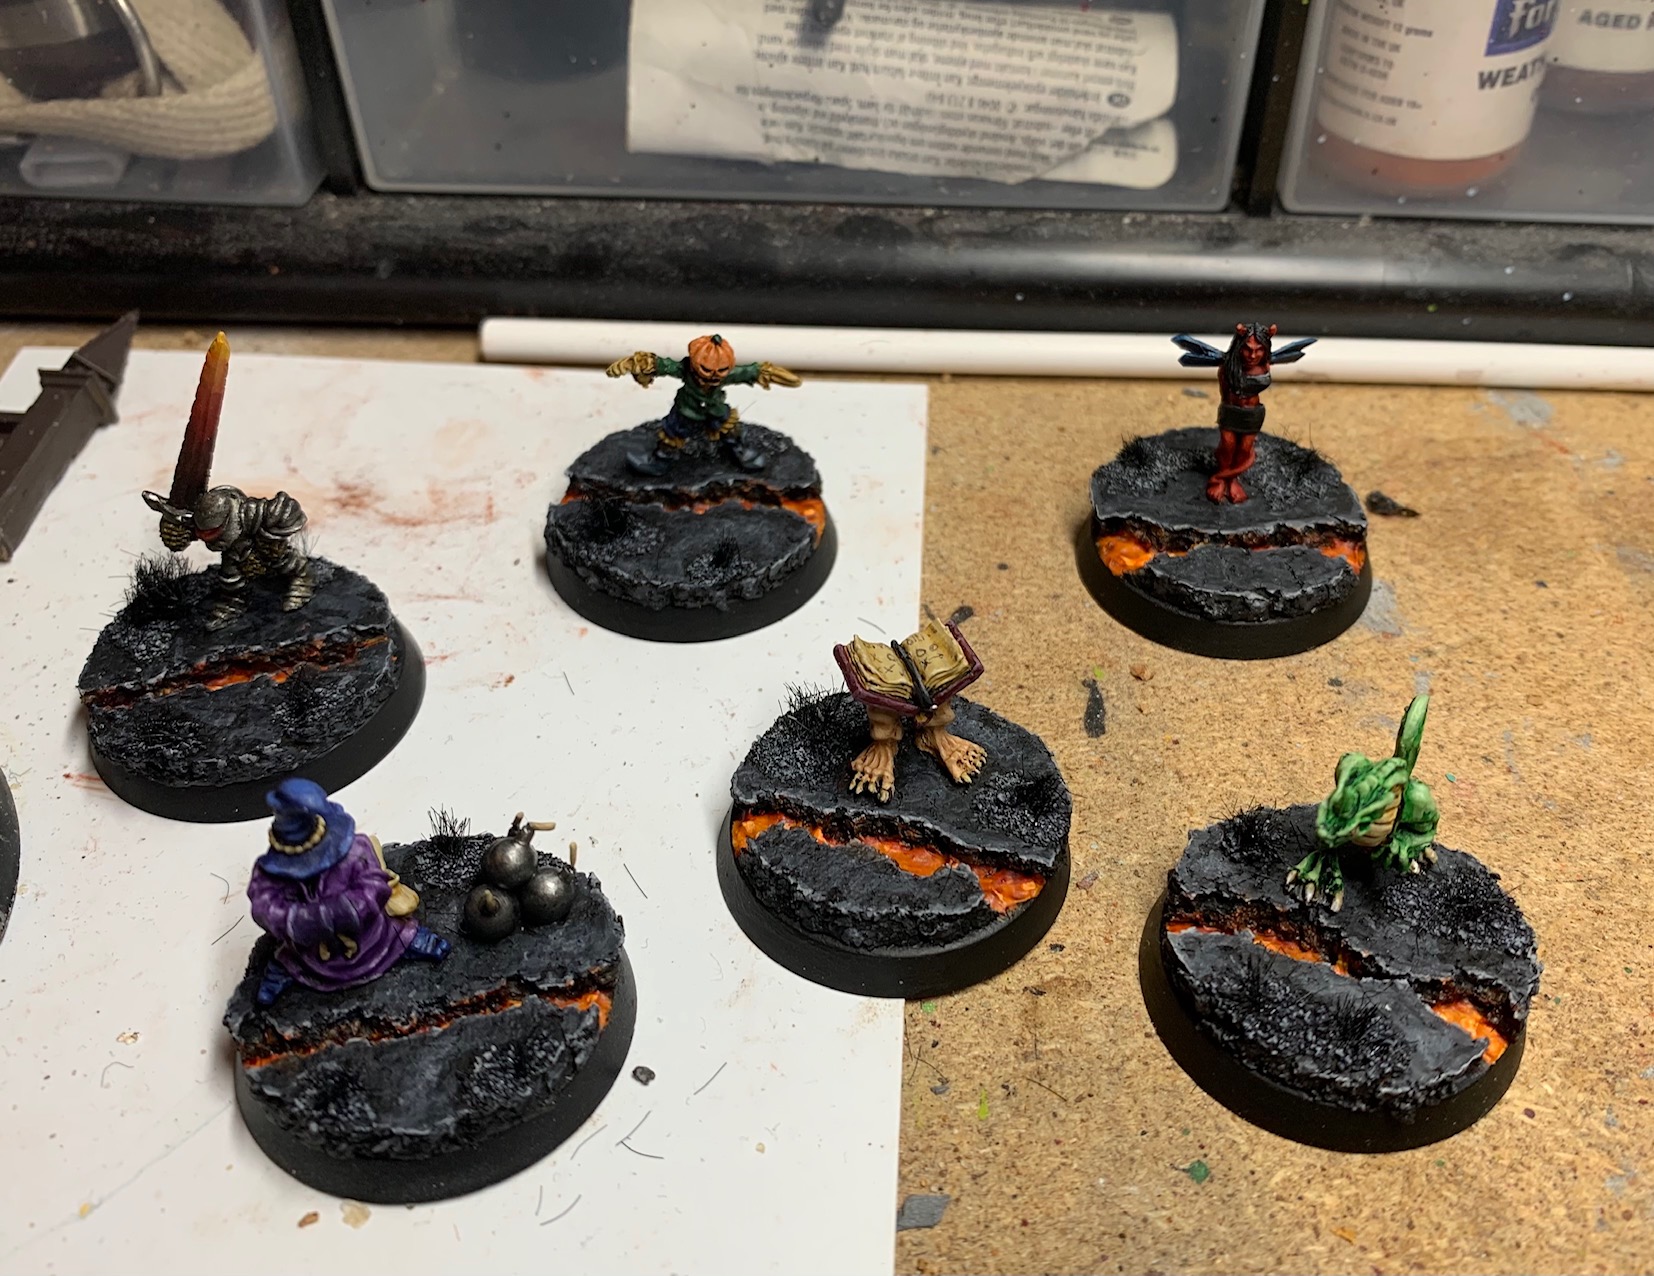
Now I’m a sucker for new Blood Bowl team, and this one in particular has my veins pumping with excitement. You see, I had a Blood Bowl Vampire team about 4 years ago and do you know what? I hated them. Oh I had fun converting them, using Cawdor gangers for my thralls and Namartii for my Vamps (see below), that side of the project was great. But playing with them, I certainly got a lesson in why Vampires have always been seen as a team meant more for the game’s better players.

They were always an unforgiving bunch, so much so that most tacticas would suggest playing no more than 2 actual Vampires and taking as great a throng of Thralls as possible and that kind of sucks when it’s the Vampires that are your real stars and the minis you want to play with. Thralls, in comparison were then (and remain now) pretty much the worst players in the game. No skills, the stat line of a hobgoblin, but for 40,000 a piece, you get what you pay for. They are only really there for one reason – they are walking blood bags for when your Vampires roll a 1 when checking for Blood Lust.
That was another problem of the old team. Your Vampires are your stars and yet they have this flaw that they may have to end their turn injuring their own team-mates. And their stats, while decent, were not too much to shout about. You had to suffer through the first couple of games of a league season, carefully accruing star player points, in order to get Block and Dodge on them before you became confident in them being able to do what you needed to do. A Blood Bowl veteran would see this team as a cryptic challenge, but to a newer (or in my case “worse”) player, they just, well, sucked.
Then you got the Season 2 Update a couple of years back that, I’ll confess, very much passed me by but it certainly didn’t seem to improve things. Animal Savagery replacing Blood Lust just seemed cruel and unnecessary so I was even less enthused to try and get some game time out of them.
But oh what a difference this update has made! The rules for the team were the most interesting thing here for me and so, given that I’ve not had time to paint my Vamps, I can talk to you about why I think you have some really excellent options with this new box in terms of rules.
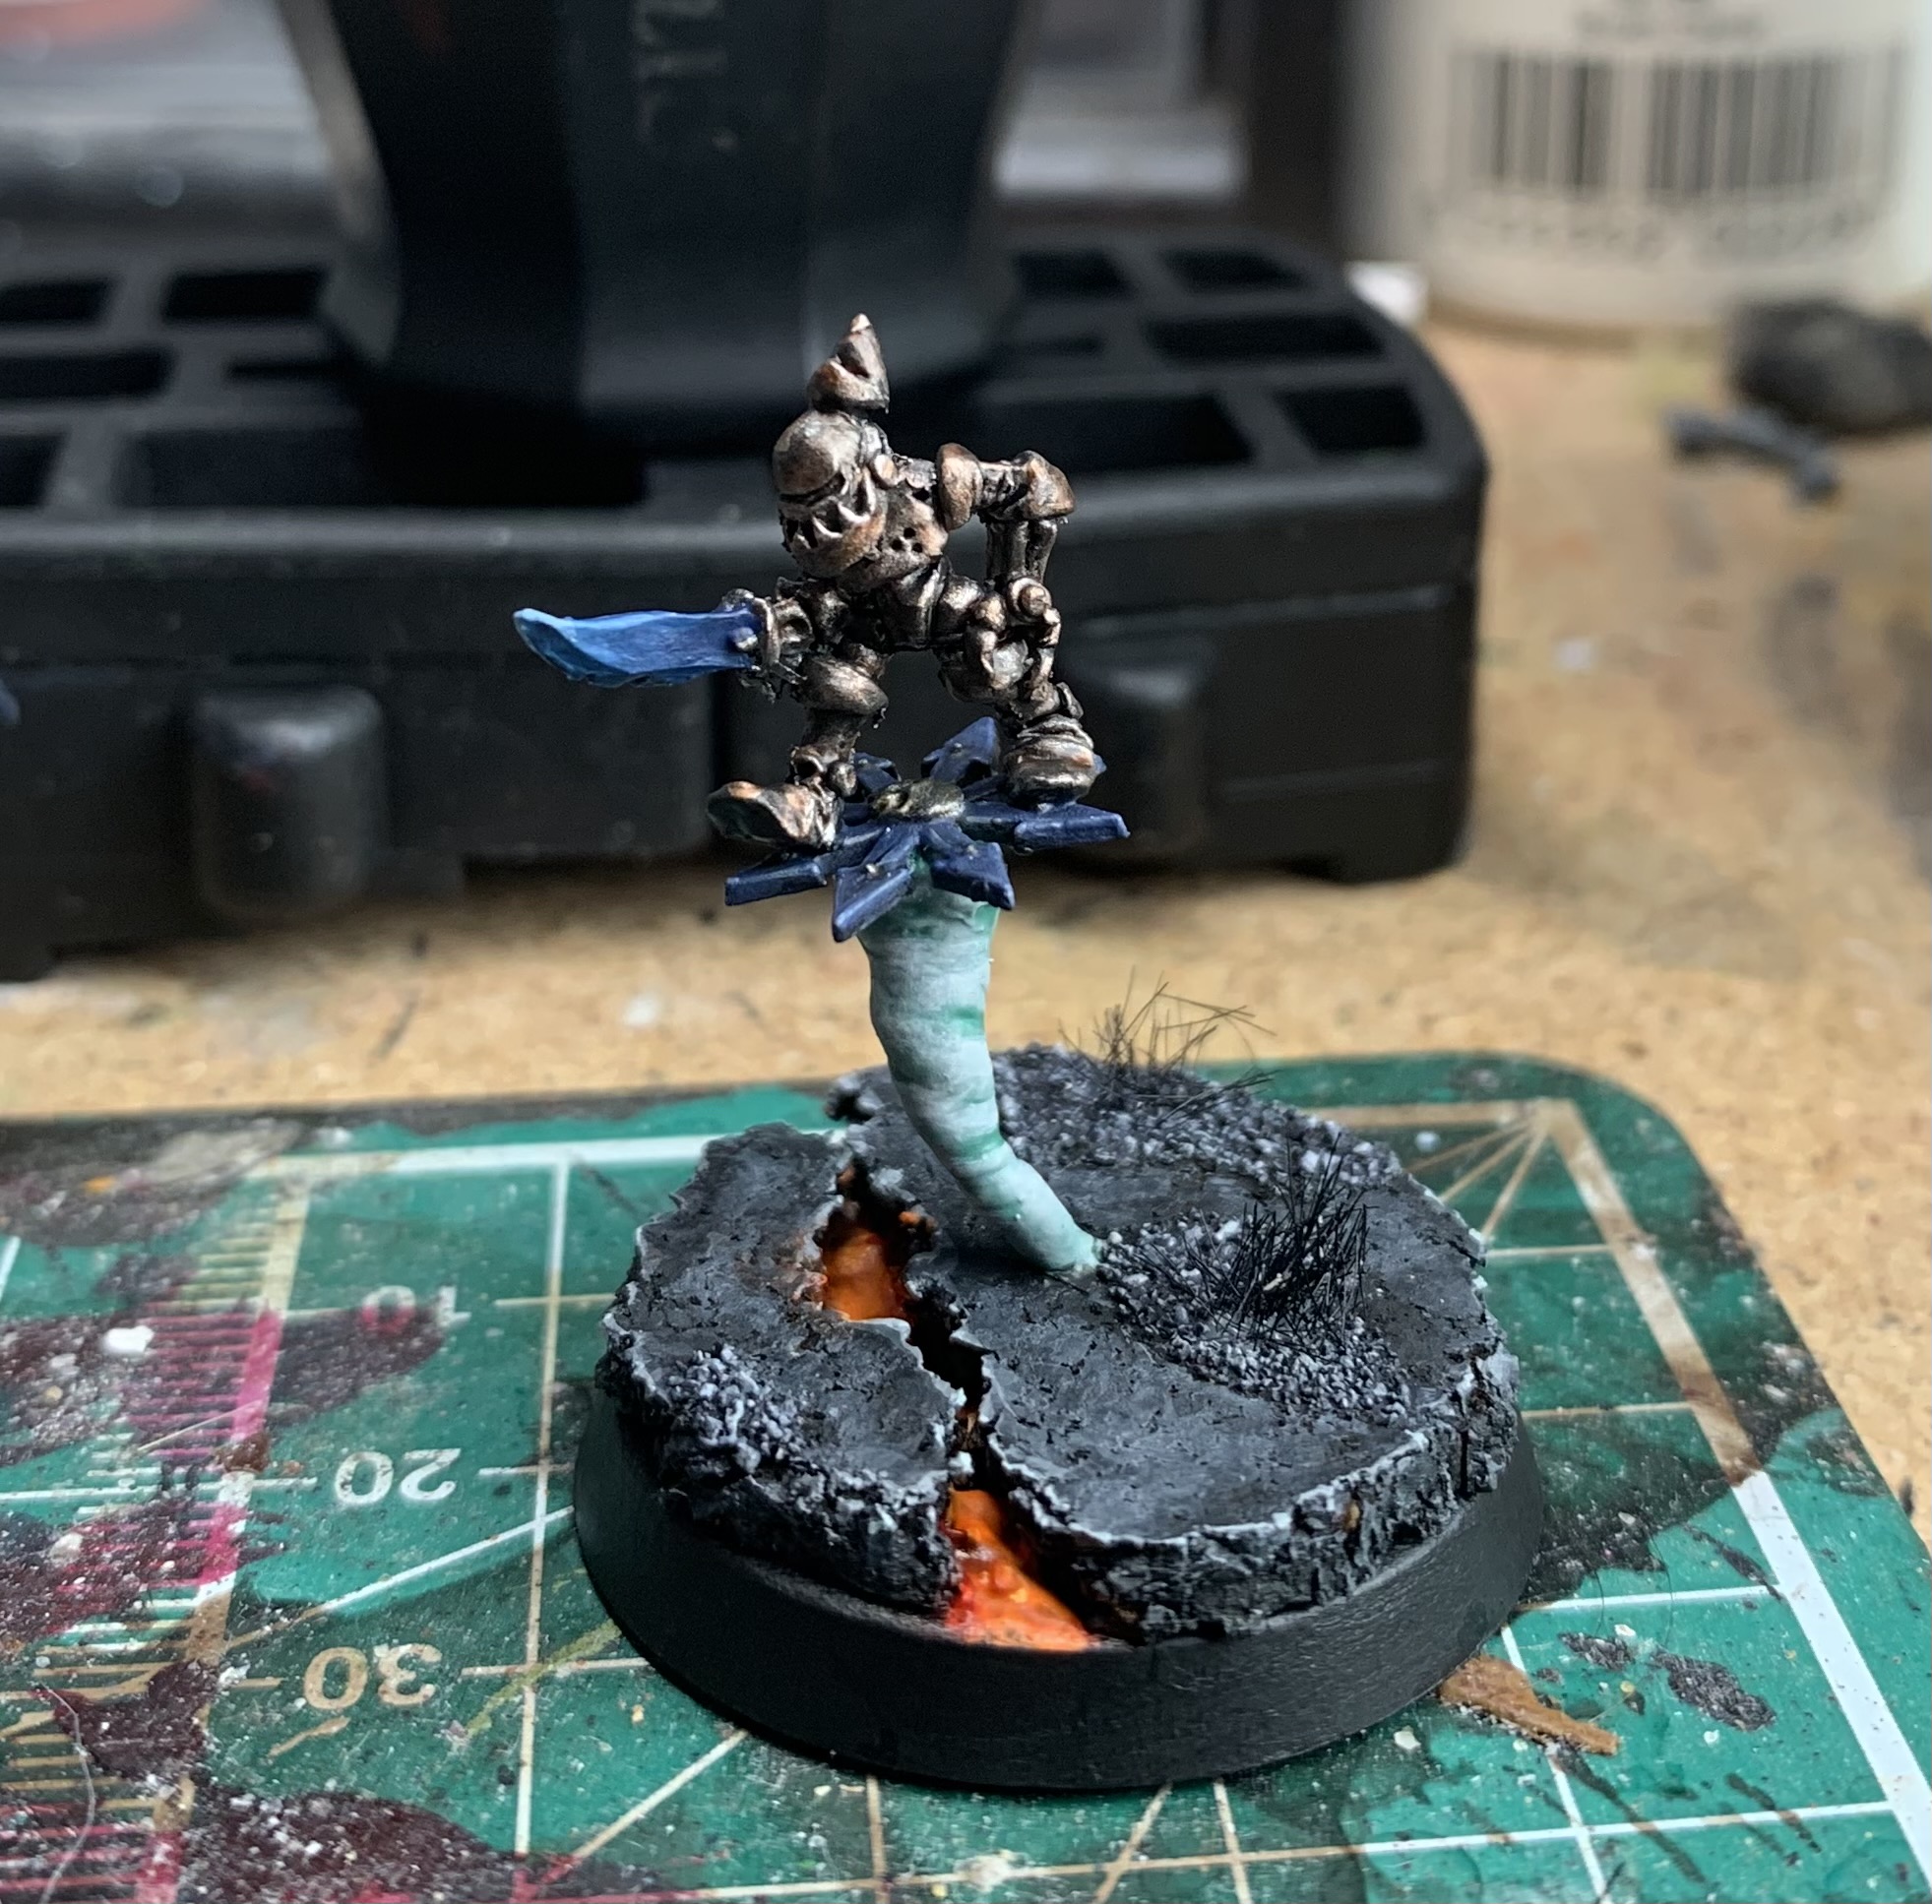
However, I will briefly say, before getting into the rules, that the new miniatures are fantastic. I get real 1990s Warhammer Vampire vibes from the befanged in the box, and the new thralls are just really fun. Great sculpting all round, and I will definitely be painting up this team at some point in the future. Now, back to those rules…

First off, having Vampire Positionals is huge. You used to just get Vampires, and in the Season 2 Update, Vampire “Blitzers” (which had no particular Blitzing Skills) but it was all very one dimensional. Now you have Throwers, Runners and Blitzers (who have Juggernaut, which, while not as good as just having “Block” does help a little more both on field and thematically). This means that you can tailor your team to suit how you want to play. Want to play an elf-like passing/running game? Take a couple of Runners and at least one Thrower, and you’re golden. If you want to take a bashing team, a couple of Blitzers and a Vargheist (sold seperately) and you can do just that.
Personally, I’d favour running the former option over a fighting style Vampire line. Your Vampires are too valuable to risk them in the scrum, and while having access to a Big Guy for the first time ever is great, I think they all suffer from having Blood Lust 3+ instead of 2+ (Throwers and Runners are still 2+, Vlad be thanked) and that suffering makes them too much of a liability.
Also, a cheeky 10,000 knocked off the rerolls is a great boon to the team.
So here’s the team I’d take:
10x Thralls – 400,000
2x Vampire Runners – 200,000
2x Vampire Throwers – 220,000
3x Re-rolls – 180,000
Now, this is still early days, but I think this team has some balance, and while I still wouldn’t recommend the Vampires to brand new players, this is a great deal more forgiving than in the olden days. Ok, so you’re going to be a mainly S3 team, but the runners have an excellent burst of speed, and being able to use Hypnotic Gaze to neautralise threats negates their lack of S4 somewhat. 3 rerolls should also help you to keep some of the Vampire’s negative quirks at bay, and the Throwers look excellent with Pass and a PA of 2+. This also means that you’ve got plenty of Thralls to chew through, and 4 Vampires from the get go – not too shabby.
For Tactics, I’d probably have a single Thrower starting, both Runners and a big mess of Thralls to act as a screen/shield. Without the ball, I think things could get a little tough, and Hypnotic Gaze will do a lot of Heavy Lifting, but while carrying, you could tear through a defense with relative ease. Movement 8 on those Runners is immense, and a Thrower with pass of course means you could set up some really fun plays.
But is an all (bar the throwers who are S4) S3 team a bit risky? Let me know you think if I’m howling at the wrong moon on this one by leaving a comment below!
So to summarize, I’d say I’m cautiously optimistic for this team. Things have massively improved for the Vamps, and I think they still provide a stiff challenge for any coach willing to give them a try, though they will still provide a level of difficulty due to the unique way in which they play. But the new options really help to make them interesting again, and over longer leagues, I think they could have real potential to challenge the better teams.
But if you’re playing for high stakes, the classic Vampire issues can still bite you in the… neck, I suppose. Onvards!


 40kaddict
 4gotowar
 Castigator's Chaos
 convertorum
 darkfuturegaming
 ftgtgaming
 Mind of the Daemon
 taleofpainters
 talkwargaming
 Twisted Brushes
 weemen